If you live in Canada you know that it is getting difficult to find an affordable place to print photos, especially if you also want qualify in the prints and a decent price!
Until recently I was an avid fan of Black’s… then they closed their stores across Canada and I was forced to look elsewhere (and yes I know they are back online but I hesitate to jump on board as they were bought out and I worry about quality).
Years ago I was a fan of the Walmart photo lab…then they changed their photo quality and required me to pay up front (something that would not have been a problem if I was not paying for photos with strange glowing blobs and lines).
Costco is another favourite among Canadians… but my town does not have one and the nearest one does not make it worth the cost to drive there and deal with the INSANE parking lot.
I quickly realized that the answer to my need was right at my fingertips… literally!
Studio J
I can and now DO use a product that I already had available to me and have found my photo qualify to be perfect, the cost to be comparable (and often times cheaper) AND I can print whatever size I want and make all the editing changes I could in other places.
So, how do you print photos in a product that was designed for digital scrapbooking?
Easy!
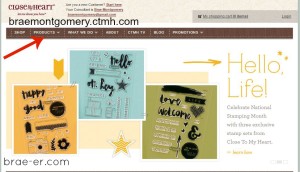
Step 1: go to my website at braemontgomery.ctmh.com and click on ‘Products’ and ‘Studio J’ in the drop down menu.
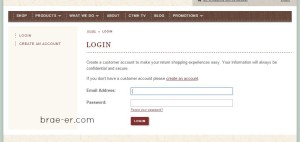
Step 2: Login (or create an account if it is the first time you have visited my site).
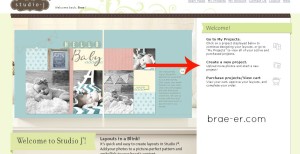
Step 3: Click on ‘Create a new Project’ and assign your project a title. I usually just type in photos when I am only printing.
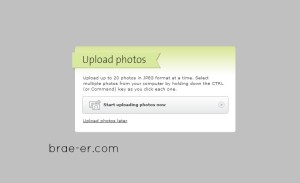
Step 4: Upload your photos. Just click on ‘Start uploading photos now’ and pick the file where your photos are stored. Select all the photos you would like to upload. NOTE: While they are uploading you can move on in the program- no need to wait!
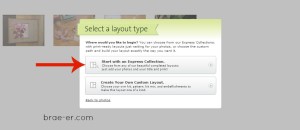
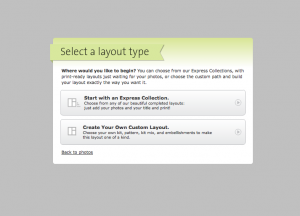
Step 5: Click on the ‘Express Collection’ option (we do have an alternate way to print photos but for now I am going to show you the simplest way).
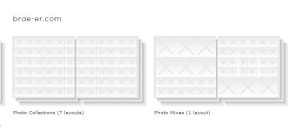
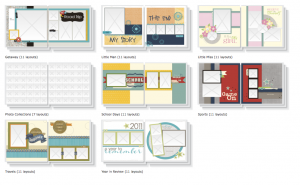
Step 6: You have two options here. Select the one right for you and your project. You can go back and select another if you want and can select more than one page. You are not committed to any one style for all of your photos.
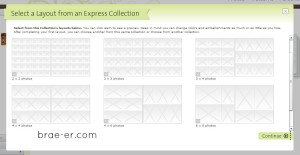
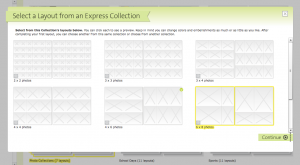
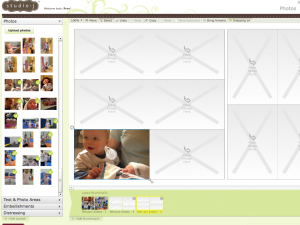
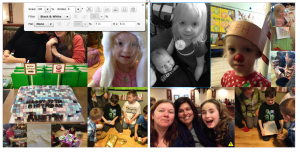
Step 7: Now select the layout you want and once in your layout simply drag and drop your photos where you want them! You will be able to do basic edits to your photos as well (just click on the photo tab on the left of your screen).
Now what about the price??
A layout in Studio J costs $7.75 (that is two 12×12 pages full of photos). Due to shipping costs Studio J has a minimum of four layouts and a maximum of 50 in shipping. Shipping itself is $13.95 (no matter how many layouts you have between 4-50). If you are like me this is a piece of cake because you go a long time between photo developing! Try to optimize your shipping cost on every order.
Let’s look at the cost for 4×6 prints (most common photo size).
One layout will fit 12 4×6 photos which costs $0.65 per photo. That is the basic cost and does not include shipping.
If you order 25 layouts (300 photos) you end up paying $207.70 (shipping included in this price) and that means you paid…$0.69 per photo!
Max out to the 50 pages (600 photos)= 401.54 = $0.66 per photo!
That is a great price for great quality AND I didn’t have to leave the comfort of my home! It all came to my door in about a week!
What about oversized prints??
You can print any size you want in Studio J and going big (and small) is where you can really see some savings AND there is not waste! An oversized print at many stores is upward of $5.00 for anything larger than an 8×10. In Studio J you can get two, 12×12 prints for $7.75! A great deal!
If I haven’t convinced you yet I challenge you to get in there and play around- you will LOVE what you see!
Visit braemontgomery.ctmh.com to get started!
Until we craft again, The Brae-er

