Tag Archives: annual inspirations

Cross Canada Blog Hop: Christmas Decor

Welcome to our December Blog Hop featuring Christmas Decor.

We hope that you will take the time to leave comments on our posts, as we love to get feedback from our viewers….whether it was something that you really liked or some new technique that was used that you would like to learn how to do….by leaving us comments, we get to hear what you like, and what you want to see. Thank you… now on to our hop!

If you have just come from Sheri’s post then you are on the path of Christmas fun!

 I LOVE christmas and my favourite part is all the activities- crafting, memory-making and baking! I just LOVE it!  Every year I add to my Christmas home decor so here are two pieces that I created just for you (and now for me to enjoy!)

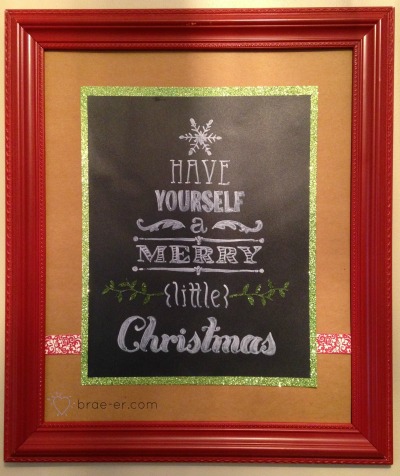
The first project features one of our new magnetic chalkboards. The red frame is just PERFECT for Christmas decor!  You may notice that I covered the chalkboard- well I wanted to use it again later and had one piece of our 12×12 chalkboard paper left so I saw the opportunity to reuse this frame for at least two things.

I covered the back with Kraft paper, framed my chalkboard piece with green glitter paper… now how did I do my awesome chalkboard image??  READ below for my tutorial!

Christmas chalkboard

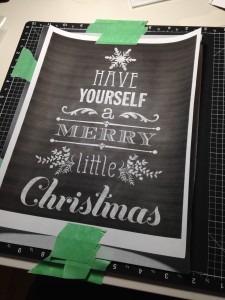
 So it started with a pinterest search- free chalkboard printable. I found one I liked and printed it out (note: I used the draft feature on my printer settings so that I did not waste a lot of ink).  I then used white transfer paper (bought at the craft store) and layered it between my image and my chalkboard.

IMG_4549

Next I took my Piercing and Embossing tool (embossing end) and went over the image outline so that the white off the transfer paper would do its job… and voila! It worked.

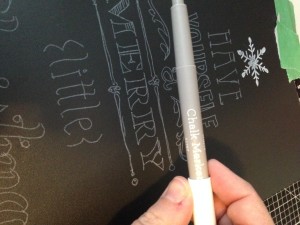
Next I took our Chalk Marker (this baby is permanent so be sure you are placing it where you want it!) and went over the outline and filled in the bits I wanted to fill in. To finish it off I also added green glitter leaves where they had chalk ones- I wanted to make this part easier AND add some colour!  This worked great and I have plans to do it again!

IMG_4551

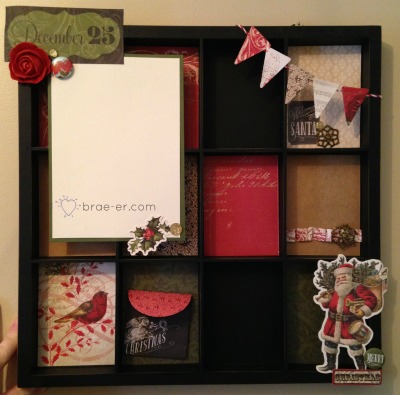
My second project is a Display Tray decorated with Yuletide papers, complements and accessories. These frames have been very popular as gifts over the last few years and our new family photos are going to have a special place in this one.  It is a very simple and quick project that looks great no matter what the theme!

christmas display frame


Now if you would like to purchase any of these items please visit my SHOP.  You won’t have it in time for the holidays but you will have it in plenty of time to craft for next year!

To continue on in our Cross Canada Hop, visit Christine’s blog!

Until we craft again, The Brae-er


Confetti Wishes

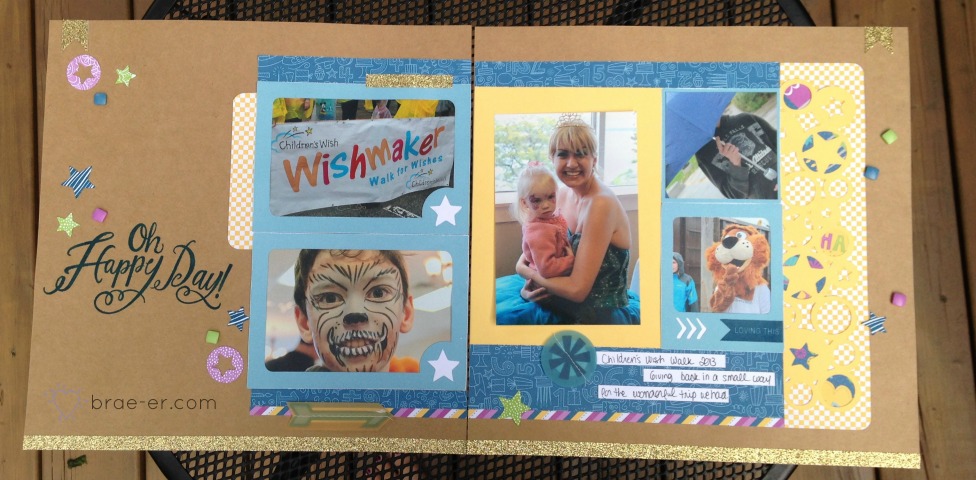
confetti wishes wotg

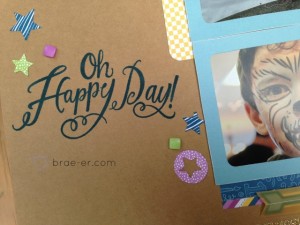
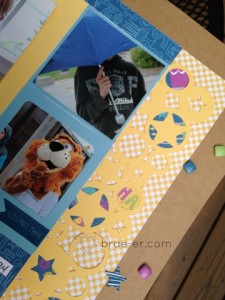
Confetti Wishes is a bright, colourful and beautiful paper just bursting with life!  This layout comes from the Workshop on the Go for this paper- it is the layout that my club ladies will be creating when we do this kit.

Have you ever tried our Workshop on the Go kits? They changed slightly in this new book – now they all feature cuts using our cricut cartridges (although they also show you how you can create the layout not using the cartridges).

confetti wishes wotg close 2

confetti wishes wotg close


Of course these papers are perfect for birthday photos they are also useful for a lot of other memories- I used mine for the Wishmaker walk photos from last fall. We do this every year as a family as a way to give back for the wonderful wish trip that my son had when he was four (they do an AMAZING job of their trips!).

Until we craft again, The Brae-er


Technique Tuesday: Chalkboard Stamping

You see the look all over Pinterest and in stores – the chalkboard look is totally IN!

Did you know that you can also achieve that look on your card (and fairly simply I might add).

What you will need:

Stamp

White Pigment Ink

Tissue

Black cardstock

chalkboard technique 1

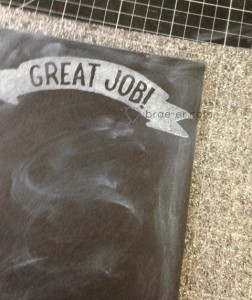
Take your piece of black cardstock (should be cut to preferred size already) and rub the tissue (dipped in your white pigment ink) in the corners and around the cardstock- you want to give the paper the look of the chalkboards at school when they had seen a lot of use.

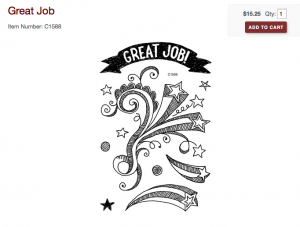
Next stamp your images onto the cardstock with the same white pigment ink.  Now give the ink time to dry- pigment is wet and will need a few minutes but it is worth it!

chalkboard technique 2

I LOVE how this turned out!

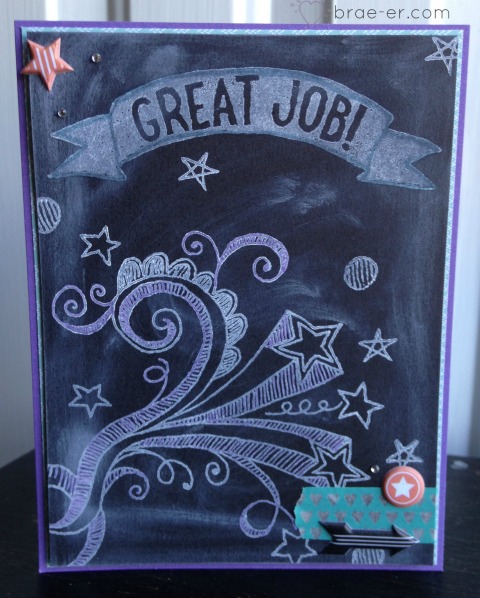
Now you may be able to tell (or may not) but I added some colour to the chalk stamping (I mean really, who didn’t play with the coloured chalk in school every chance they got!?).  I added some purple to the star burst and some blue to outline the ‘Great Job’ sentiment.  I coloured over the white pigment ink with my ShinHan Touch Twin markers – and it worked AWESOME!! I then finished this guy up with some Chalk It Up Assortment stickers, some bitty sparkles and some new washi tape!

Screen Shot 2014-07-11 at 5.36.14 AM

Until we craft again, The Brae-er


Pathfinding Double Layout

pathfinder layout


I think by now you are ready to see some new paper?

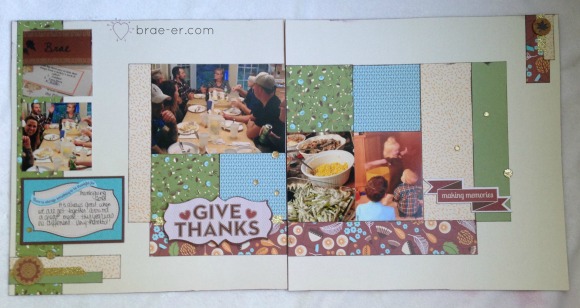
Welcome Pathfinding to the Annual Inspirations Idea Book!  This lovely paper is perfect for fall photos, family get together and so much more! Like all out papers it has a few patterns that you could use for just about anything! Here I used it, and the Pathfinding Complements, to create a two page layout.  The pattern for the layout comes from the Make it from you Heart book.

I accessorized with some gold shimmer trim (I LOVE this colour addition to the shimmer trim line), the pathfinding complements (and for this kit they are chipboard), the pathfinding assortment (some wooden and cork pieces) AND some bling gems in gold.


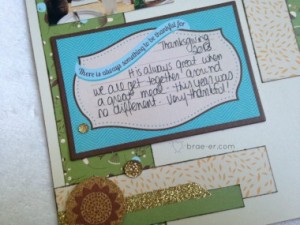
pathfinder layout close


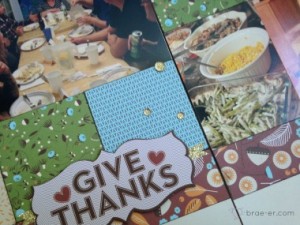
pathfinder layout close 2


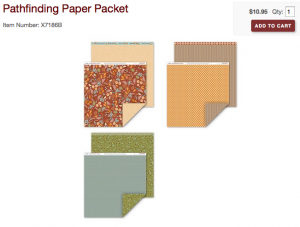
Here is the full paper pack and what it contains (and you can click the picture to go right to it in my SHOP!)


Screen Shot 2014-07-11 at 5.57.29 AM


But wait… remember…. add your orders to my “Annual Inspirations Launch Party” so that you don’t miss out on winning the hostess rewards! More details on that can be found here!

Until we craft again, The Brae-er

ShinHan Touch Twin Markers

I am really pleased to share this first product with you- clearly there is a reason why I have chosen to share them with you FIRST…. CTMH has decided to carry Shin Han Touch Twin alcohol markers and I wanted you to be the first to know!

Why is this exciting? Cause these markers are amazing!

You can do so much with alcohol markers (now you may have heard about Copic markers? these are the SAME top of the line quality that comes from those- just a better price point).

We will be carrying 24 of these markers and YES they are refillable (if you ever need to refill them).

So, what can these markers do?

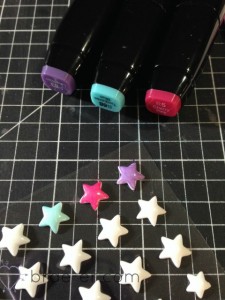
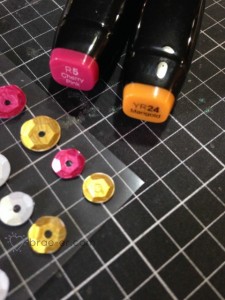
Alcohol markers are fast drying- colour embellishments (like my stars and sequins) and the colour stays!

Alcohol markers blend beautifully- you won’t see stroke marks when colouring with these!

The colours are bright and long-lasting.

You can blend the colours together to get a truly lovely look (and we have a colourless blender that helps achieve a blended look).

marker intro

marker intro 2


I first trailed these markers at convention and I was impressed right away! Not only do they sit in my hand nicely (they are ergonomically designed) but they are so smooth! The other thing I immediately noticed- there is NO NASTY SMELL! Some alcohol markers make my head swim with the smell they give off but these ones don’t!

Needless to say… I ordered all 24 right away! I couldn’t resist and I have been happily playing with them all month (and I still LOVE them!)

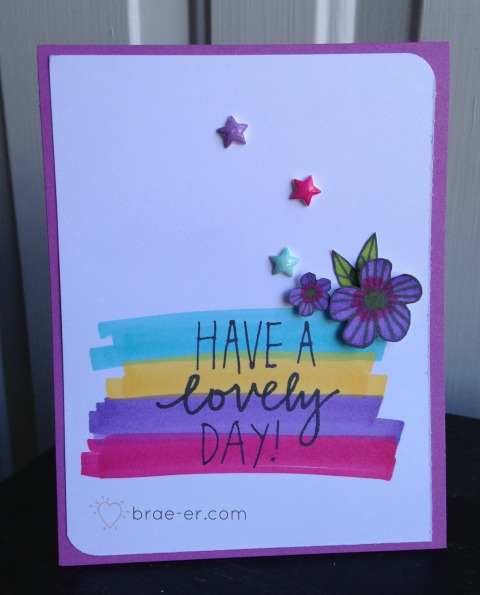
marker intro card


Here is VERY easy card I created using the markers.  I chose 4 colours and just did a big colour across the cardstock- random and yes I did allow the colours to overlap.  I then stamped in black ink (our dye based- I have had ZERO problems with this ink bleeding on me) a sentiment.  I added some flowers that I coloured and my white enamel stars (also coloured with the markers) and I was done!

I highly recommend you get a marker and try it out BUT I know you will  want MORE so if you order 6 markers from me this month I will buy you a colourless blender!! 

Check them out here!

Until we craft again, The Brae-er

Annual Inspiration Online Launch Party

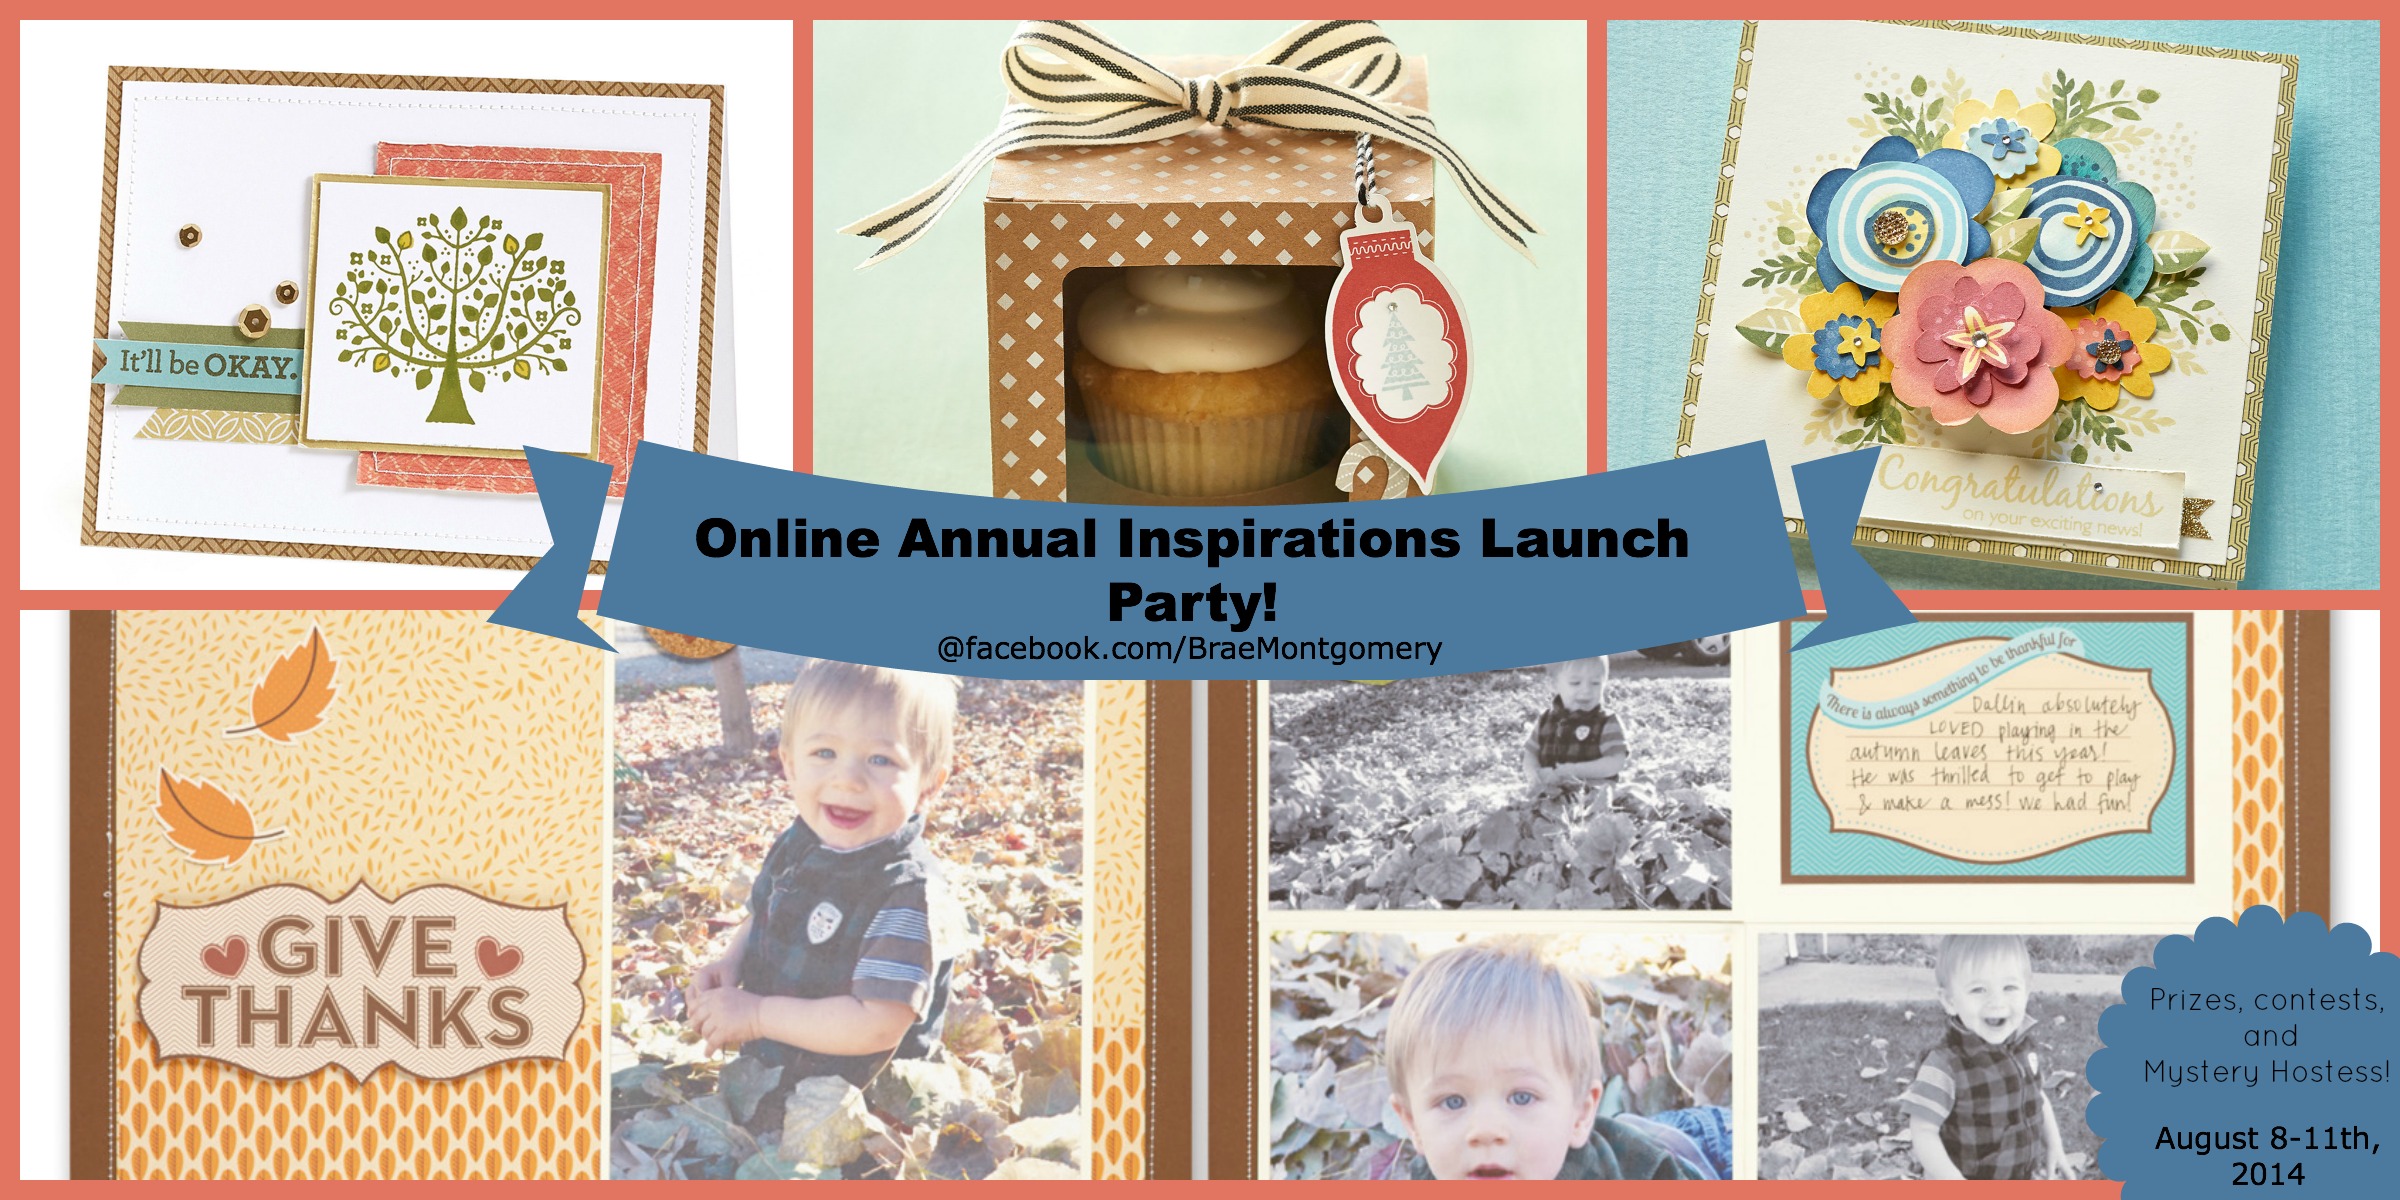
annual inspirations collage


Welcome to August 1st!!

I am pretty excited about the next few weeks (and really the next year) as I can share with you all the wonderful product that you can now purchase.

A few things to know first:

  • I have set up a party on my SHOP titled “August Launch Party”– if you want a chance to win the MYSTERY HOSTESS rewards then I suggest you JOIN that party when you shop!
  • I will be doing lots of reveals on my blog BUT there are even more going on if you visit my Facebook page! There you will find an event from the 8th to the 11th and you will also have the chance to win prizes, play games and see so much more!!

Now… you are going to have to wait LOL.

My first reveal comes tomorrow! BUT if you want to get a look at the Annual Inspirations Book online then click here!

Until we craft again, The Brae-er