Hands On Photography Assignment Entries

Two posts in one day- I have not done this in ages (can you tell I am on holidays!) This year for Christmas my husband bought me the camera I have lusted over for ages- a Canon Rebel T2i. Lucky for me he gifted it to me early knowing that I would want to take pictures with it over the holidays. I also find that I need time to get used to it! So in doing this I have gone to the Hands on Photography Blog that Sue Sykes does (she is rock-on wonderful!!). Every month it seems she has an asssignment that gets you using your camera- this months is about cropping or ‘filling your frame’. Below are my photo submissions!


Psst- there is also a prize pack so make sure you check it out and maybe get involved!!

Until we craft again, The Brae-er


More Wings…

You cannot help but love the holidays… time off (if you get it) really allows you that extra time you need to unwind and have some fun! Yesterday I got together with a friend of mine and we spent the day being creative… while our children played away! It was fun for all of us!
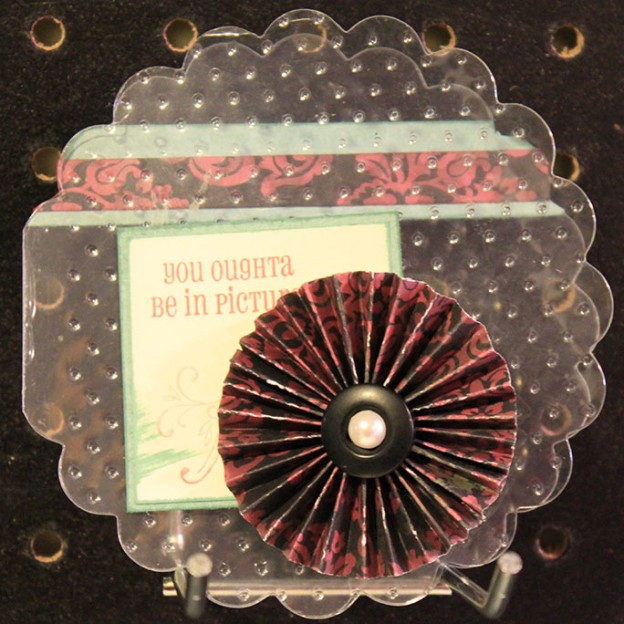
I got lots done and am not going to post it all today but here is one project. This uses the Wings paper, Black mini-medley accents, a pearl opaque and one of our clear cards. I really wanted to try something I had seen done a lot lately with our clear cards- running through an embosser- and I got to say I LOVED this. Here I used the swiss dots on the front of my card and I really like the extra punch it packed!
Wondering about my flower? this is a simple accordian flower made from folding your paper into a fan (my paper was an inch wide and I think 16 inches long for this flower). Once you have folded you glue the two ends together and then glue the flower to your project- now when glueing down your flower be generous with your glue- liquid glass or glue dots would work best here!

Until we craft again, The Brae-er


Wings- SNEAK PEEK!

January is just around the corner and I cannot wait for all of you to get your Wings product and to start playing – it is so beautiful!!
Here is another look at some of the product (my last post was a video that walked you through all the new product available in January). This is a layout I created as part of a Christmas gift for some really good friends (they received it last night and loved it). The paper is Wings, stickease are all from the Wings Level 2 Stickease, and the layout is ‘Performance’ from Magic.


I think it turned out just lovely!! Remember you can place your order beginning January 1st!!

Until we craft again, The Brae-er


Inspirations Video!! See what is in store for you in January!

Here it is!! Make sure you have a pen and paper handy because you are going to want it all!!
shop online after January 1st at http://braemontgomery.myctmh.com/

or email me to place your order braemontgomery@myctmh.com

I do apologize as this is my unedited video- the edited one was not working 100% but this one seems to be okay- sorry to any of you who watched the first version and did not get to see all the goodies!!

Until we craft again, The Brae-er


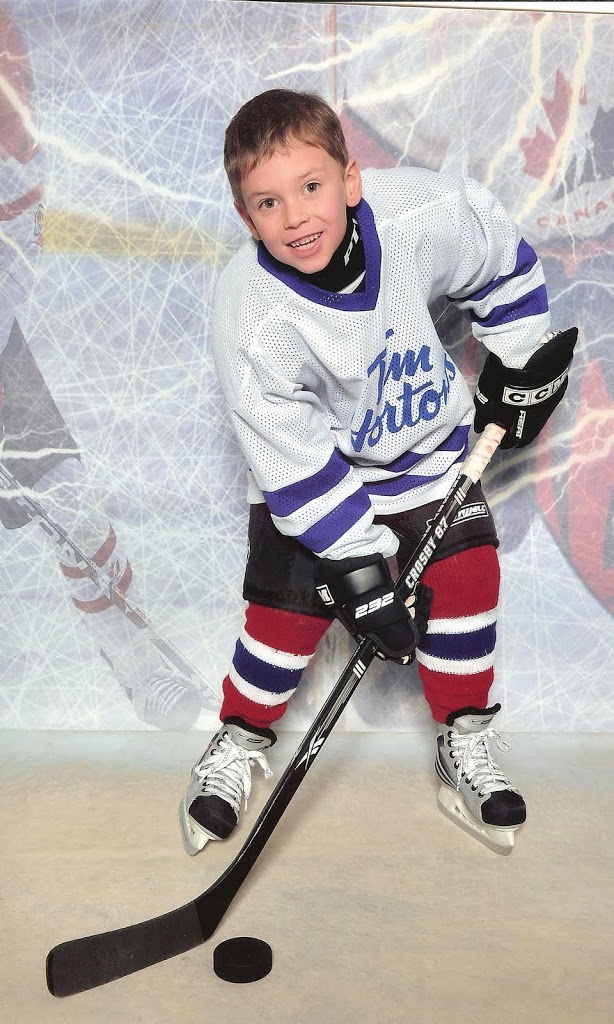
My Hockey Man!

I am so proud of my little man! This is his first year ‘playing’ hockey- I say this because he is not in a traditional hockey league but one that is designed to teach him all the skills that he will need in order to play hockey next year.
He has done so well in such a short time.
He has learned how to skate with a lot more confidence, he has developed amazing talent at skating backwords, he has learned to stop and this past week they started to learn to skate with sticks and pucks- he was in heaven!
Truly- the best thing he has gotten from this program is CONFIDENCE in his self- the kind that I cannot teach him but he must find on his own! I am so very proud!

Until we craft again, The Brae-er


Welcome to the December Stamp of the Month Blog Hop!!

Welcome!
This month we are featuring the stamp set “Amore”- this is the perfect set for Valentine’s, layouts about Love or for those about weddings!
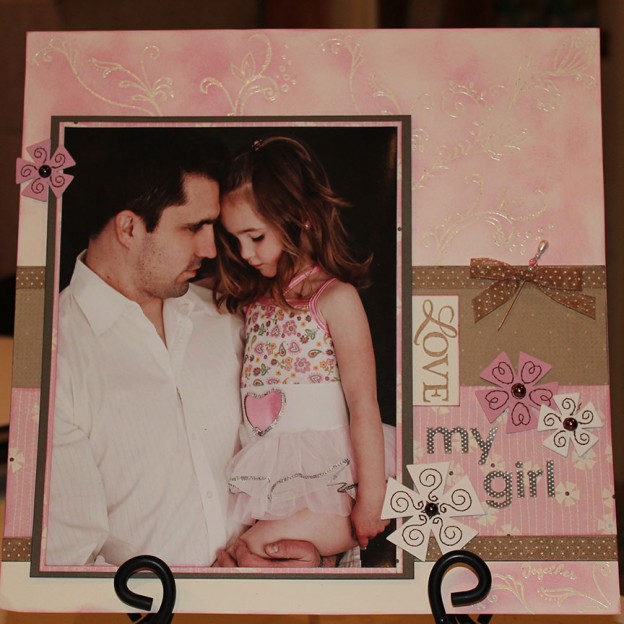
Using this stamp set I created a page featuring good friends of our family- the father and his daughter (are they not just picture perfect!).


To achieve the background to my paper I used an embossing resist technique.

First: I clear embossed swirls all over my paper (for this one I used the stamp set Blooming Flourishes)
Second: I inked around the flourish with Baby Pink ink and the stipple brush.
Third: I picked up more Baby Pink ink on a sponge and smoothed the ink between flourishes.
This is a great way to create your own patterned paper when what you have just does not seem to work!
Other papers and accessories used: Topstitch paper, Chocolate ribbon, Suede flowers, Mocha Opaques, Pretty Pin and Lots of Dots Alphabet.


Now hop on over to Melissa’s Blog!

Until we craft again, The Brae-er


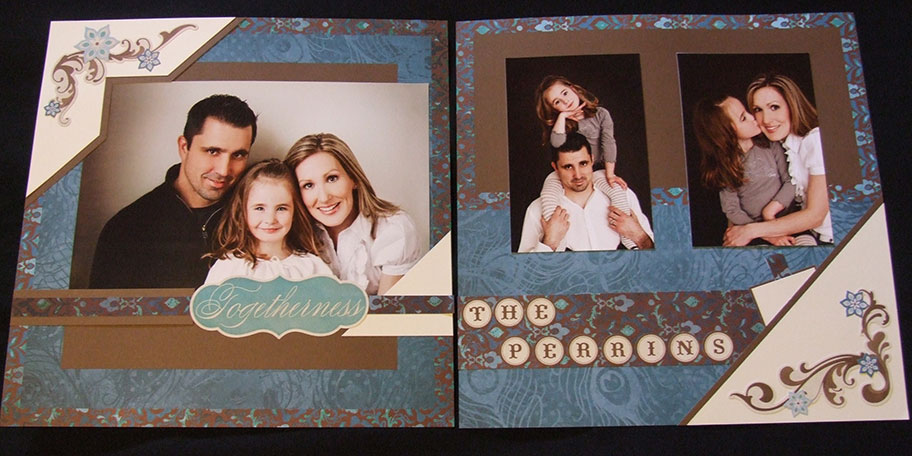
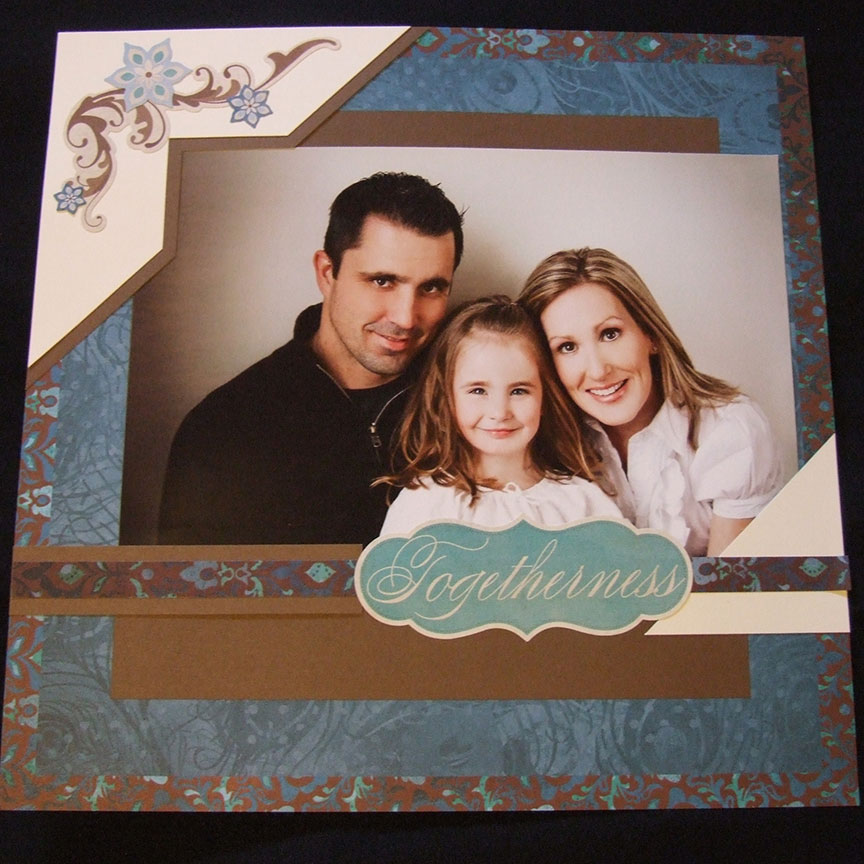
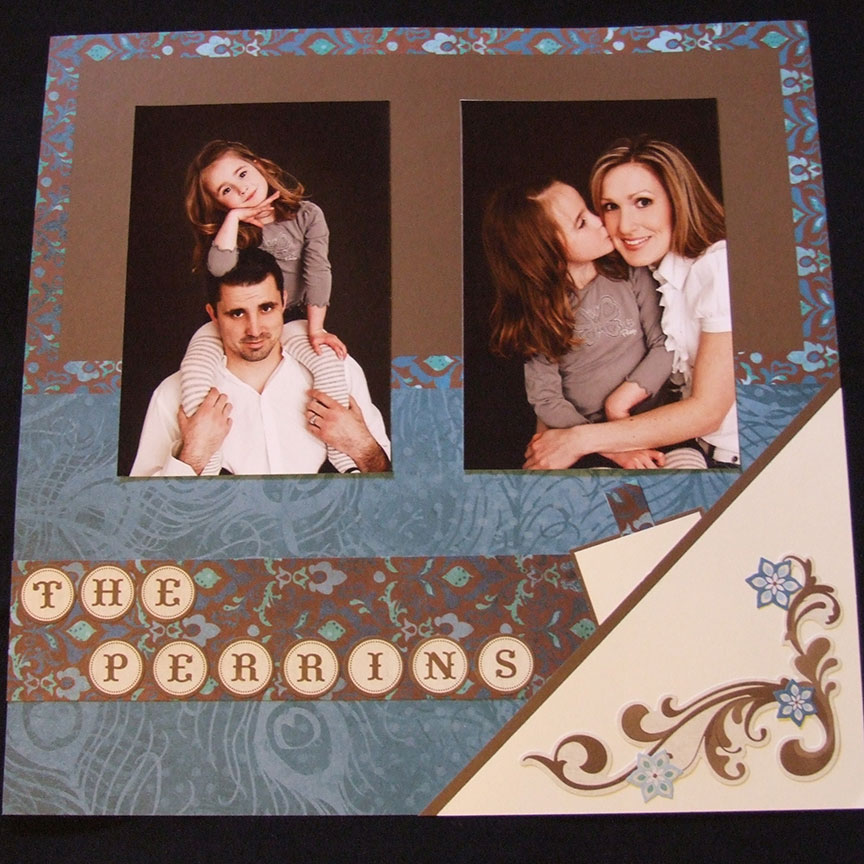
Level 1 Still Means Gorgeous!!

This level one is designed to show you just how gorgeous the layouts are that they can create.
First, I have to thank FancyMelissa for the idea!! She actually did a similar layout for a CTMH contest and I loved it so much I just had to create it!!
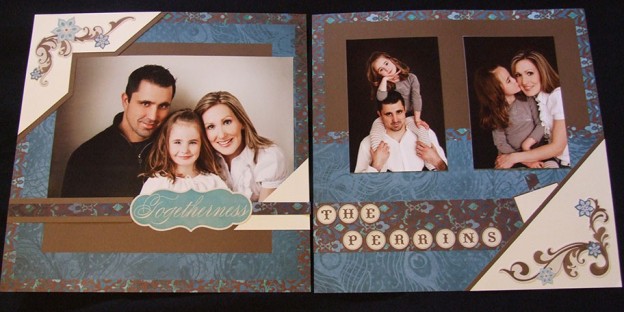
Second, these people are not models for pictures from a frame I found at a store (ha, ha!). They are good family friends and a gorgeous family- I just had to use some of their family photos in my book!
If you are new to Level 1 scrapbooking with CTMH let me explain what you get: each kit comes with 4 pre-printed layouts, some extra patterned paper, and 2 sheets of stickease. What is means is that with just a little bit of time you can easily create 4 layouts that are FAST, SIMPLE AND EASY!! not to mention BEAUTIFUL!

In the new year I will be starting up a montly level 1 night and these are just a taste of what will be in store for my customers!!

Until we craft again, The Brae-er

Favourite Layout EVER!!

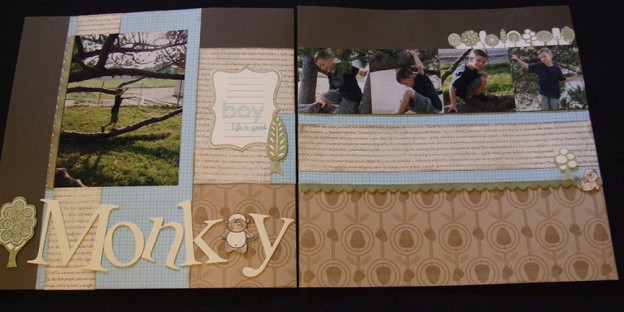
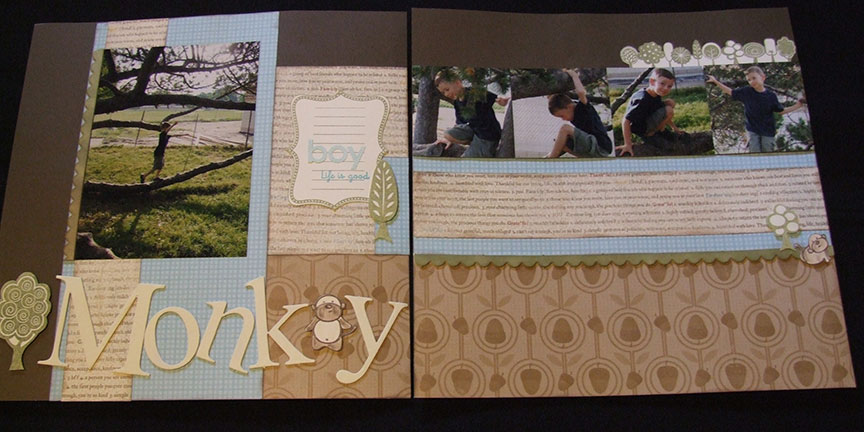
This is it- I created it about two months ago and only now have I got around to taking a picture and posting. I just LOVE this layout- the colour simplicity, the stamps and the cute little monkeys!
This layout is created using a pattern out of Magic- the papers are Grace and Twitterpatted. I also used a mixture of stamps and some simple embellishments.
Here is a close up image on the right hand side page- my little stamped tree and monkey are nestled on top a CTMH Dimensional Element Border that I inked with an olive stamp pad.


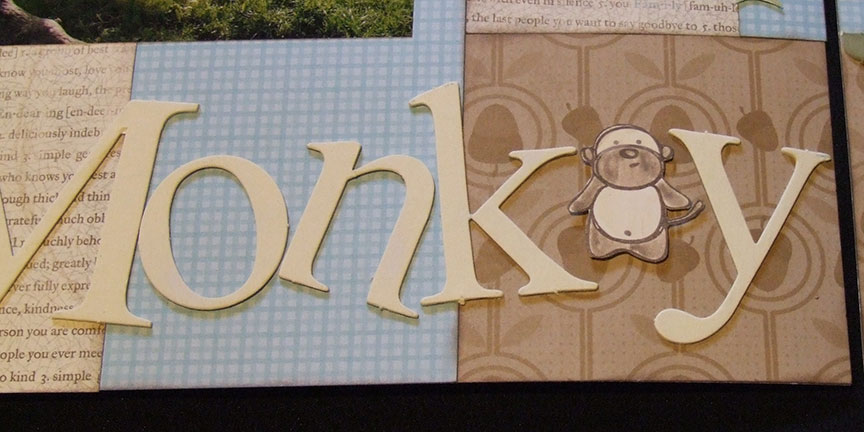
This close up is of the title and shows one of my favourite tricks. What do you do when you don’t have the right letters for your layout- be creative!! Here instead of an ‘e’ I used a monkey image instead.

Until we craft again, The Brae-er

C’est Magnifique!!

My french skills are limited but I believe I got my title right because this really is a MAGNIFICENT workshop using the Magnifique paper!
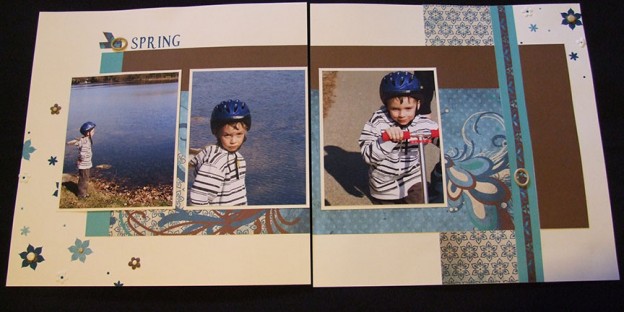
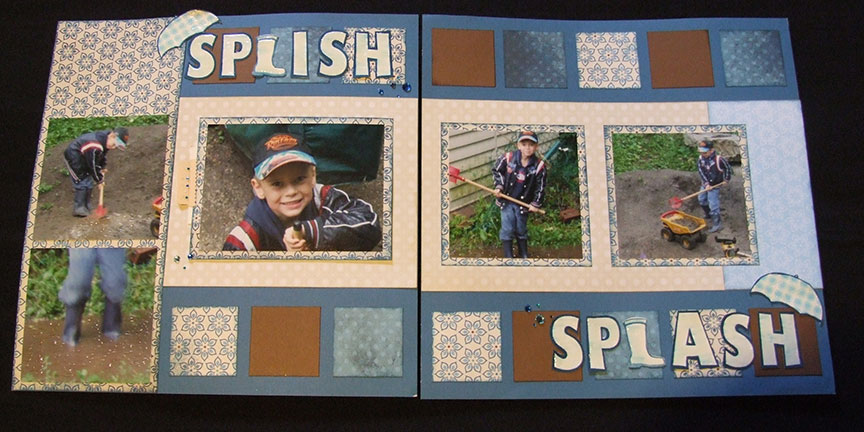
The featured layout is the first one pictured below- I love how it worked really well with the blue in Austin’s helmet and the blue water.

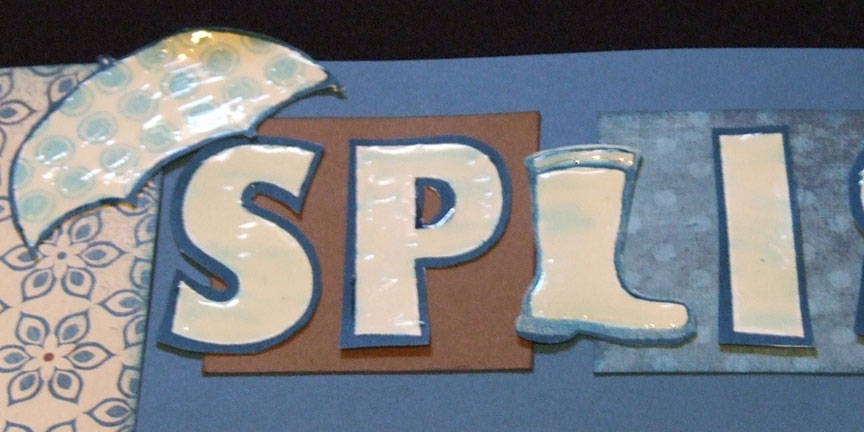
The second layout I created using one of my favourite patterns from Cherish. I wanted something that was pretty simple to put together but had some WOW to it- to get the Wow I used liquid glass to highlight the water Austin is splashing in and used it to highlight my title.

One of my favourite features of this title is my little boot- if you use the stamp you will find that your “L” is backwards- BUT using my rubber brayer I was able to reverse my image (stay tuned as my next post will be a tutorial on how to do this!)


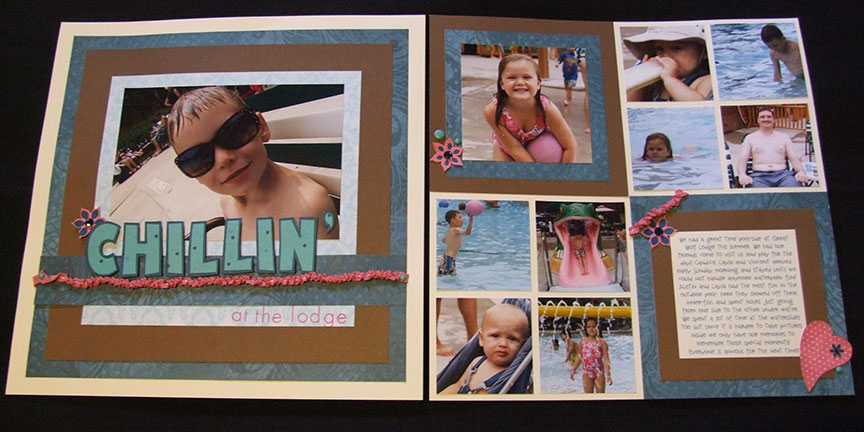
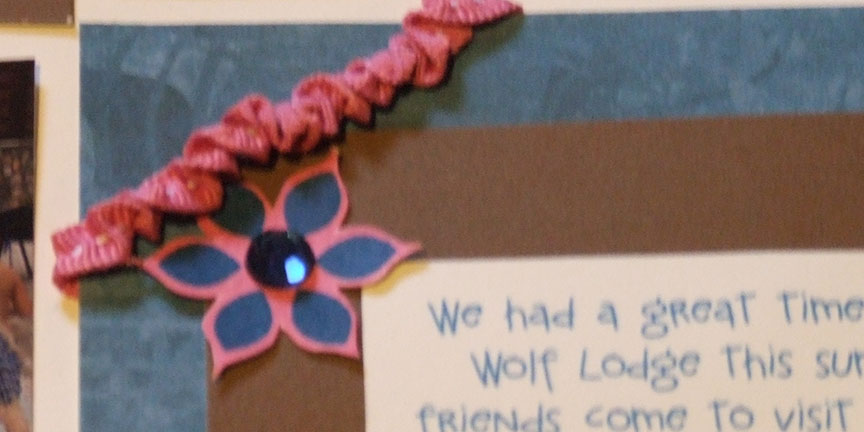
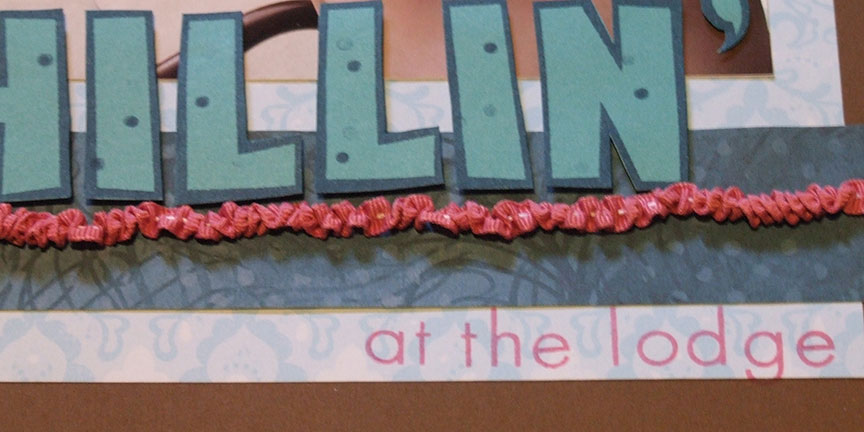
And here is the third layout (also from Cherish)- the wow in this layout came from the ribbon scrunching. I also really like this one because I got to use PINK!! It is not very often with just one boy that I get to play with this colour but thanks to our good friends being with us- I had an excuse to work it in! Below are some close up pics of the details.


If you are interested in creating these THREE layouts with me then RSVP to braemontgomery@myctmh.com to order your kit- my workshop is on November 24th from 6:30-9:30.

Until we craft again, The Brae-er


November Stamp of the Month Blog Hop: A Little Thanks

Welcome to the November Stamp of the Month Blog Hop featuring A Little Thanks!! First of all I would like to say a BIG THANKS to you for hopping around with us- we have a very large group of consultants who have worked hard to prepare some lovely stuff for you!!

I have a project below to share with you- you may have seen it before since it was recently picked as a Make it from you Heart Winner with CTMH!! I was so happy- this is my first entry that has won and I am a proud mama!!

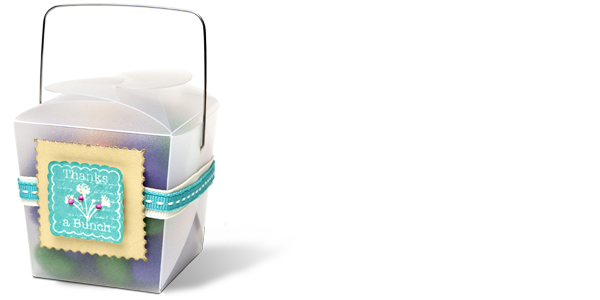
To create this project I took a mini-take out box and covered it with two pieces of ribbon- one colonial white and one lagoon. I then used my Cuttlebug to cut a piece of cardstock into a stamp image. Using our great stamp, I stamped the ‘Thanks a Bunch’ image and added three pink sparkes to the flowers. Very simple but I love how it turned out and what a great gift for a friend or hostess!

After I won I decided to do a larger take out box with the same stamp set- and this is what I came up with.

I used the large Thank you image and the small thanks to cover the heart Dimensional Element. I also created a ribbon flower that was demonstrated in the CTMH TV episode called Eclectic Elegance- be sure to go to my website to watch how to create this cute flower!

Now hop on over to Michelle’s Blog to see what she has for you!!

Until we craft again, The Brae-er