

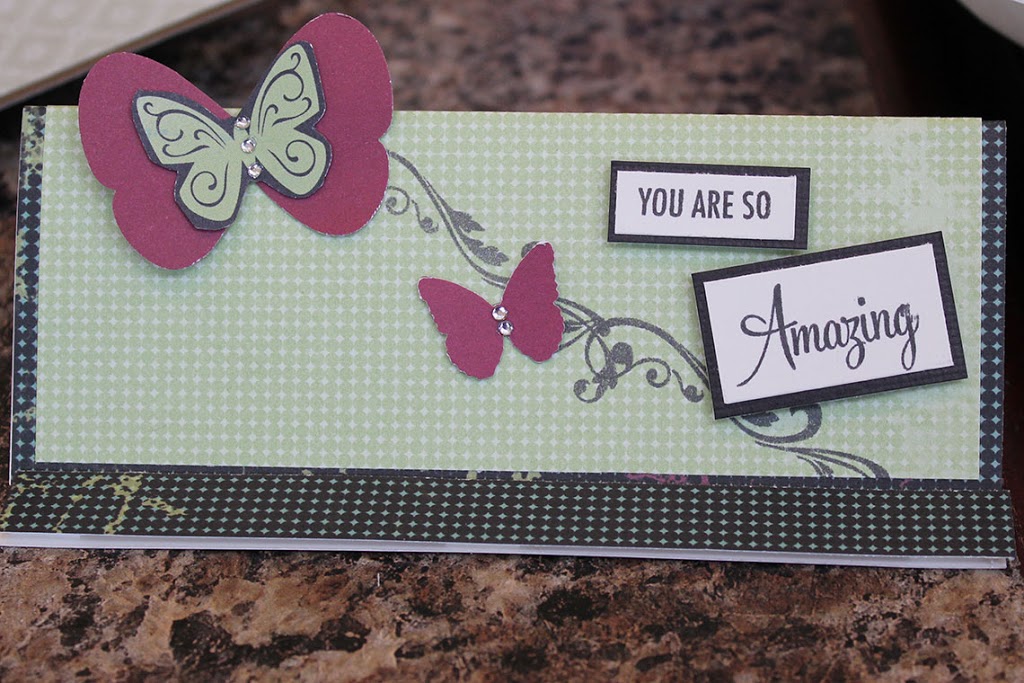
 Yesterday we had our first team crop in a long time and it was wonderful! I got some stuff done and got to chat with great friends- a perfect rainy day!! While there I saw the top card – designed by my sideline Alyson Mayo (this women is an amazing artist!). I have to say I loved it!! and of course that means I also had to scrap-lift it!! Below are three of the cards I created using the template of Alyson’s card AND directions in case you would like to create one too!
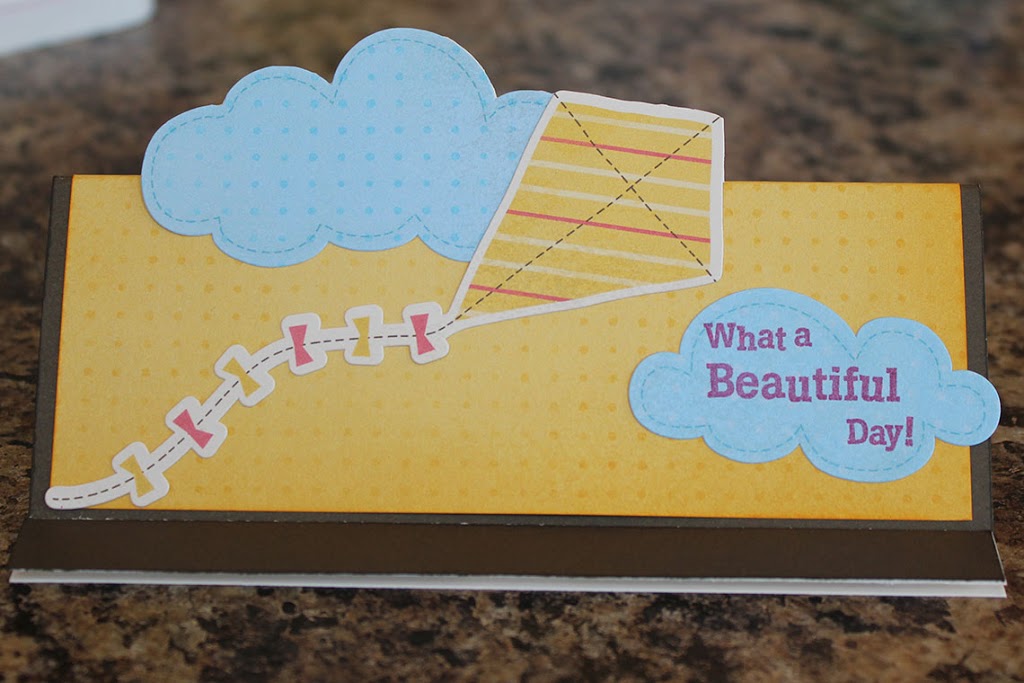 This one I created using Mayberry paper and stickease- the sentiment is from the stamp set Trees and Things.
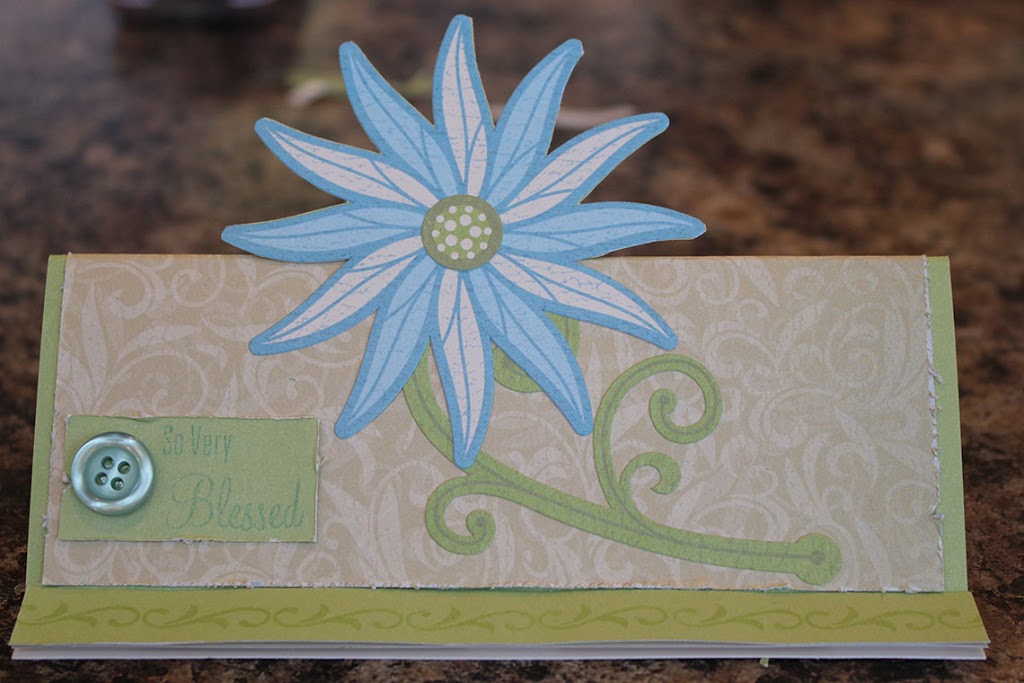 Here I used the Miracle paper and stickease and the stamp set that comes with the Miracle workshop on the go.
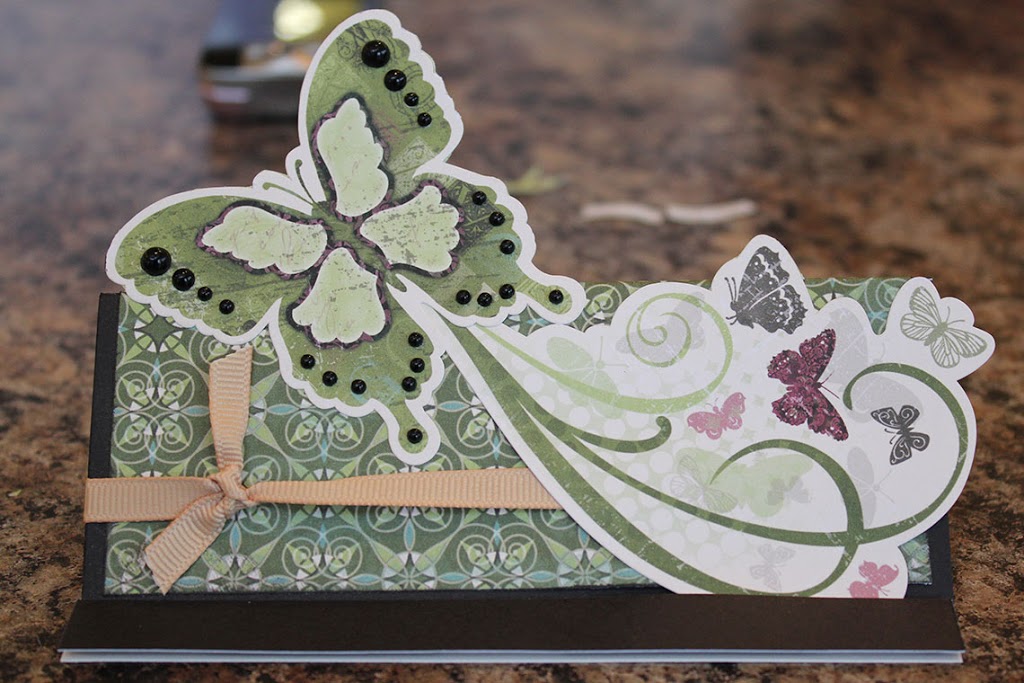 And my last one of the day using the Wings Creative Basics and Wings stickease with creme brulee ribbon and licorice opaques.
First, I love using stickease with these cards- it only takes a few minutes and most of our stickease packs have a nice large image that can ‘pop’ into the sky of the card. The think to remember is to back the part that sticks up with paper so that it does not stick to the card base.
Second, how to make it! Take a regular 4 1/4 by 5 1/2 invitation card. Cut one inch of the backside of the card. Score the front side of the card in half (at 2 1/8). The one ince piece that was cut off the back can be cut in half so that it is 5 1/2 by 1/2. Use that piece to create the ledge for the bottom of the card. To do this mount the piece on foam squares and place at the bottom of the back side of the card (which is now the short side).
I hope you can understand it- it really is a super simple card to make!! If you have trouble with my directions let me know and I can post a photo tutorial!
Until we craft again, The Brae-er
Such cute cards – I love the ‘off the card’ look but struggle to create them because I want them to fit in the envelope. Another tip for the Stickease is to use baby powder on the part you don’t want sticky – so much easier than backing with paper and then trimming. Thanks for sharing!