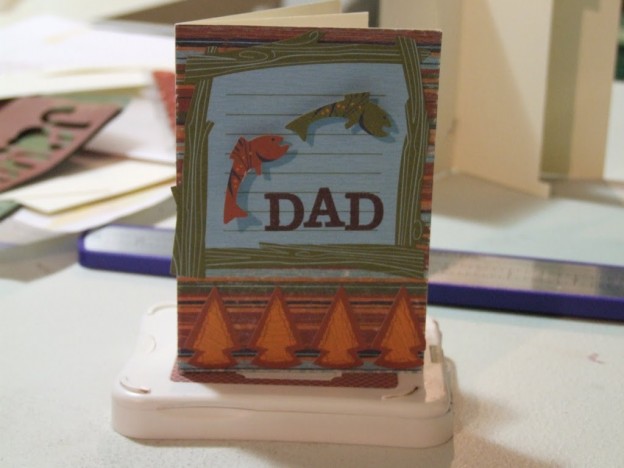
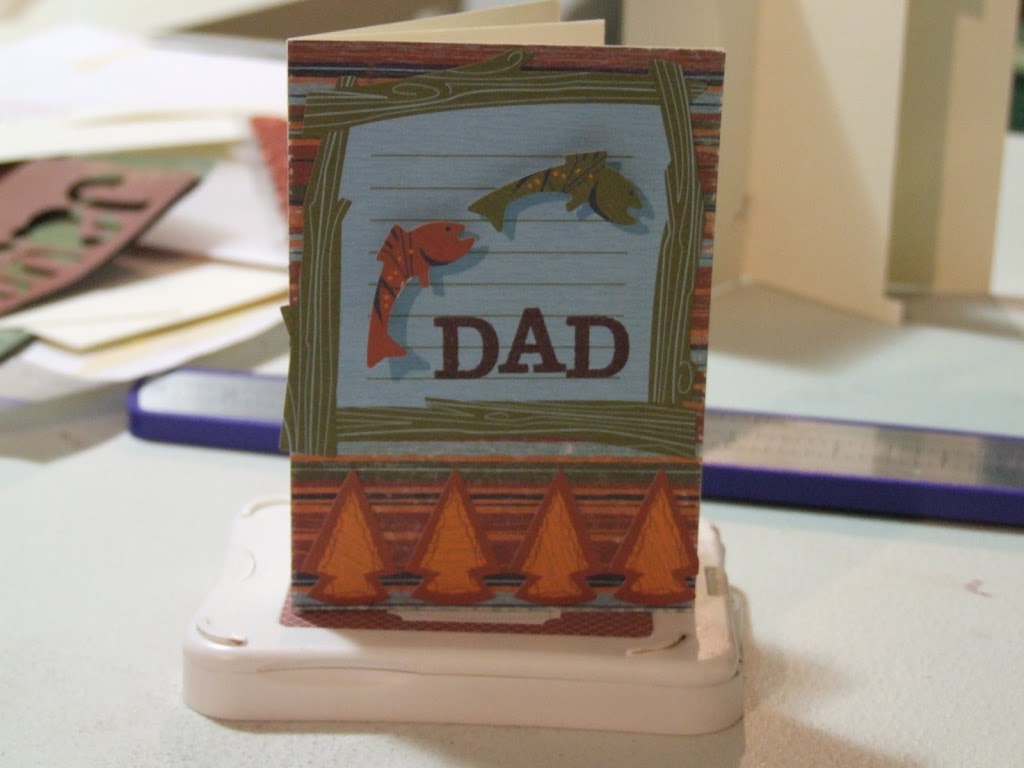
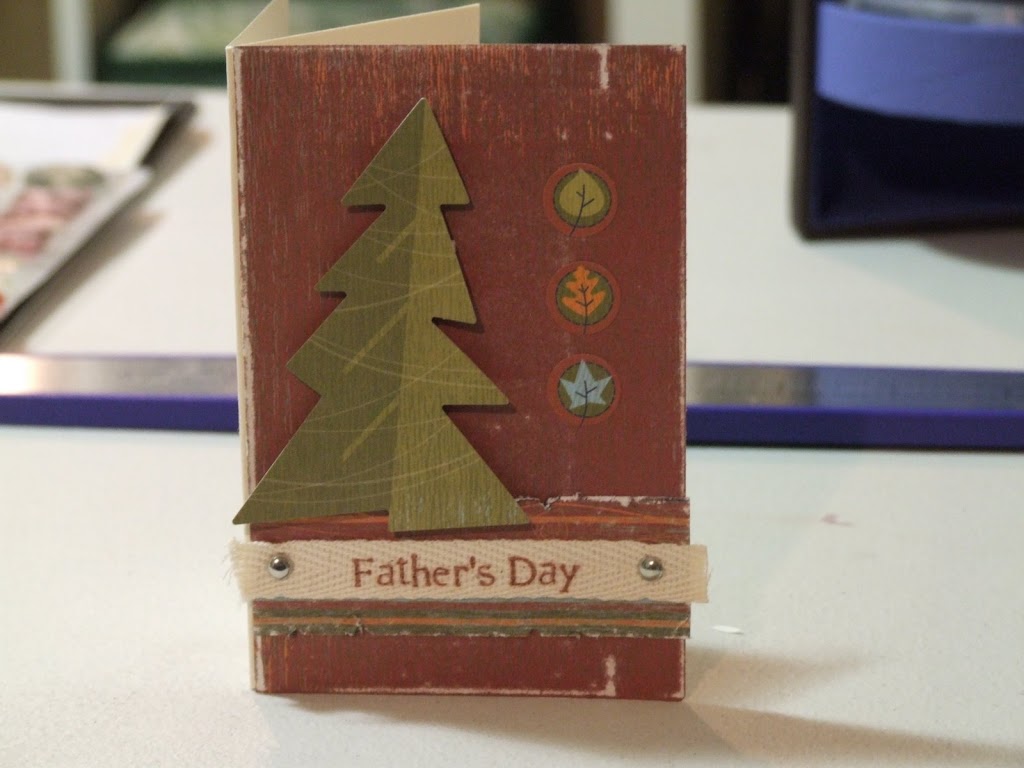
I was inspired by a gift card holder that Christina made on http://christinathesassyscrapper.blogspot.com/. Using her directions I created the following gift card holders for Father’s Day (now I HAVE to buy gift cards for my Dad and husband!!). The directions to make them are also below.
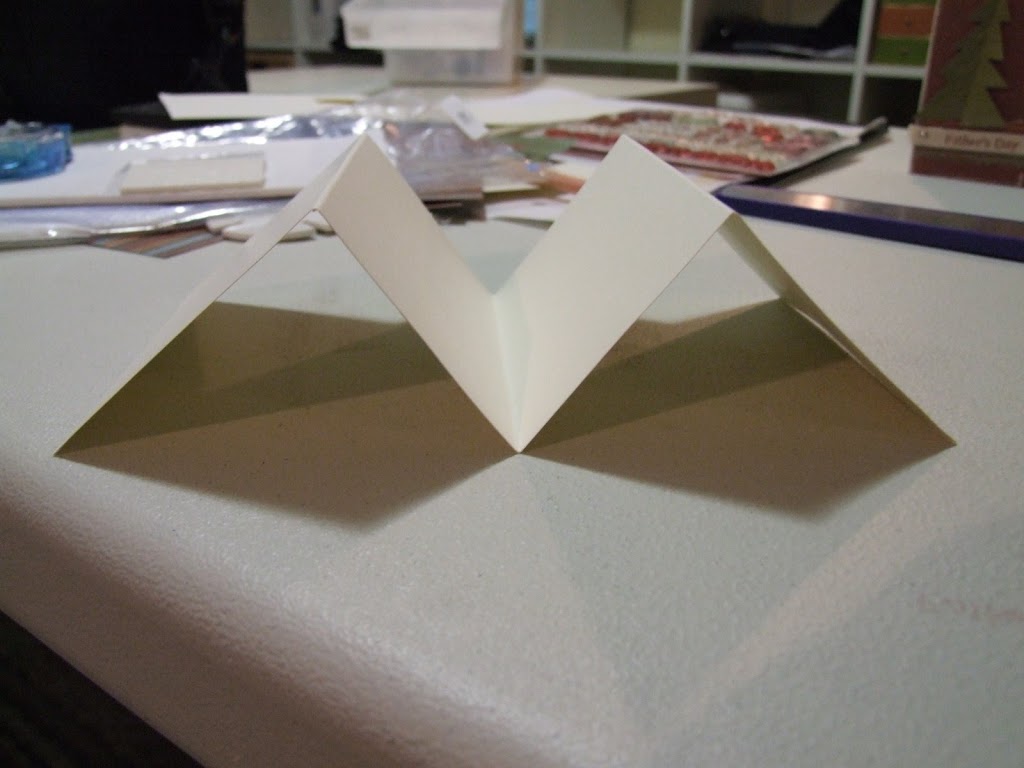
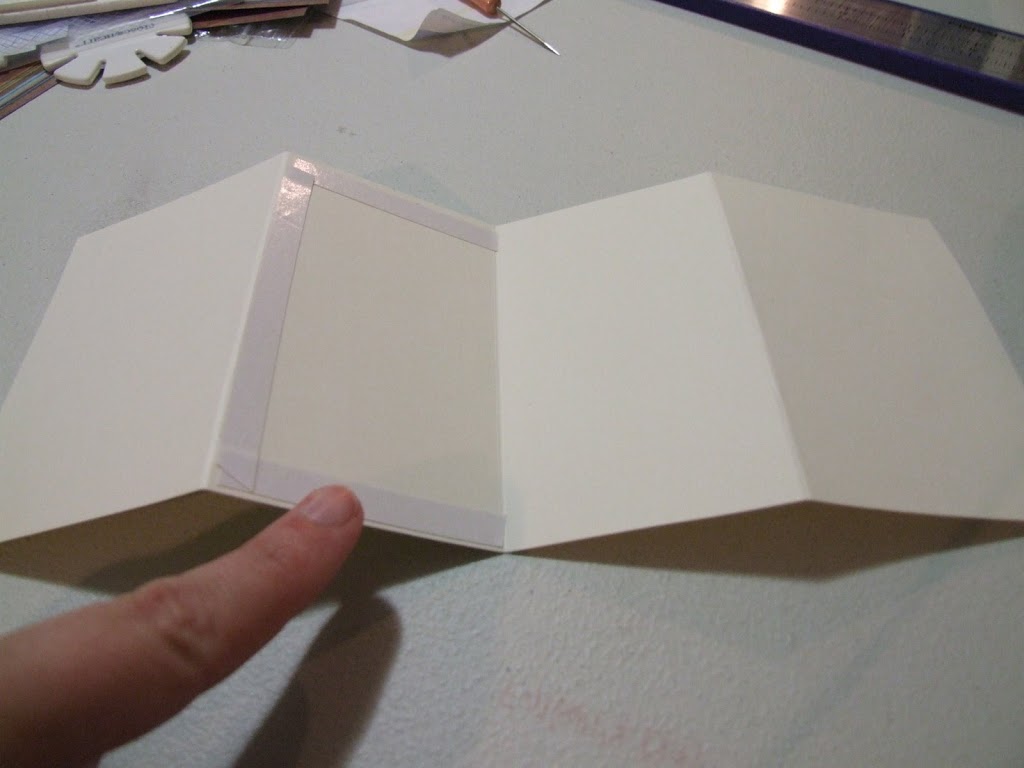
First step is to cut your base cardstock to 4 1/4 by 11. Then score that piece at 3, 51/2 and 8 inches. After fold along the score lines so your piece looks as follows:
Next, add double sided adhesive the three edges on one of the inside pieces of your card- once that is done stick the two sides together.
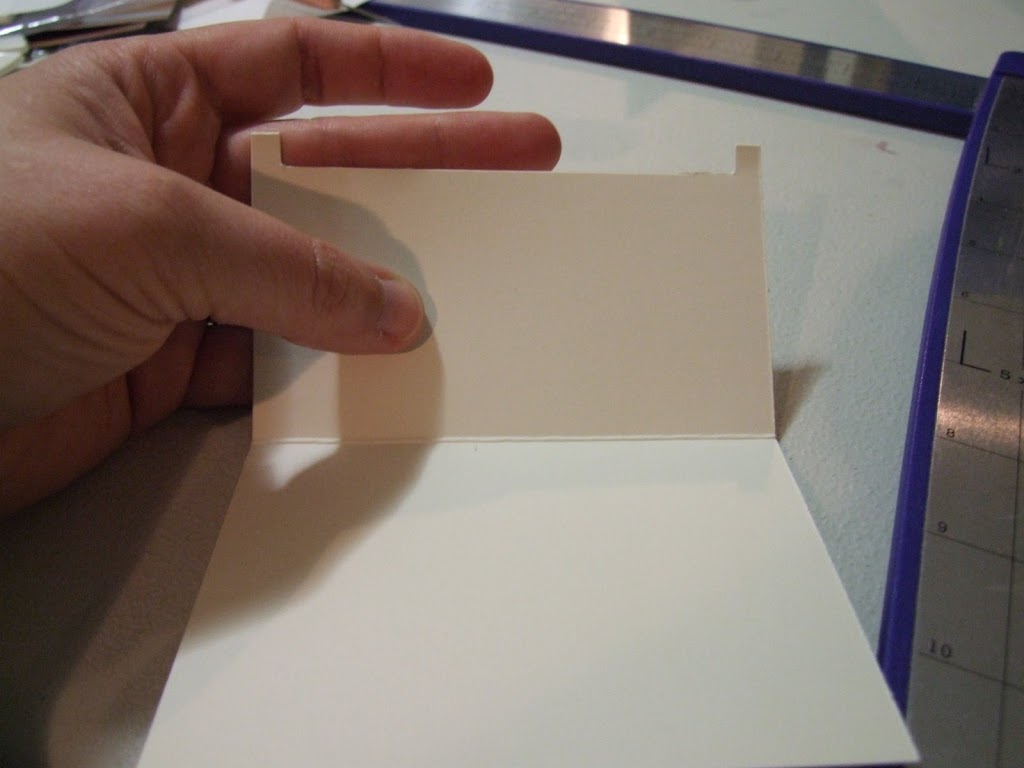
You should now have a card shape that is as follows. Cut a 1/4 inch off the top of the inside piece (this creates the pocket for the gift card)- I started my cut a 1/4 of an inch from each edge.
Now you can decorate as above!! These are great for any kind of occassion – check out Christina’s blog for further ideas for your gift card holder!!
Until we craft again, The Brae-er

I LOVE the way yours turned out and thank you for posting better pictures! 🙂 LOL I can’t wait to figure out my cameras quirks and just how to get the lighting right! I bet your hubby and dad love them!