
For this project you will need the following supplies: paper of your choice, stamp set of your choice (I used the Celebration set that you can earn free this month!), clear embossing powder, embossing gun, prisma glitter, versamark, stamp pad in coordinating colour, edge disterssor, 3D foam squares and ribbon.
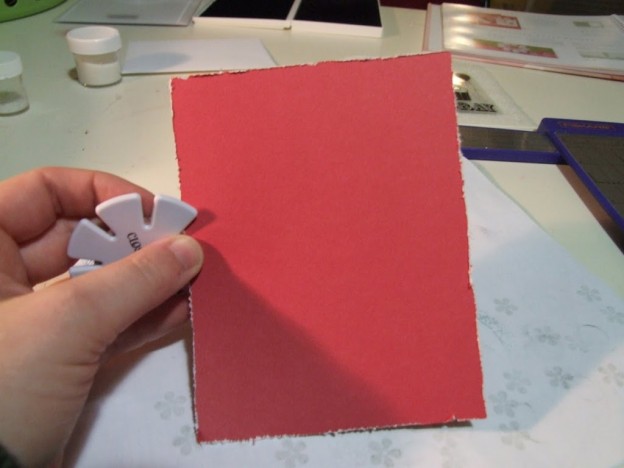
First cut out your pieces according to your pattern – I used the Originals pattern Center Charms for this card! Edge distress all of the pieces of your card.

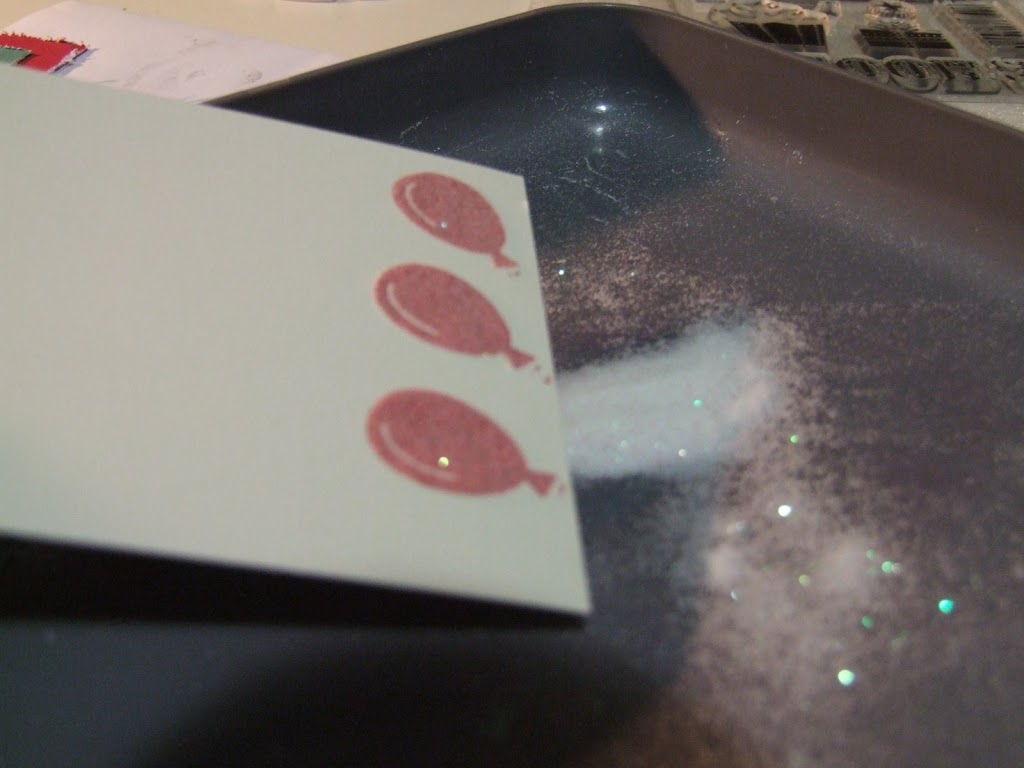
Next, take your two pieces for the center background- using the versamark ink, random stamp a stamped image on these, then add a mixture of glitter and clear embossing powder- mix this in one of our accessory jars and you will be able to reuse any leftovers on future projects!
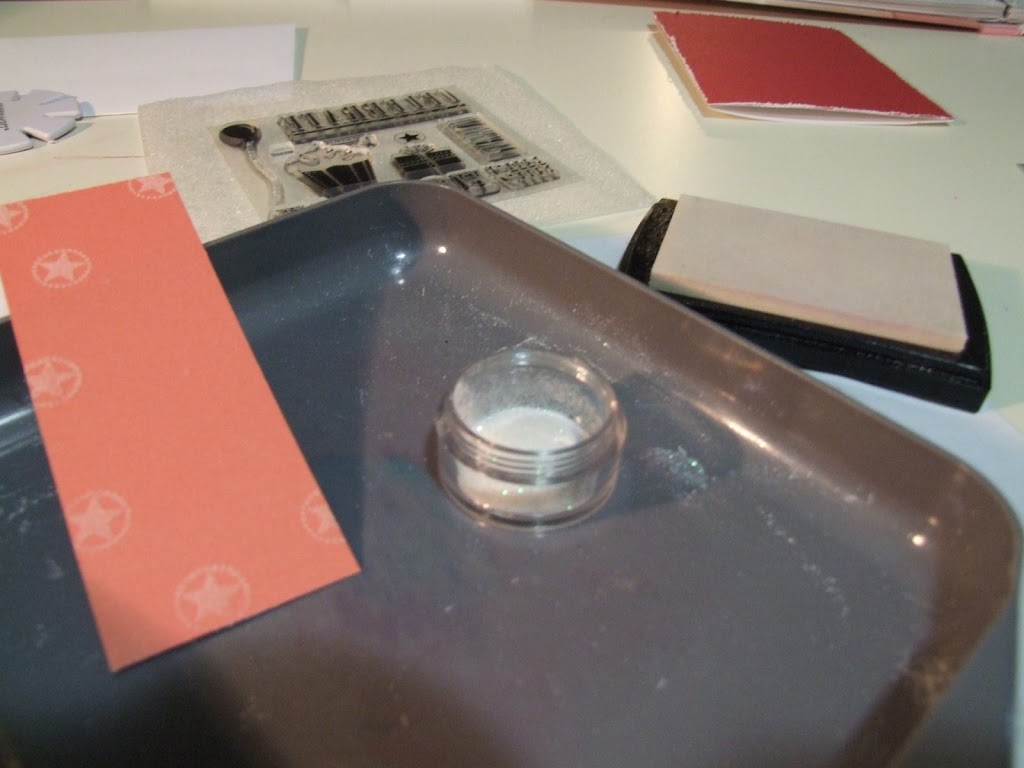 Try to do this step as quickly as possible as you do not want the versamark to dry before you add your glitter mix. If you have the glitter tray you can work over that surface and collect any excess powder when you are finished.
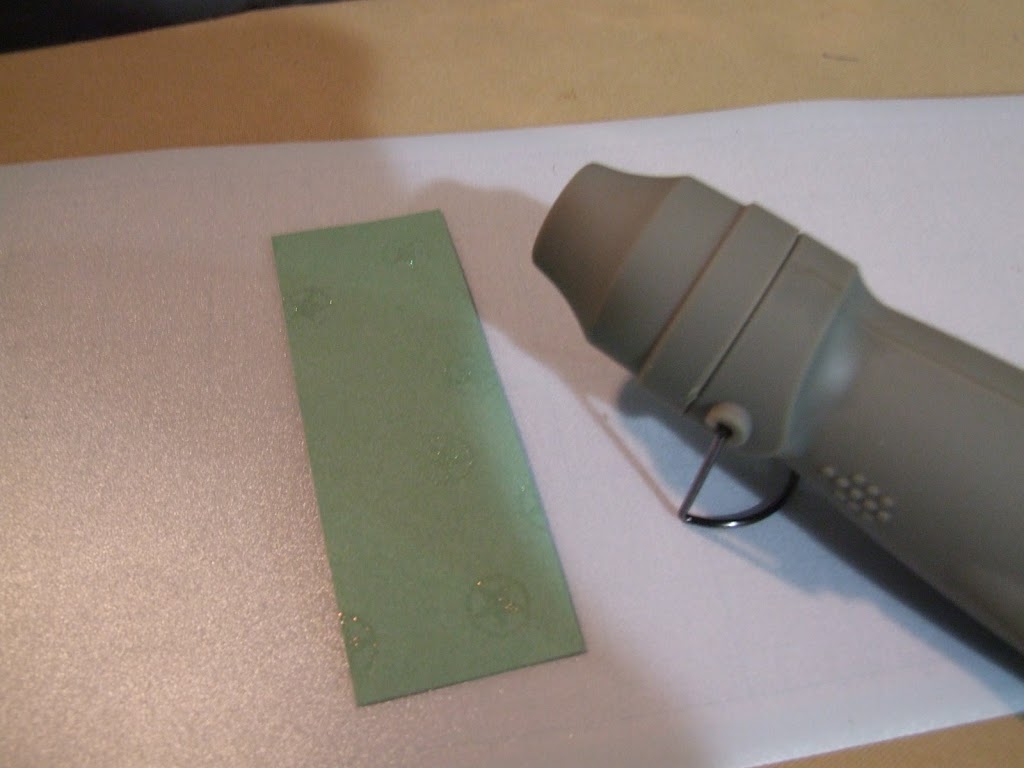 Now you are ready to heat emboss your two background pieces. Hold your heat gun about an inch or two from your project and concentrate the heat on one of the images you wish to emboss. You will notice the image change as it embosses.
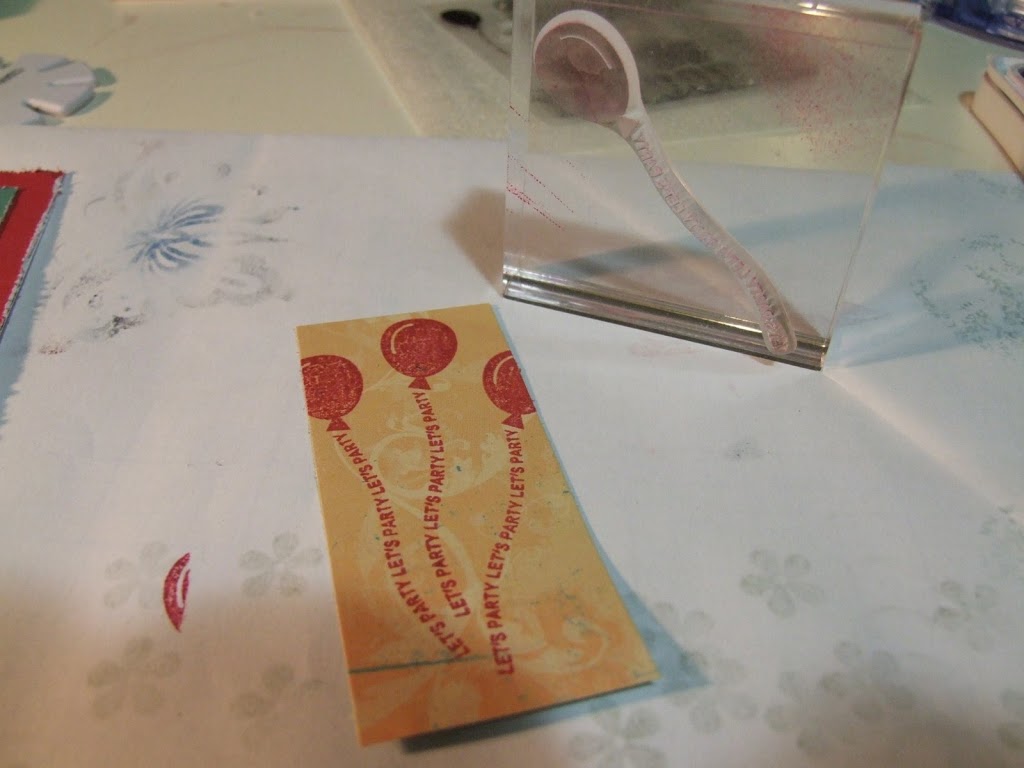
Stamp your choice of image onto the center piece of paper- do not be afraid to stamp off the center piece with the part of the image that you will later ‘pop-up’.
Stamp the main part of your image that you would like to glitter emboss on cardstock, re-stamp the image in versamark and glitter emboss as you did above. Cut out the image and add 3D foam squares under them when you place them of your card. Add your ribbon accent and you are finished! See below for finished card.
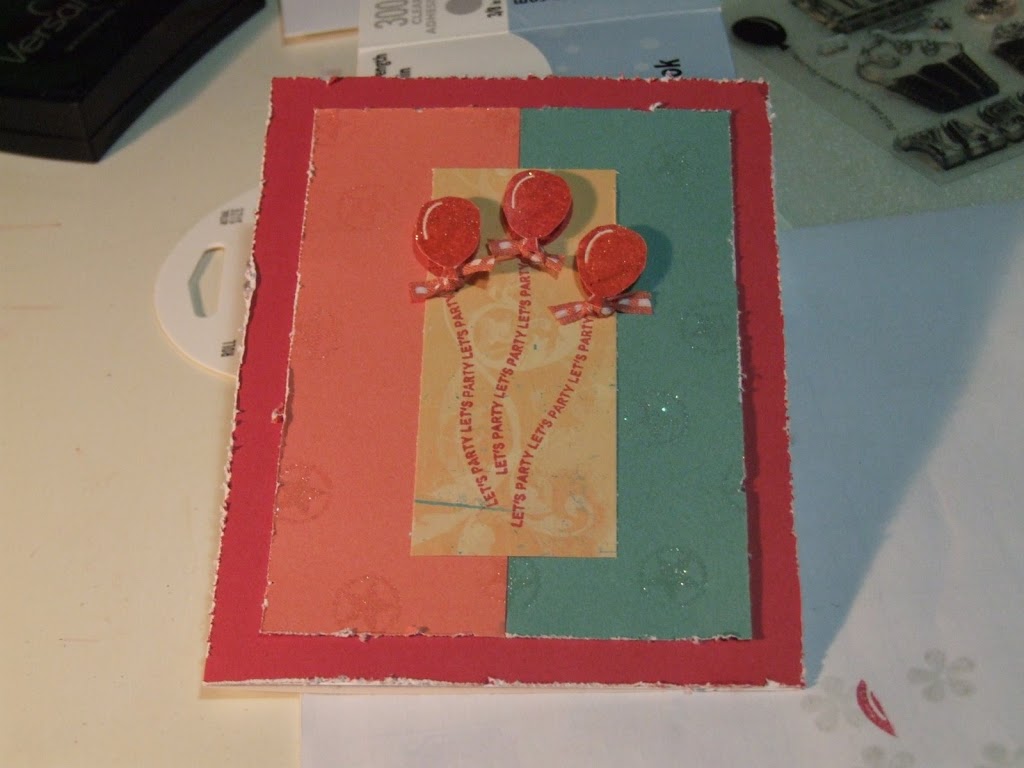
Until we craft again, The Brae-er