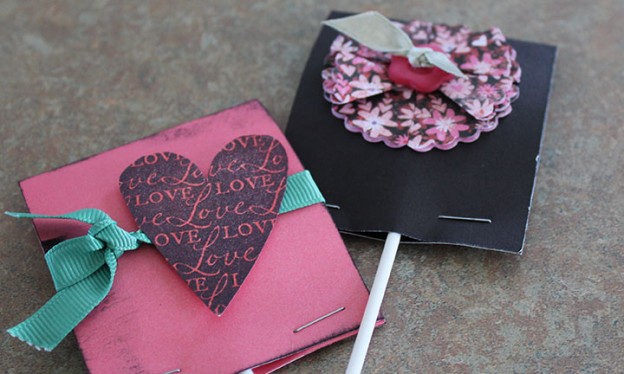
I just love making lollipop covers for special occassions- they are cute and super-easy!!
These are two that are part of my upcoming workshop AND they were used in out latest team meeting. This is a great project to do with any age group- especially for your children as a treat for school!!
What are you doing for Valentine’s Day this year? If you have any craftly plans let me know in my comments below!!
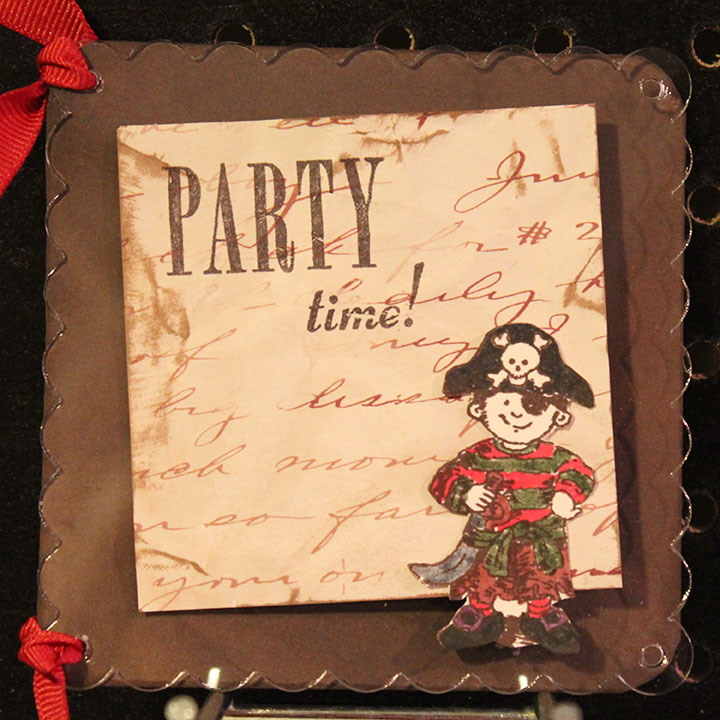
It all began with an idea and an invitation- Austin decided he wanted to have a Pirate themed party for his 7th birthday. I (not really thinking it over) said sure!!
Yikes!!
Well it turned out well even if it was lots of work- he was happy and I got lots of compliments (which makes the hours I put into it a little more manageable!)
It began with his invite- very cute. I created this by using a clear sheet of the mix n mingle album with the chipboard piece as the back of the card. They were attached with ribbon on the sides. The paper used is from the passages kit and the stamp is from a Halloween set called Halloween Parade – I just masked out his treat bag. On the inside (hidden by the front piece) is the party instructions.
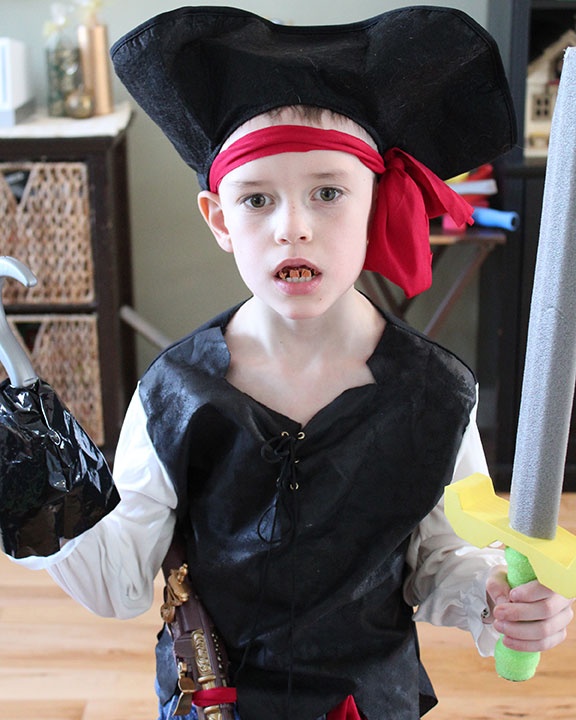
Here is my now 7 year old son dressed up in his pirate clothes- complete with gross pirate teeth!! He looked so good and the other kids looked amazing too!!
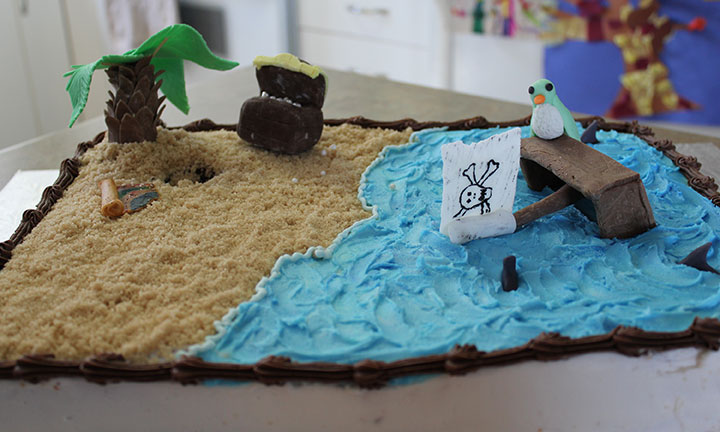
Our pirate cake- created by Lori Barker from Cake Envy (even though Austin is under the impression that Buddy from Cake Boss made it!)
We also had a pirate pinata filled with gold coins AND a treasure hunt to find a chest full of jewels!! It was a crazy few hours but everyone left happy.
This is just the best month to become a member of my team and a CTMH consultant!
When you sign up in February you will be able to earn your kit for FREE – that means $140 back in your pocket!!
What you need to do is:
1. Sign up to become a consultant with me (either email me or click here to find the online application)
2. Earn your Straight to the Top- that means you need to sell $1330 in product within your first 90 days.
3. You will then receive your $140 back for your kit PLUS $110 in product credit! That is awesome and gives you $544 in CTMH product between your kit and your product credit!!
What is holding you back?
Contact me and let me know you are interested and I will get your started working your business, earning gorgeous product and earning an income at the same time!!
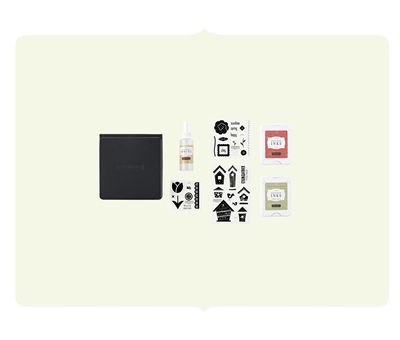
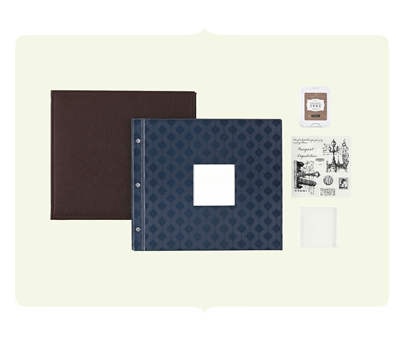
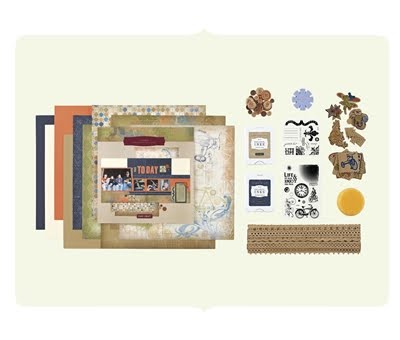
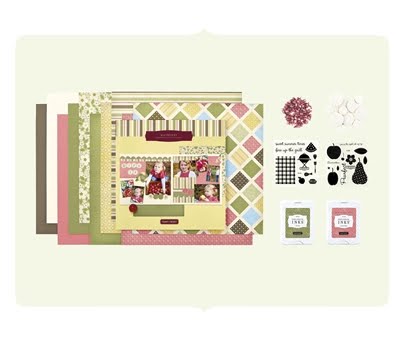
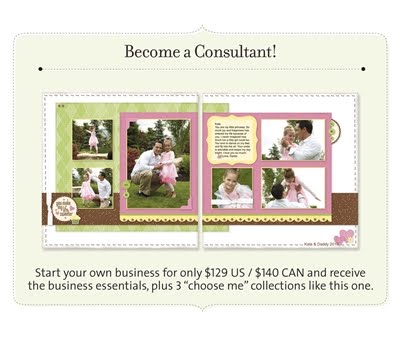
Here are just some of the pieces that you can choose for your $140 kit!!
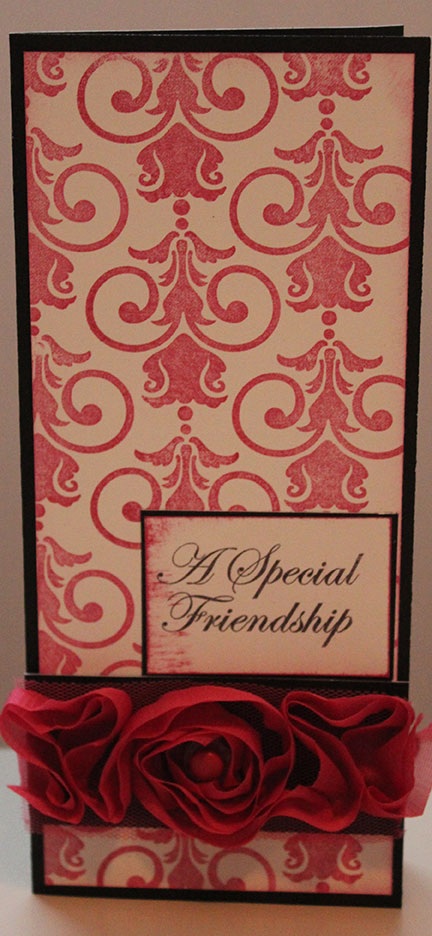
Welcome to the February Stamp of the Month Blog Hop featuring the stamp set Friendship! If you have come from Melinda’s blog then you are on the right path!
For this card I was inspired by the amazing new pink ribbon that CTMH has just released!! I new I had to use it for my project. I stamped my background in Tulip ink using one of the stamp images in the Friendship set. I then stamped my sentiment and added my accessory. The card itself is very simple but I love the finished look!
Now hop on over to Susan’s Blog to see her creation!!
I have joined a Linky Party Blog Hop to help introduce you to some of the great new product that is available in the CTMH Spring/Summer Idea Book!
This works a little different from others- at the end of my blog I will direct you back to Erin’s blog- from her blog you will be able to link up to all the other people that are participating! Enjoy!
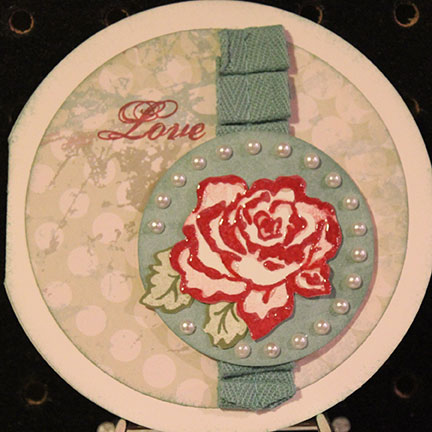
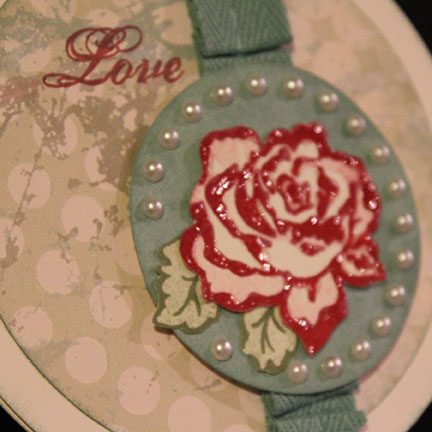
I created a circle card using our Wings paper, pleated ribbon, pearl opaques and the Rosy Regards stamp set. Oh and I added some Liquid Glass on the darker parts of my rose to make it stand out. See below for a close up of the rose and pearls.
Now go back to Erin’s blog by clicking here and check out some more amazing artwork OR click on one of the links below!
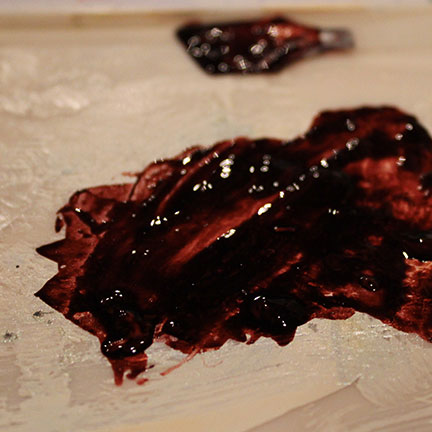
I recently learned this technique at a team unit meeting and I have to say- it wowed all of us!! To stamp with liquid applique follow these simple instructions:
1. Squeeze out a generous amount of applique onto a paint tray and mix with a few drops of re-inker. Once mixed thin out the applique so that you have a fairly flat and smooth surface.
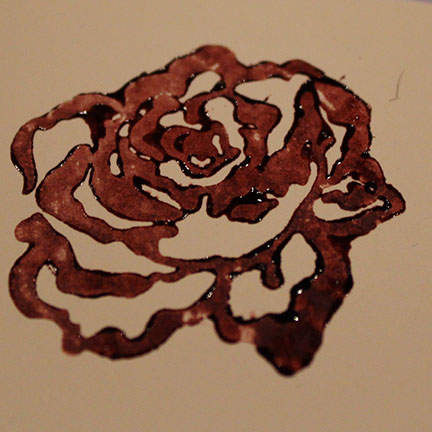
2. Stamp into the mixture as you regularly would and then stamp onto your paper. Be sure to place it and lift without ‘smooshing’ your image. Below is a picture of mine after it was stamped- this is using the stamp set Rosy Regards.
3. Heat set your stamped image as you would any applique project. You will notice the colour soften and some parts of your stamped image puff up!
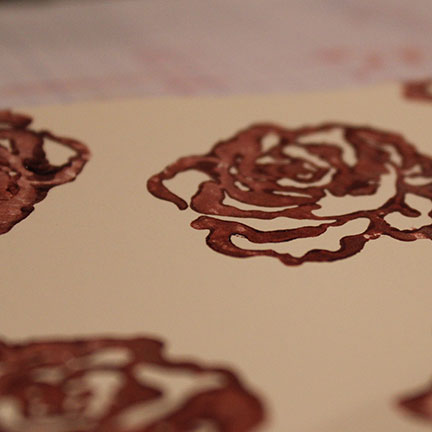
4. Create your project!!
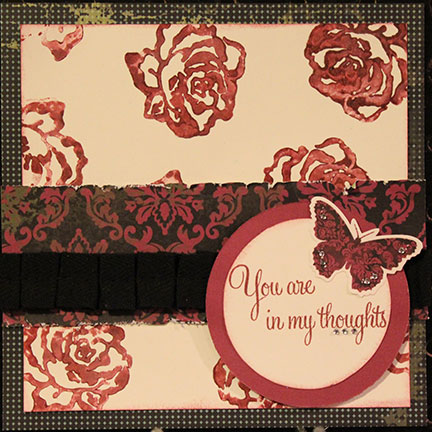
Here is my finished project- I love how it turned out!! The paper is Wings, stamp set is Rosy Regards. Also used is the new pleated ribbon, bitty sparkles and the butterfly stickease if from the Wings level 2 stickease.
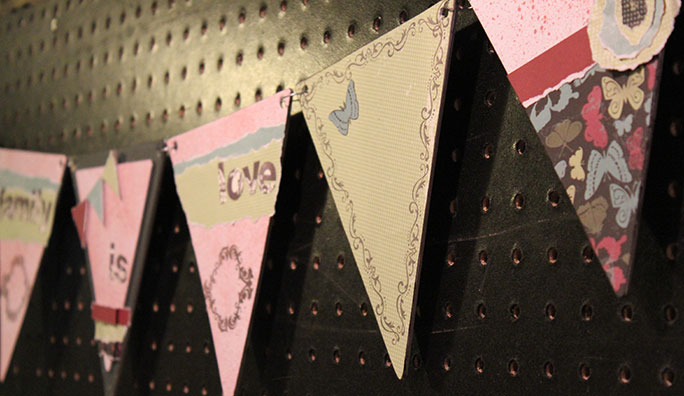
One of our new items that I know I will have so much playing with is the My Creations Banner- this comes with 8 pennants that are just waiting to be decorated by you!!
This month is National Papercrafting Month and with that in mind when you buy this banner AND the Wings Workshop on the Go Kit- you will get free instructions to create what you see below.
This is only for the month of January so make sure you email me or call me with your order and get yours!!