Category Archives: Uncategorized

Cross Canada Hop: Scrapbook Layout!

Welcome to our February Blog Hop featuring a 2 page layout. This is the first Blog Hop for us where we have featured just scrapbook layouts. We hope that you will take the time to leave comments on our posts, as we love to get feedback from our viewers….it could be something that you really liked or some new technique that was used that you would like to learn how to do….by leaving us comments, we get to hear what you like, and what you want to see. Thank you… now on to our hop!

If you came from Sheri’s blog then you are in the right place!

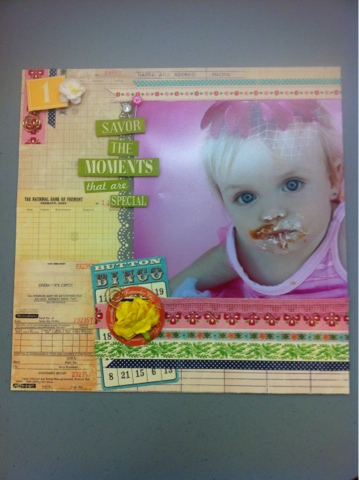
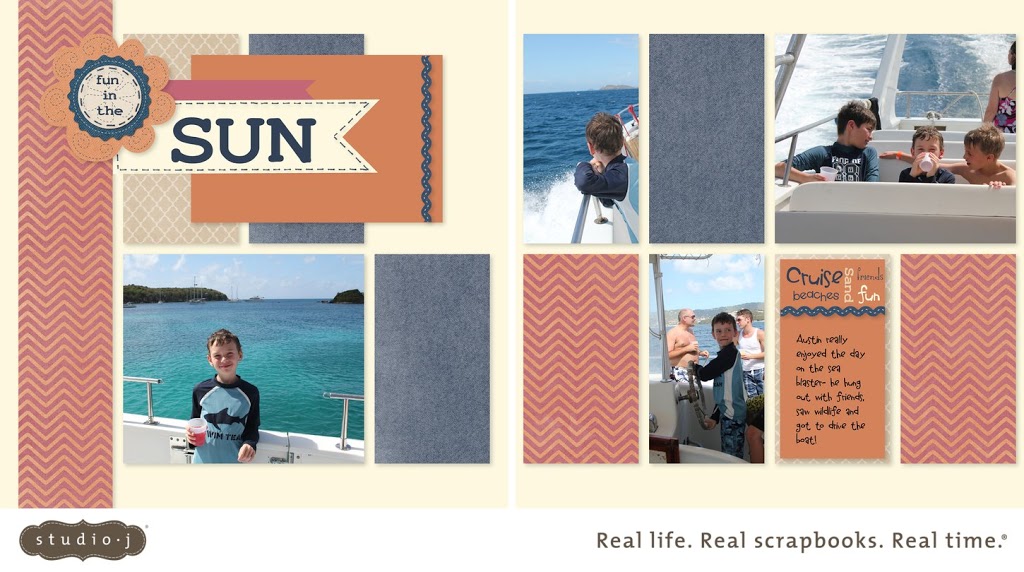
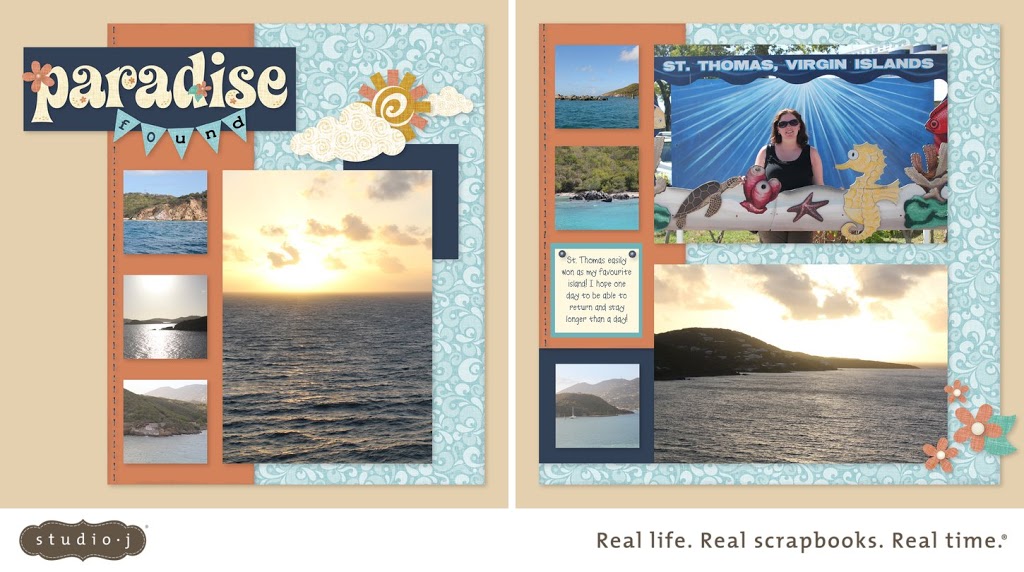
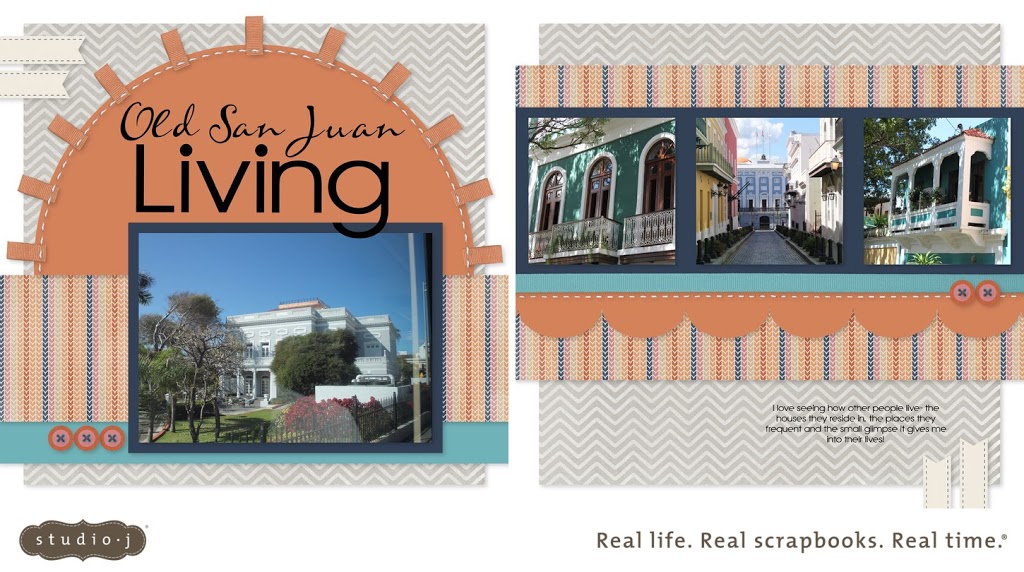
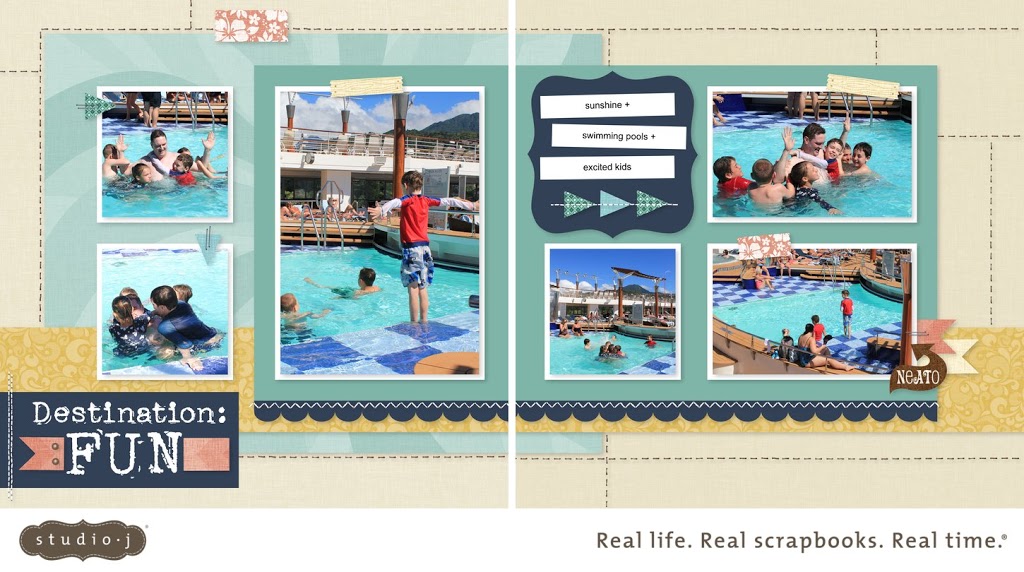
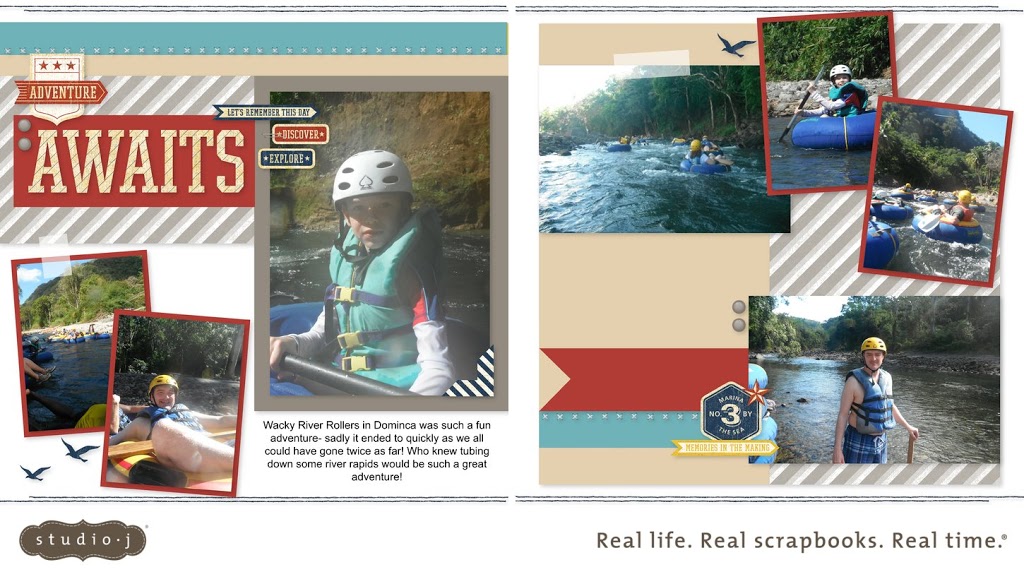
For this hop I chose to focus on Studio J- this month our customer special gives all of your Studio J layouts for only $5!! That is a fantastic savings and a great opportunity to get some memories scrapbooked or some gifts made! Last week I was one of the VERY LUCKY consultants who earned the Southern Caribbean Cruise with CTMH- thanks to Studio J and this special I already have part of my album complete! Check out my work below…. and if you are interested in learning more feel free to email me at braemontgomery@gmail.com OR visit my webpage to get started on your own pages http://braemontgomery.ctmh.com

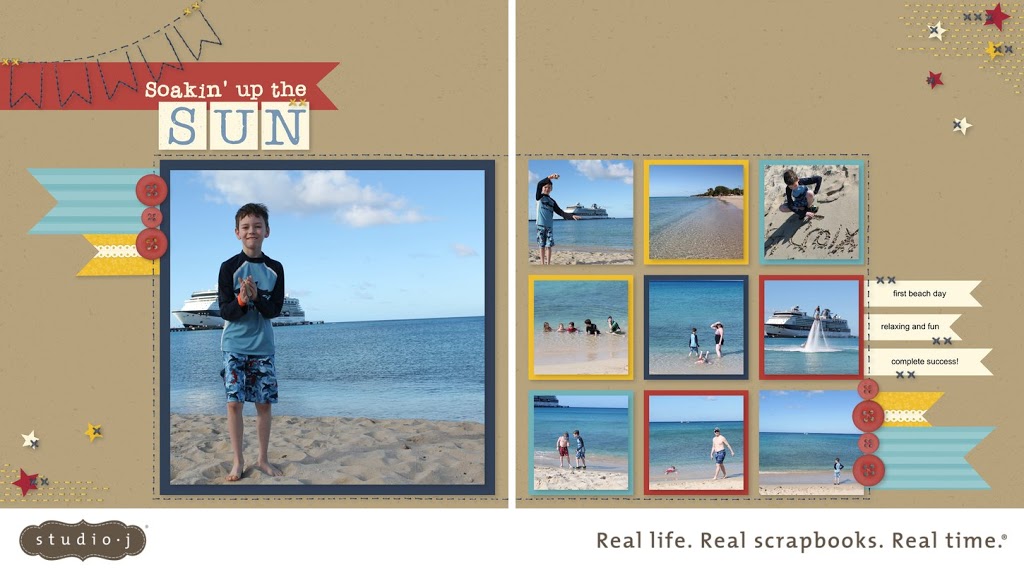
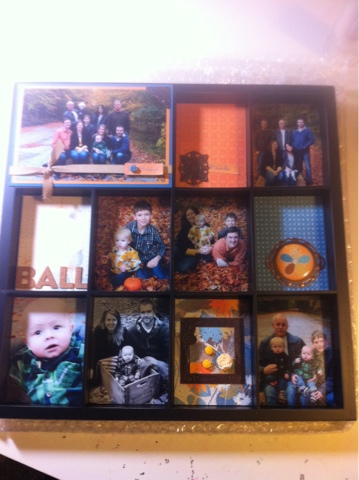
One of the MANY great things about Studio J is the Express Collections- these are pages set on a theme and predesigned by the art studio at CTMH.  All you need to do is drop in your photos, add your journaling, adjust the title if you need to and VOILA! You can make other adjustments if you need to but they are so well done that it is rarely necessary! My ‘Soakin’ Up the Sun’ Layout is from the ‘Getaway’ Collection.  We have other collections such as: Little Man, Little Miss, Travel, Sports and many more!

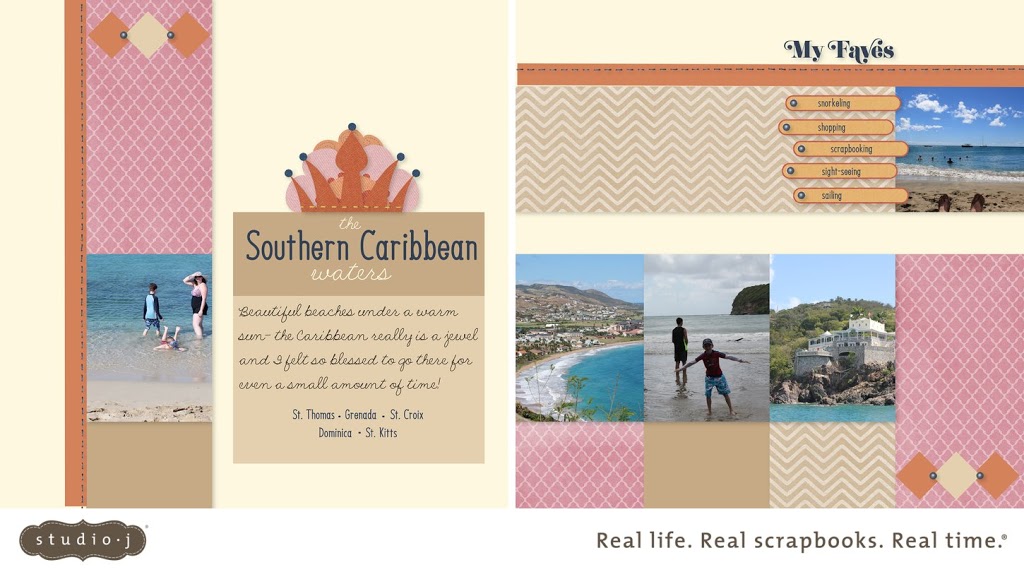
Can you guess the paper these layouts are created with? I see some Clare, Tommy and Surf’s Up! Did you know that on Studio J you can even access paper from past Idea Books- they may not live as real paper anymore but in the Studio you can have whatever you want!!

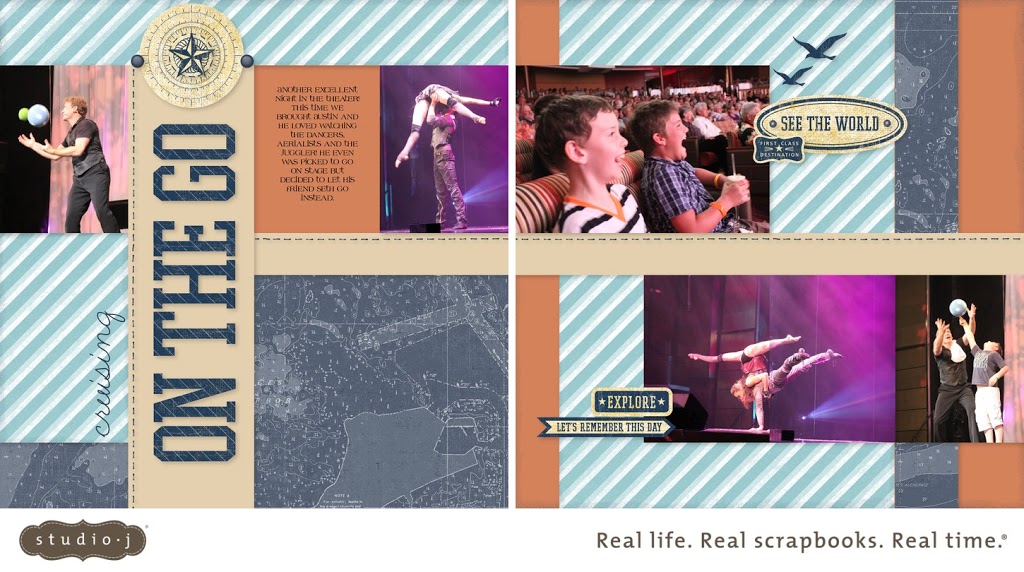
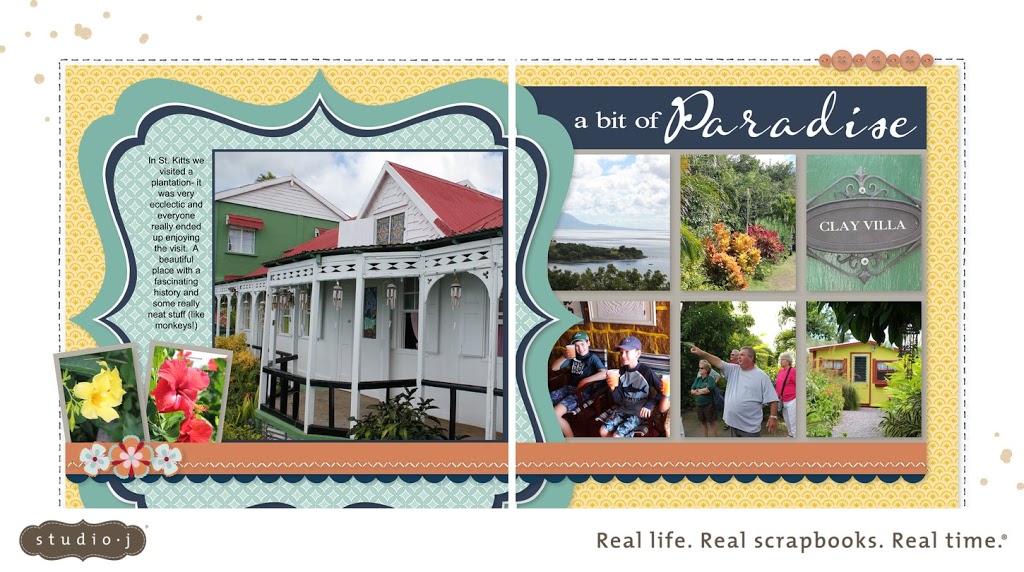
The ‘A Bit of Paradise’ layout demonstrates another great feature of Studio J- the scallop frame! Fun to cut but can be time consuming and wasteful- BUT in the Studio it is a breeze! When you create your own layout you get to chose form our many patterns (from our How-to Books)- no matter how hard the pattern is, in the Studio it is a snap!

There is so much more to Studio J- visit my website and try it out today (psssst it is FREE to use- you only pay if you want to buy!)  http://braemontgomery.ctmh.com

Your next stop on the Cross Canada Hop is Crafty Carol! Thanks for hopping with me!

Until we craft again, The Brae-er


Fabric and Frame from the Spring/Summer Idea book

YOu may not have the book yet but those who have seen it LOVE the following project! Here is the how to!!
One way to add texture, color, and pattern to a piece of home décor is with fabric. The new Chantilly textiles make it easy to embellish with fabrics that include the beautiful colors and patterns that are typical of Close To My Heart. In the frame décor featured on page 16 of the Spring/Summer 2013 Idea Book, pieces of Pear damask and Buttercup polka-dot fabric from the Chantilly textiles, as well as burlap ribbon, add a little something extra to a standard white frame. Follow these simple steps to incorporate fabric into an embellished frame that you can hang anywhere.

1. Determine how long you’d like the finished ribbon and bow. This is based on the size of your frame and if you’ll be hanging it. If you are hanging it on a wall or door, you’ll need enough ribbon to wrap around the top of the frame a couple of times and still have a long strip coming out the back of the frame.
2. Cut enough strips of fabric to equal your desired length, making sure the strips are about 3½” wide to wrap around the burlap ribbon.
3. Sew the short ends of the strips together to create one long strip that equals the finished size you need for the project.
4. Fold the long fabric strip around a piece of burlap ribbon of the same size and secure temporarily with a straight pin.
5. With a sewing machine, carefully sew four straight lines down the length of the fabric-wrapped burlap ribbon. This will keep the burlap from moving around or bunching up inside the fabric.

6. Loop and hot glue the fabric-wrapped burlap ribbon around the top of the frame a couple of times so that it is nice and sturdy for handling and hanging.

7. Tie the remaining fabric-wrapped burlap ribbon into a large bow. Fold the tails of the bow into a wave and hot glue to the frame to secure the shape.


8. Embellish frame with accessories, as desired.

Easy, isn’t it? Now you have a beautiful piece of fabric-embellished home décor that you can show off to friends, family, and especially your customers! Check out the Chantilly and For Always textiles in the Spring/Summer 2013 Idea Book to get your creative juices flowing for more project ideas with fabric.

Until we craft again, The Brae-er


Elf on the Shelf – our families odyssey!

This year the Elf on the Shelf seems to have really taken off in popularity. Our family has had Santa Claus Elf visiting for three years now- we have loved it but this year as December grew closer my son started to make comments about how boring our elf was. “He just sits on the tv or shelf!” Hmmm- challenge accepted! Read on to see some of the fun antics he has gotten up to so far this month!

Until we craft again, The Brae-er


Artiste 3D Christmas

Welcome to our cross Canada bog hop featuring 3D artwork from the CTMH Artiste cartridge! If you have come from Carrie’s blog then you are on your way!!

For this month I acutally created three different pieces – all are very simple but unique ways to give a gift or they are a gift on their own!
First up in my snowflake box- this box when folded up is fairly flat (not something for big things but perfect for a special cookie or other sweet treat!).  I used our silver glitz to decorate the top once cut on the artist cartridge.

Another simple box is this tree one (perfectly holds two pieces of lindor chocolate).  The tree splits apart to allow the box to open- I attached some green paper and trimmed around them to allow the tree to stand out from the rest of the box.

And lastly, my Christmas tree boxes (as seen in the current Idea Book – a similar version)- cut on the cartridge, stamped with whatever image you like.  I did mine to match the colours of the decorations at my house- they turned out great!

Now hop on over to Michelle’s blog!

Until we craft again, The Brae-er


December blog hop!

Welcome to the December Stamp of the Month Blog Hop! I hope you are having a MERRY time!

If you have come from Lisa’s blog then you are on the path to lots of great creative projects!

 
For my project I wanted to show a slightly different way to use this wonderful stamp set- I decided to cut the images apart and mix them up for added variety! My shamrock became hearts on my new card and I used the sentiment and bird from another image.  I adorned this card with some of our shimmer ribbon to add a frame and some sparkle.
 
My second card only used the sentiment from another image- Sing in the Rain (love this sentiment!).  I used an image from a background stamp set that we used to sell that has musical lyrics on it and stamped it in champagne pigment ink.  The only accessory is some simple ribbon. 

 
I hope you enjoyed my projects! If you would like to see more be sure to check back here OR join my facebook page where I tend to update and share other information and projects! www.facebook.com/BraeMontgomery
 

Now hop on over to Krista’s blog!

Until we craft again, The Brae-er


Facebook page for added variety!

Have you ‘liked’ my facebook business page? If not be sure to click on the link below and do so- I post a variety of stuff to my blog and facebook and they are seldom the same thing. Right now I have a post about how to create this art canvas featured below- all with CTMH product!

www.facebook.com/BraeMontgomery

Until we craft again, The Brae-er


My little Lima Bean

Today I am at my day crop- love these days as I get some time to create myself! It is not very often that I step outside the CTMH world but I saw this kit that my friend StephScraps made up using the Jillibean line Grandma’s Lima Bean. So fun!!!! Perfect for the cake smash photo from Ellery’s 1st birthday!

Until we craft again, The Brae-er


Canadian Christmas Card Blog Hop

Welcome to the Canadian Christmas Card Blog Hop!

If you have arrived from Sheri’s blog then you are on the path across Canada!

This month we were given the task of creating three different Christmas cards without using the obvious Pear and Partridge paper to create them.  This was pretty fun! CTMH paper is so versatile and is never created to be theme specific so that anyone that uses it can create a layout or card to feature any holiday or theme!

Here are my three cards:

Can you guess the paper I used?  Here is my material list:

la belle vie paper
avonlea paper
shimmer ribbon (coloured in ruby with one of our alcohol markers)
bronze glitz
Pear and Partridge rub-ons
Pear and Partridge WOTG stamp set
Licorice Opaques
Christmas Cheer stamp set
Snowflakes stamp set
Ruby ink
Juniper pigment ink
Indian Corn Blue pigment ink
Sky pigment ink
new england ivy pigment ink
sparkles

If you would like to order any of these supplies please contact me or visit my online shopping website http://ctmh.com/braemontgomery

Now hop on over to Michelle’s blog!

Until we craft again, The Brae-er