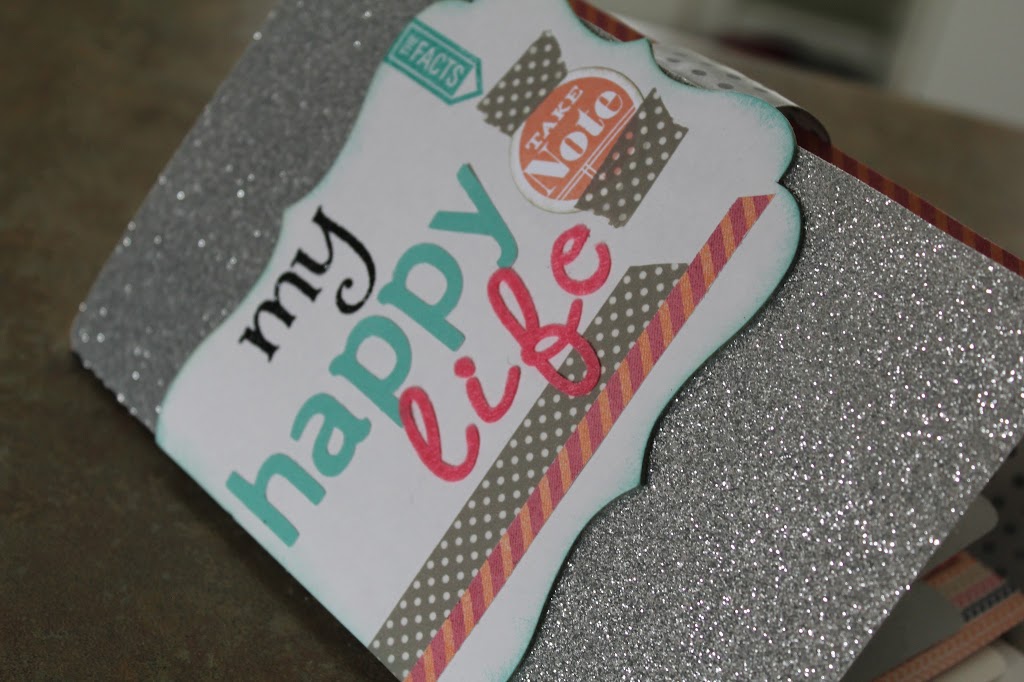
Whether you use one Cricut®-cut piece or several, you can create cute party favors and decorations using your Artiste cartridge. Combine your Cricut® pieces with unique stamping techniques and you have projects that will knock your guests’ socks off! Want some recipes and tips for how to make this adorable artwork? Below are instructions for creating two pieces from the “Clearly the Best: How to kiss—with stamps” episode. Combine the Cricut®-cut pieces for these projects with the kissing stamping technique taught in the video, and you have a stellar 3-D item!
Recipes and Tips
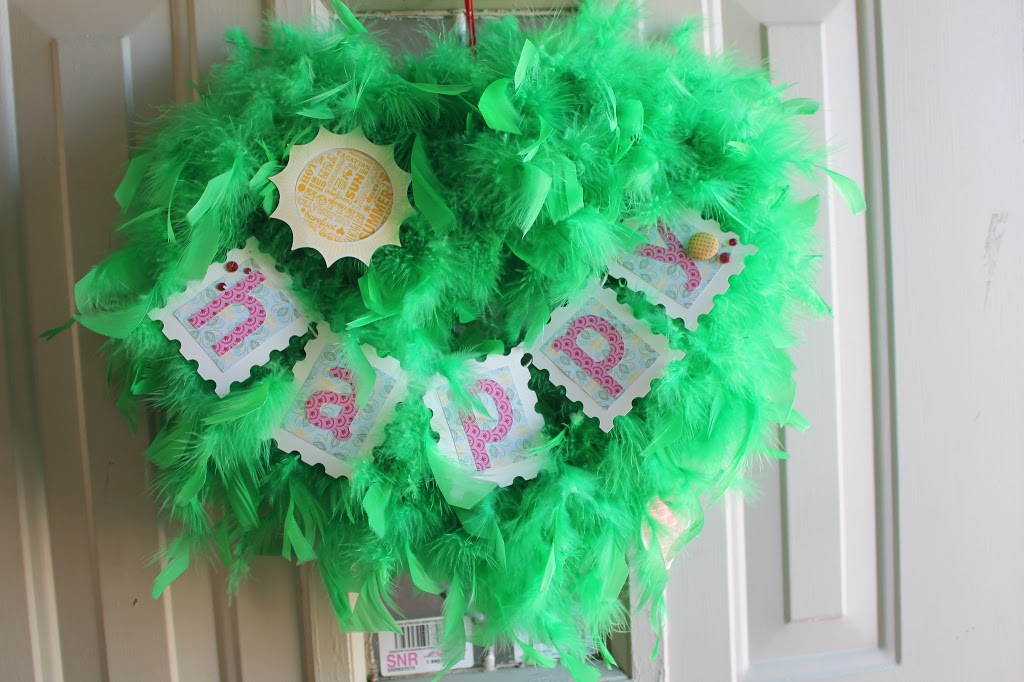
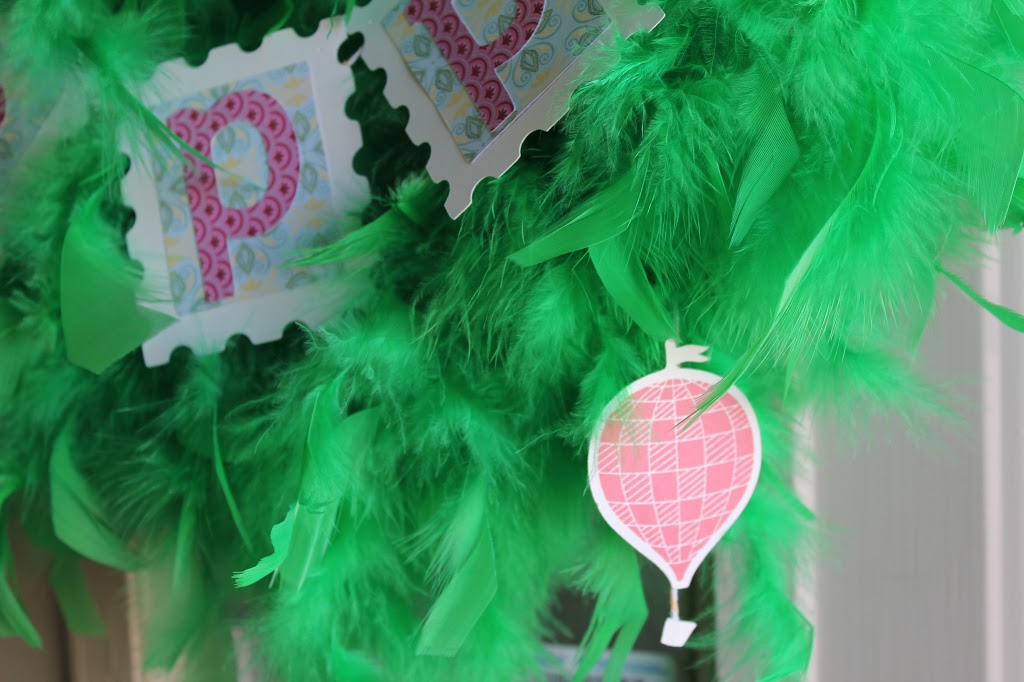
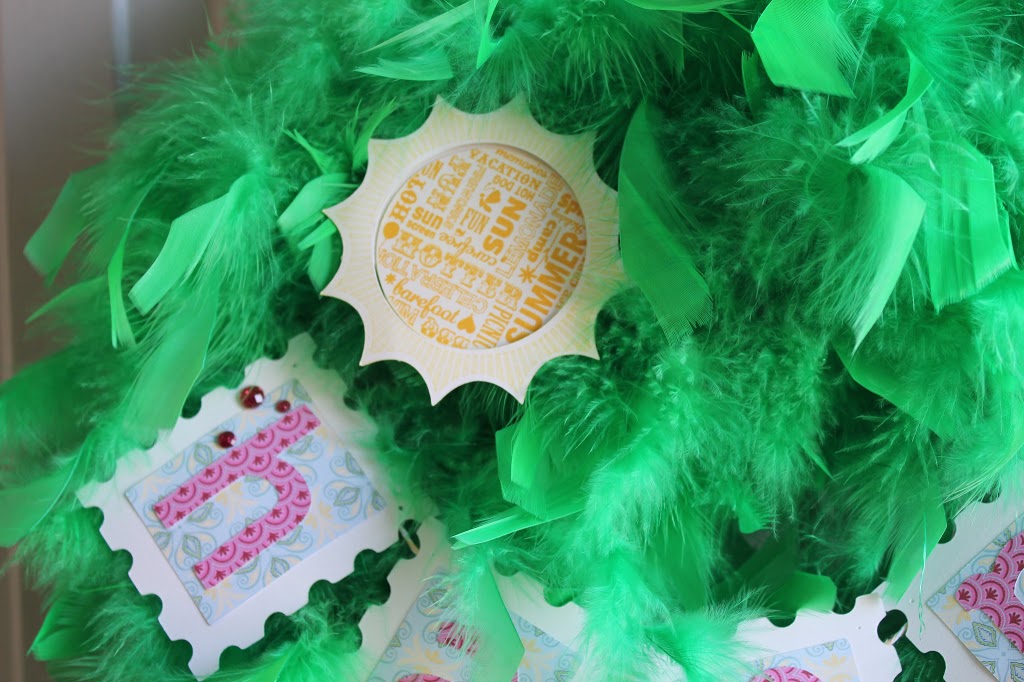
Party Banner
Stamp set of your choice
X5668 Honey Cardstock
X5764 Pear Cardstock
1272 Cranberry Cardstock
Z2197 Pear Exclusive Inks® Pad
Z2163 White Daisy Exclusive Inks® Pad
Z1751 Baker’s Twine Harvest Assortment
Z1311 1¼” Circle Punch
Cricut® Shapes:
Artiste
1″ Shift+3D Object 
Art Tip! This banner only uses one type of Cricut® shape, but the finished product is still stunning. Use stamp kissing to randomly stamp across the pieces using the stamp set of your choice. Score with the help of the Cricut®-cut score lines on the shape and piece together to create little globes. Tie together with baker’s twine and voila!
Owl Miss You Bag
1385 White Daisy Cardstock
1292 Crystal Blue Cardstock
X5668 Honey Cardstock
X5930 Slate Cardstock
Z2162 Honey Exclusive Inks® Pad
Z2117 Crystal Blue Exclusive Inks® Pad
Z1349 Shimmer Designer Brads
Z1752 Sparkles Clear Assortment
Z1311 1¼” Circle Punch
Twist Ties
Thread
Cricut® Shapes:
Artiste
4½” 3D Object
4½” Shift+3D Object
1″ Shift+Accent 2 (p. 51)
Art Tip! This project uses many Cricut® shapes and all the pieces coordinate so nicely for an adorable finished product. Use the Artiste assembly booklet to put the bag together and then add the embellishments. The feathers are created with punched circles that are stamped using the kissing technique; however, if you don’t have the circle punch, you can easily make these using the Cricut as well. The eyes were created using Shimmer designer brads, but you can use any large brad or button to create the same look. Finish with the “owl miss you sentiment” for a special touch.
Be sure to share these tips with your customers! The owl bag and party banner are great projects to create at a workshop or club.
Until we craft again, The Brae-er