Category Archives: #artiste

New CTMH Product Blog Hop: Year of Dates

WELCOME!! To our NEW CTMH PRODUCT BLOG HOP! If you have come from Carol’s blog then you are doing this right (LOL)… just keep following along and click on the link at the end of my post.

and who doesn’t love new product… I am very excited to share my project with you.  I decided to focus on the NEW COLOURS we have (five in total) and our new My Designer creations CUPCAKE BOX!

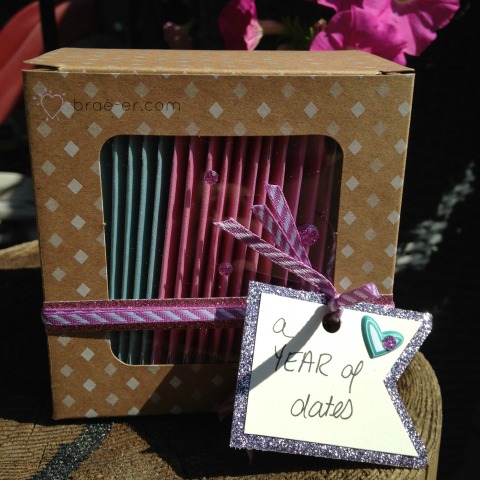
Our new colours are thistle, flaxen, canary, pixie, and glacier.  In my project I focused on pixie, glacier and thistle (I love this colour combination!).  You can see them in my cupcake box below:

year of dates

So – what is a year of dates? Well this is going to be a Christmas gift for my hubby.  In the box I have created a series of small cards (two for each month) and in each card is a date for the two of us. Some dates are stay at home things and some are spend a day or an evening out.  I tried to really mix it up and include things we both like.  Here are some of my ideas:

  • ice cream sundaes at home
  • picnic at the park
  • ice skating
  • sledding
  • movies (at home or at the theatre)
  • apple picking
  • go to a ball game
  • go to a hockey game
  • have a board game evening…

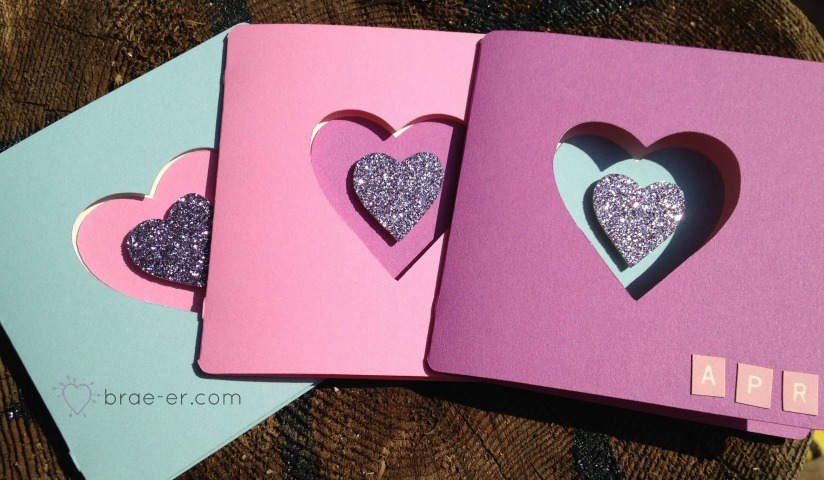
year of dates cards

I created my cards to follow through on the colour palette I shared above. I cut all these cards using the CTMH cricut artiste cartridge.  I cut the matching hearts in glitter paper using the same cartridge.

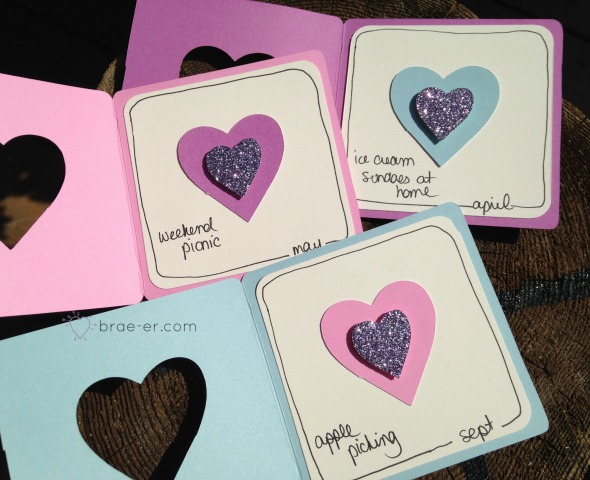
year of dates inside cards

The inside of the card is similar for them all- some simple line detail around the inside piece to frame it up (hand drawn) and then the month and date activity.

NOW hop on over to Wendy’s blog to see what she has to show you!

Until we craft again, The Brae-er


Emboss it Blog Hop

Welcome to our Emboss it Blog Hop that is celebrating the release of CTMH embossing folders! I am so happy to add these to my stash (I had a few others but rarely used them) and to dig out my cuttlebug once again!  If you have hoped over from Melinda’s blog then you are on the correct path and I hope you enjoy the experience!

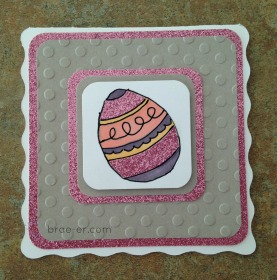
embossed easter card

To create my card I used the Dot embossing folder and one of our new M sized stamp sets- coloured egg.  I cut my card base on our Cricut Artiste cartridge and then layered some of our glitter paper (LOVE the glitter papers) with some slate cardstock that I embossed.  My egg image was stamped and then coloured with our markers as well as paper piecing some glitter paper onto it.  Then to add to the detail of the egg I outlined the image with a black marker (fine tip).

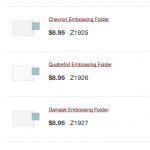
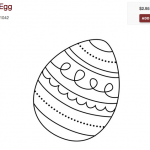
 Here is some of what I used:

Screen Shot 2014-02-25 at 10.46.46 AM  Screen Shot 2014-03-14 at 10.48.41 AM  Screen Shot 2014-03-14 at 10.56.19 AM

Now hop on over to Toni’s blog to see what she has in store for you!

Until we craft again, The Brae-er

Spring/Summer CTMH Idea Book Reveal: Day 10

Day 10 already! The time is passing quickly and the orders are rolling in to the CTMH Idea book reveal party- have you ordered yet?  Remember you can order on my SHOP under the Idea Book reveal party and you will be entered in to the draw to win the HOSTESS REWARDS for the entire party!

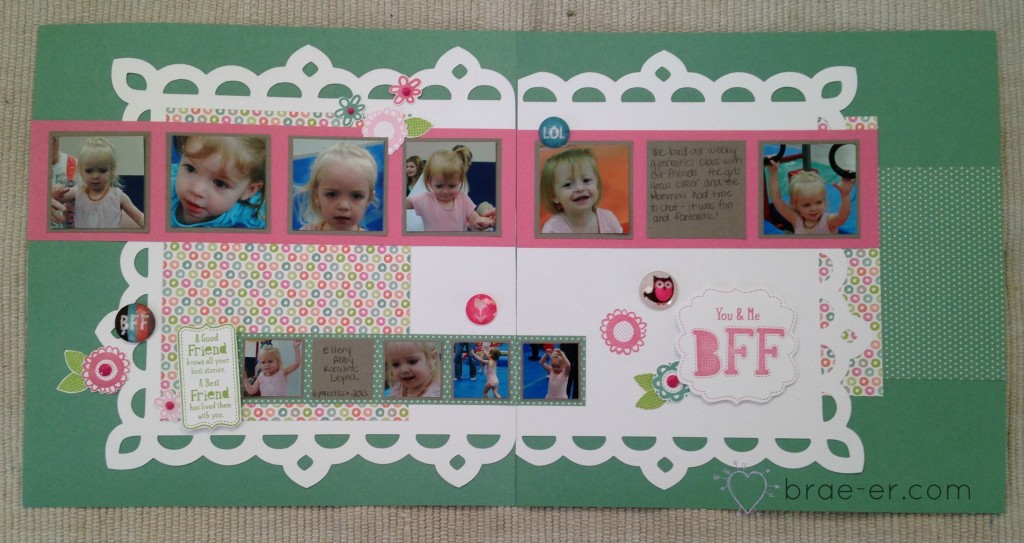
Today I am going to show another layout for another workshop on the go kit- this one is Lollydoodle! How adorable is this layout of my daughter and her friends at gymnastics?!  I love the interesting cuts on this layout that make it so much more interesting than a basic layout full of square cuts!  This kit is one that you do need to purchase, or already own, the CTMH Cricut Artiste cartridge if you would like to complete it.  You can create the layout with the straight cuts if you like but the intricate ones are so much more fun!

lollydoodle layout 1

Do you have any of our Cricut cartridges? Tell me below what you own, which cartridge is on your wish list and how you plan to get it.  I may just draw a lucky winner to win a special prize!

Products featured:

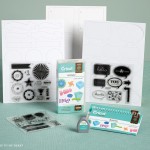
Screen Shot 2014-01-25 at 4.04.07 PM  cricut-artiste-collection

Until we craft again, The Brae-er


Spring/Summer CTMH Idea Book Reveal: Day 5 (and a blog hop!)

Welcome to Day 5 of the CTMH Idea Book reveal- today I have more in store for you than other days.

I have a winner to announce, a blog hop to share with you AND of course product to reveal with a project!!

First: THE WINNER of the Balloons stamp set featured yesterday is…

Then we have a project and a blog hop (all in one!)  The blog hop is one featuring NEW product reveals on my blog (which you know since you are here) and blogs of my team members.  To participate all you need to do is follow the link below to the next person on the hop and so on.  At the end you will be directed back to this page.

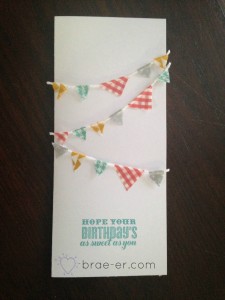
This card was one I made for my Dad’s 56th birthday just a few weeks ago.  I love that it was simple yet turned out to be so cute!

banner card

I used some of our natural baker’s twine and overlapped pieces of our washi tape- the cut them to be in the shape of a pennant.  Since you can never have too much washi tape and it is so easy to use this was a great way to use some up!  I also stamped a simple sentiment on the bottom of the card in lagoon ink- the stamp is one of the exclusive stamp sets you receive in the Cricut Artiste collection.

Products featured:

cricut-artiste-collection  Screen Shot 2014-01-25 at 12.53.19 PM

Now HOP (this part actually does not start till 8pm MST so if you are early you might find some of the posts missing) on over to Lucy’s blog to see what she has in store for you! Remember to come back tomorrow for another project and more new goodies – and if you haven’t yet please be sure to subscribe to my blog so that you don’t miss a minute of all the fun!

  • Subscribe to Blog via Email

    Enter your email address to subscribe to this blog and receive notifications of new posts by email.

    Join 58 other subscribers

1. Brae Montgomery-  https://www.brae-er.com/2014/02/springsummer-ctmh-idea-book-reveal-day-5-blog-hop.html

2. Lucy Imrie – http://lucyscreativeexpressions.blogspot.com/2014/02/the-brae-ers-blog-hop-featuring-new.html

3. Tamara Lisowski ~  http://geermara.blogspot.com/2014/02/ctmh-february-2014-blog-hop-sotm.html

4. Alyson Mayo –      http://createwithalyson.blogspot.com/2014/02/unit-blog-hop-ivy-lane-easel-card.html

5. Sheri Ballantyne –    http://sherisays-justscrapit.blogspot.com/2014/02/the-brae-ers-blog-hop-new-stuff-from.html

6. Rosalynd Kelly –    http://inmyscrappinroom.blogspot.com/2014/02/february-team-braer-blog-hop.html

7. Heather Steeves –  http://paperplayroom.blogspot.com/2014/02/february-team-blog-hop.html

8. Arlene Bonsma – http://arlenescreativespace.blogspot.com/2014/02/the-brae-ers-february-blog-hop.html

9. Michelle Hughes –  http://therighthugh.blogspot.com/2014/02/ctmh-2014-springsummer-team-blog-hop.html

10. Cindy Kyle-http://cindykyle.blogspot.com/2014/02/february-blog-hop.html

Until we craft again, The Brae-er


Spring/Summer CTMH Idea Book Reveal: Day 4

So glad to see you on Day 4 of our CTMH Idea book reveal!! I promised you yesterday that I would share a card created with the prize for yesterday’s challenge (which if you have not done or entered into yet be sure to do so- you have until tonight!)

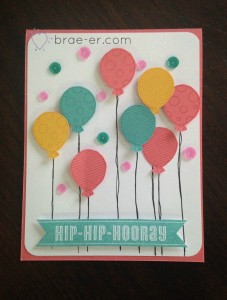
hip hip hooray card

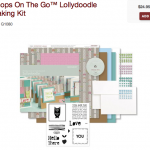
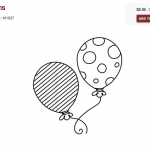
I love how this card turned out! I stamped the balloons on several pieces of cardstock using the same colour of ink (this is called tone on tone stamping).  I then cut them all out by hand and placed them on my card with some 3D foam tape to give them life (some are glued flat to the card as well).  My balloon lines are hand drawn and I added some of the adhesive sequins from the Lollydoodle card workshop (they were leftovers and so fun!) My sentiment is cut out and stamped using the Cricut Artiste cartridge collection.

New product featured in this project (click on the image to shop):

Screen Shot 2014-01-25 at 4.16.04 PM  Screen Shot 2014-01-25 at 2.04.46 PM  Screen Shot 2014-01-25 at 2.19.58 PM

Until we craft again, The Brae-er


Spring/Summer CTMH Idea Book Reveal: Day 2

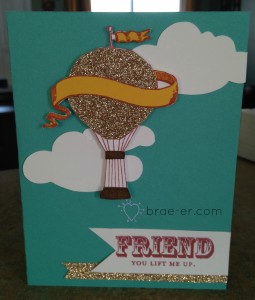
Welcome back! Day 2 of the CTMH Idea book reveal features a cute card with a oh-so-popular hot air balloon!  I am seeing these EVERYWHERE in fashion, home decor and of course papercrafts!

My card is a basic 4 1/4 by 5 1/2 card on lagoon card stock.  I used the CTMH Artiste cartridge to cut out my clouds.  The hot air balloon was hand cut (it turned out so well I didn’t mind at all) and paper pieced together.  I used some of our glitter paper to add some bling to the balloon and then also added a bit to the bottom of the card under the sentiment.

balloon card

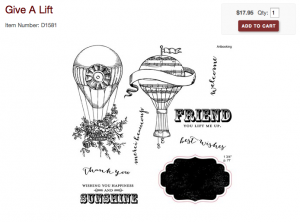
New products featured on this card (click on the image for them to go directly to my SHOP)

Screen Shot 2014-01-25 at 1.43.35 PM

Remember- if you shop on my website you will be entered into the draw for the HOSTESS REWARDS!

Until we craft again, The Brae-er

Valentine’s Day Ideas for the whole family!

I love holidays- especially the ones that really allow me to be creative and have fun with my family! Valentine’s Day is 100% one of those holidays!

I have created lots of fun stuff in preparation for the big day (and have a bag of hidden ‘goods’ to surprise my loved ones with that morning).

Here are just a few of the things I have created that I hope will inspire you!

kids valentine

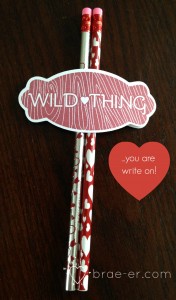
This is the Valentine ‘treat’ for my kids to take to their class (at school for one and daycare for the other).  I used the February Stamp of the Month to create the ‘Wild Thing’ image and on the back used a nice black pen and a stamp image to add the phrase “… you are WRITE on”- cute, right?!

Sorry photo removed for publication!     

This in the card I intend to give to my sweet hubby! He tends to (really) dislike holidays and usually does not do a whole lot but I LOVE them (and if reads this then I suggest you do a little something for all of us that day… I know you can do it!).  This card looks simple (and truly it was) but it took a while. I used our new flamingo dots (you are getting some serious sneak peeks here!)  and a heart I cut out on the cricut.  The heart was cut out on Kraft paper so that it would blend in and not look like I had a base at all.  I then added my flamingo dots one by one.  To make sure they stay put I coated the whole heart with a layout of liquid glass- voila!

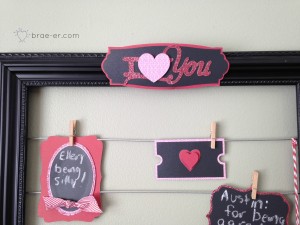
love you frame

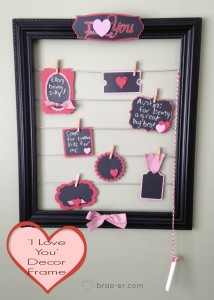
And last- my ‘I Love You’ decor frame.  At Christmas I had my advent calendar set up on this- now I am switching it to Valentines and I plan to list all the reasons I love my family and all the things they do to keep the love going! They can add to this as well.  I have a video showing the frame in detail below- enjoy!!

love you frame close up

Until we craft again, The Brae-er

Envelope Valentine with the CTMH Cricut Artiste

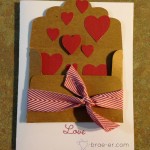
Are you looking for the perfect Valentine’s Day card for your sweetie??  Then watch on for my newest video featuring a Valentine card made with the Cricut Artiste cartridge- you will even get a sneak peek at some of the new items coming later this week when our Spring/Summer Idea book officially goes live!  Enjoy and if you make one I would LOVE to see it!

Sorry photo removed for publicaiton!

valentine

Until we craft again, The Brae-er

Bibbidi-Bobbidi-Boo!

Bibbidi-Bobbidi-Boo, my daughter is turning two!

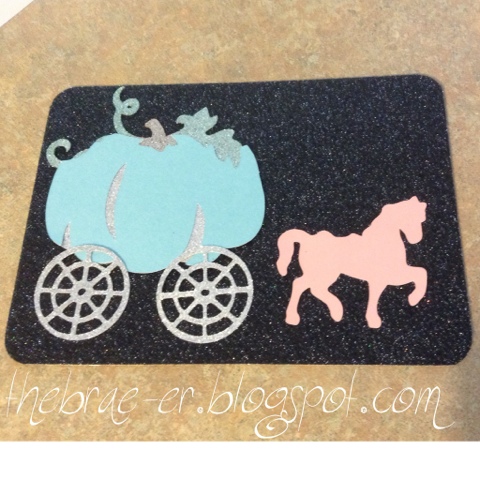
AND since she is obsessed right now with Cinderella we are having a Cinderella themed party (complete with an attending Princess).  The party is quickly approaching so I finally sat down and made the invites- I am VERY pleased with how they turned out!
The base of the card (which is a postcard style invite) is CTMH black glitter paper.  All of the images on the invite were cut with the CTMH Artiste cartridge or the CTMH Artbooking cartridge- I love that with a little imagination I was able to find everything I needed! 
Invite size is 5×7
Pumpkin image- Artbooking, cut at 3 1/2 real dial size
Carriage wheels- Artiste, cut at 1 1/2 (they are actually meant to be the carousel base)
Horse- Artiste, cut at 6 1/2 (this cuts you two horses)

Obviously piecing the invite together was easy after everything was cut- the last thing I did to add some detail was coloured part of the pumpkin with a cheap marker. You can see the brown and green detail at the top of the pumpkin.

NOW to get ready for all the other pieces that will pull this party together! 

Until we craft again, The Brae-er