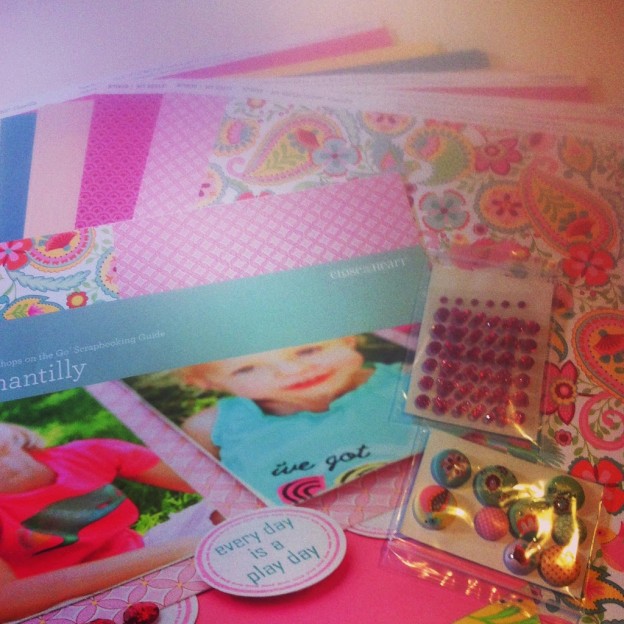
Here I used Claire paper, one of the accent flowers from the Claire assortment and a black glitter letter from the last catalog.
Until we craft again, The Brae-er

Here I used Claire paper, one of the accent flowers from the Claire assortment and a black glitter letter from the last catalog.
Until we craft again, The Brae-er
Until we craft again, The Brae-er
Until we craft again, The Brae-er
Until we craft again, The Brae-er
Until we craft again, The Brae-er
Until we craft again, The Brae-er
Have you ‘liked’ my page on facebook yet? You should and here are some reasons why:
Until we craft again, The Brae-er
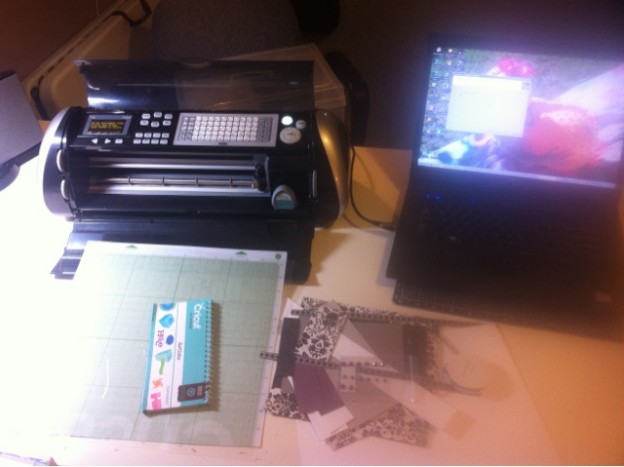
So maybe I should be embarrassed to admit this but….before today I had never hooked my cricut up to my computer! So many nervous reasons not too but today I conquered that fear and hooked it up!!
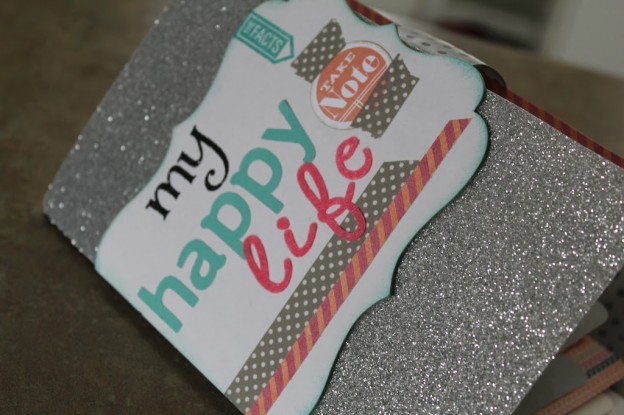
I downloaded cricut craft room, did a firmware update on my machine ( Wow!!) and then waited…. It took a few minutes to get it all updated. But when I got it going it was great- and pretty easy! I created this cute card below by welding some images. In this case it would have saved paper but… I had a few creative mishaps before getting it all right in the end!
In the end I am happy with the result- this card was created using our For Always paper, accessories from the For Always card WOTG and some our sparkle paper (which is cricut safe!)
Until we craft again, The Brae-er
Welcome to our February Blog Hop featuring a 2 page layout. This is the first Blog Hop for us where we have featured just scrapbook layouts. We hope that you will take the time to leave comments on our posts, as we love to get feedback from our viewers….it could be something that you really liked or some new technique that was used that you would like to learn how to do….by leaving us comments, we get to hear what you like, and what you want to see. Thank you… now on to our hop!
If you came from Sheri’s blog then you are in the right place!
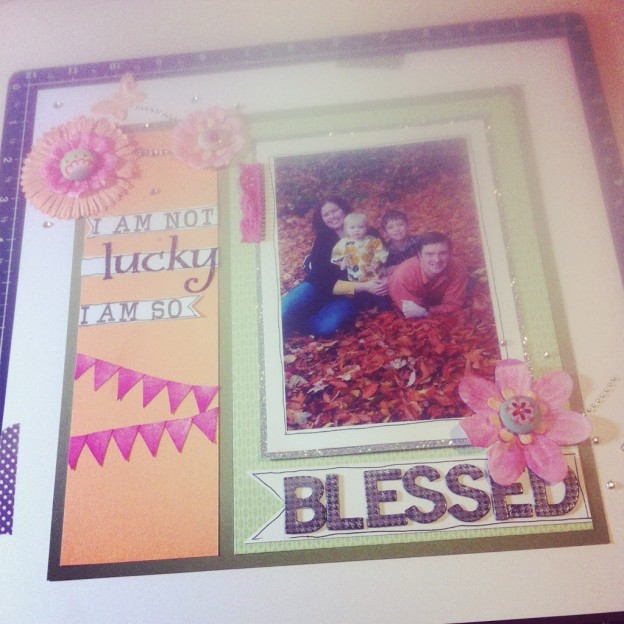
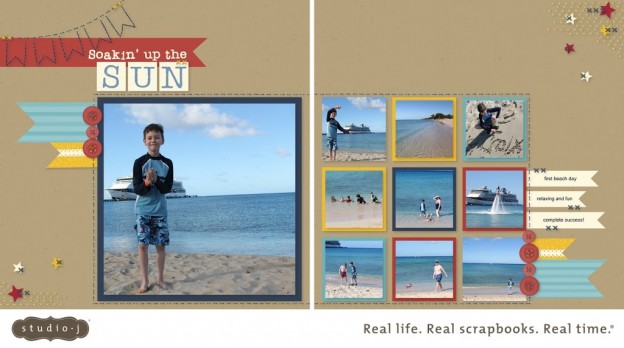
For this hop I chose to focus on Studio J- this month our customer special gives all of your Studio J layouts for only $5!! That is a fantastic savings and a great opportunity to get some memories scrapbooked or some gifts made! Last week I was one of the VERY LUCKY consultants who earned the Southern Caribbean Cruise with CTMH- thanks to Studio J and this special I already have part of my album complete! Check out my work below…. and if you are interested in learning more feel free to email me at braemontgomery@gmail.com OR visit my webpage to get started on your own pages http://braemontgomery.ctmh.com
One of the MANY great things about Studio J is the Express Collections- these are pages set on a theme and predesigned by the art studio at CTMH. All you need to do is drop in your photos, add your journaling, adjust the title if you need to and VOILA! You can make other adjustments if you need to but they are so well done that it is rarely necessary! My ‘Soakin’ Up the Sun’ Layout is from the ‘Getaway’ Collection. We have other collections such as: Little Man, Little Miss, Travel, Sports and many more!
Can you guess the paper these layouts are created with? I see some Clare, Tommy and Surf’s Up! Did you know that on Studio J you can even access paper from past Idea Books- they may not live as real paper anymore but in the Studio you can have whatever you want!!
The ‘A Bit of Paradise’ layout demonstrates another great feature of Studio J- the scallop frame! Fun to cut but can be time consuming and wasteful- BUT in the Studio it is a breeze! When you create your own layout you get to chose form our many patterns (from our How-to Books)- no matter how hard the pattern is, in the Studio it is a snap!
There is so much more to Studio J- visit my website and try it out today (psssst it is FREE to use- you only pay if you want to buy!) http://braemontgomery.ctmh.com
Until we craft again, The Brae-er
1. Determine how long you’d like the finished ribbon and bow. This is based on the size of your frame and if you’ll be hanging it. If you are hanging it on a wall or door, you’ll need enough ribbon to wrap around the top of the frame a couple of times and still have a long strip coming out the back of the frame.
2. Cut enough strips of fabric to equal your desired length, making sure the strips are about 3½” wide to wrap around the burlap ribbon.
3. Sew the short ends of the strips together to create one long strip that equals the finished size you need for the project.
4. Fold the long fabric strip around a piece of burlap ribbon of the same size and secure temporarily with a straight pin.
5. With a sewing machine, carefully sew four straight lines down the length of the fabric-wrapped burlap ribbon. This will keep the burlap from moving around or bunching up inside the fabric.
6. Loop and hot glue the fabric-wrapped burlap ribbon around the top of the frame a couple of times so that it is nice and sturdy for handling and hanging.
7. Tie the remaining fabric-wrapped burlap ribbon into a large bow. Fold the tails of the bow into a wave and hot glue to the frame to secure the shape.

8. Embellish frame with accessories, as desired.
Easy, isn’t it? Now you have a beautiful piece of fabric-embellished home décor that you can show off to friends, family, and especially your customers! Check out the Chantilly and For Always textiles in the Spring/Summer 2013 Idea Book to get your creative juices flowing for more project ideas with fabric.
Until we craft again, The Brae-er