Author Archives: Brae Montgomery

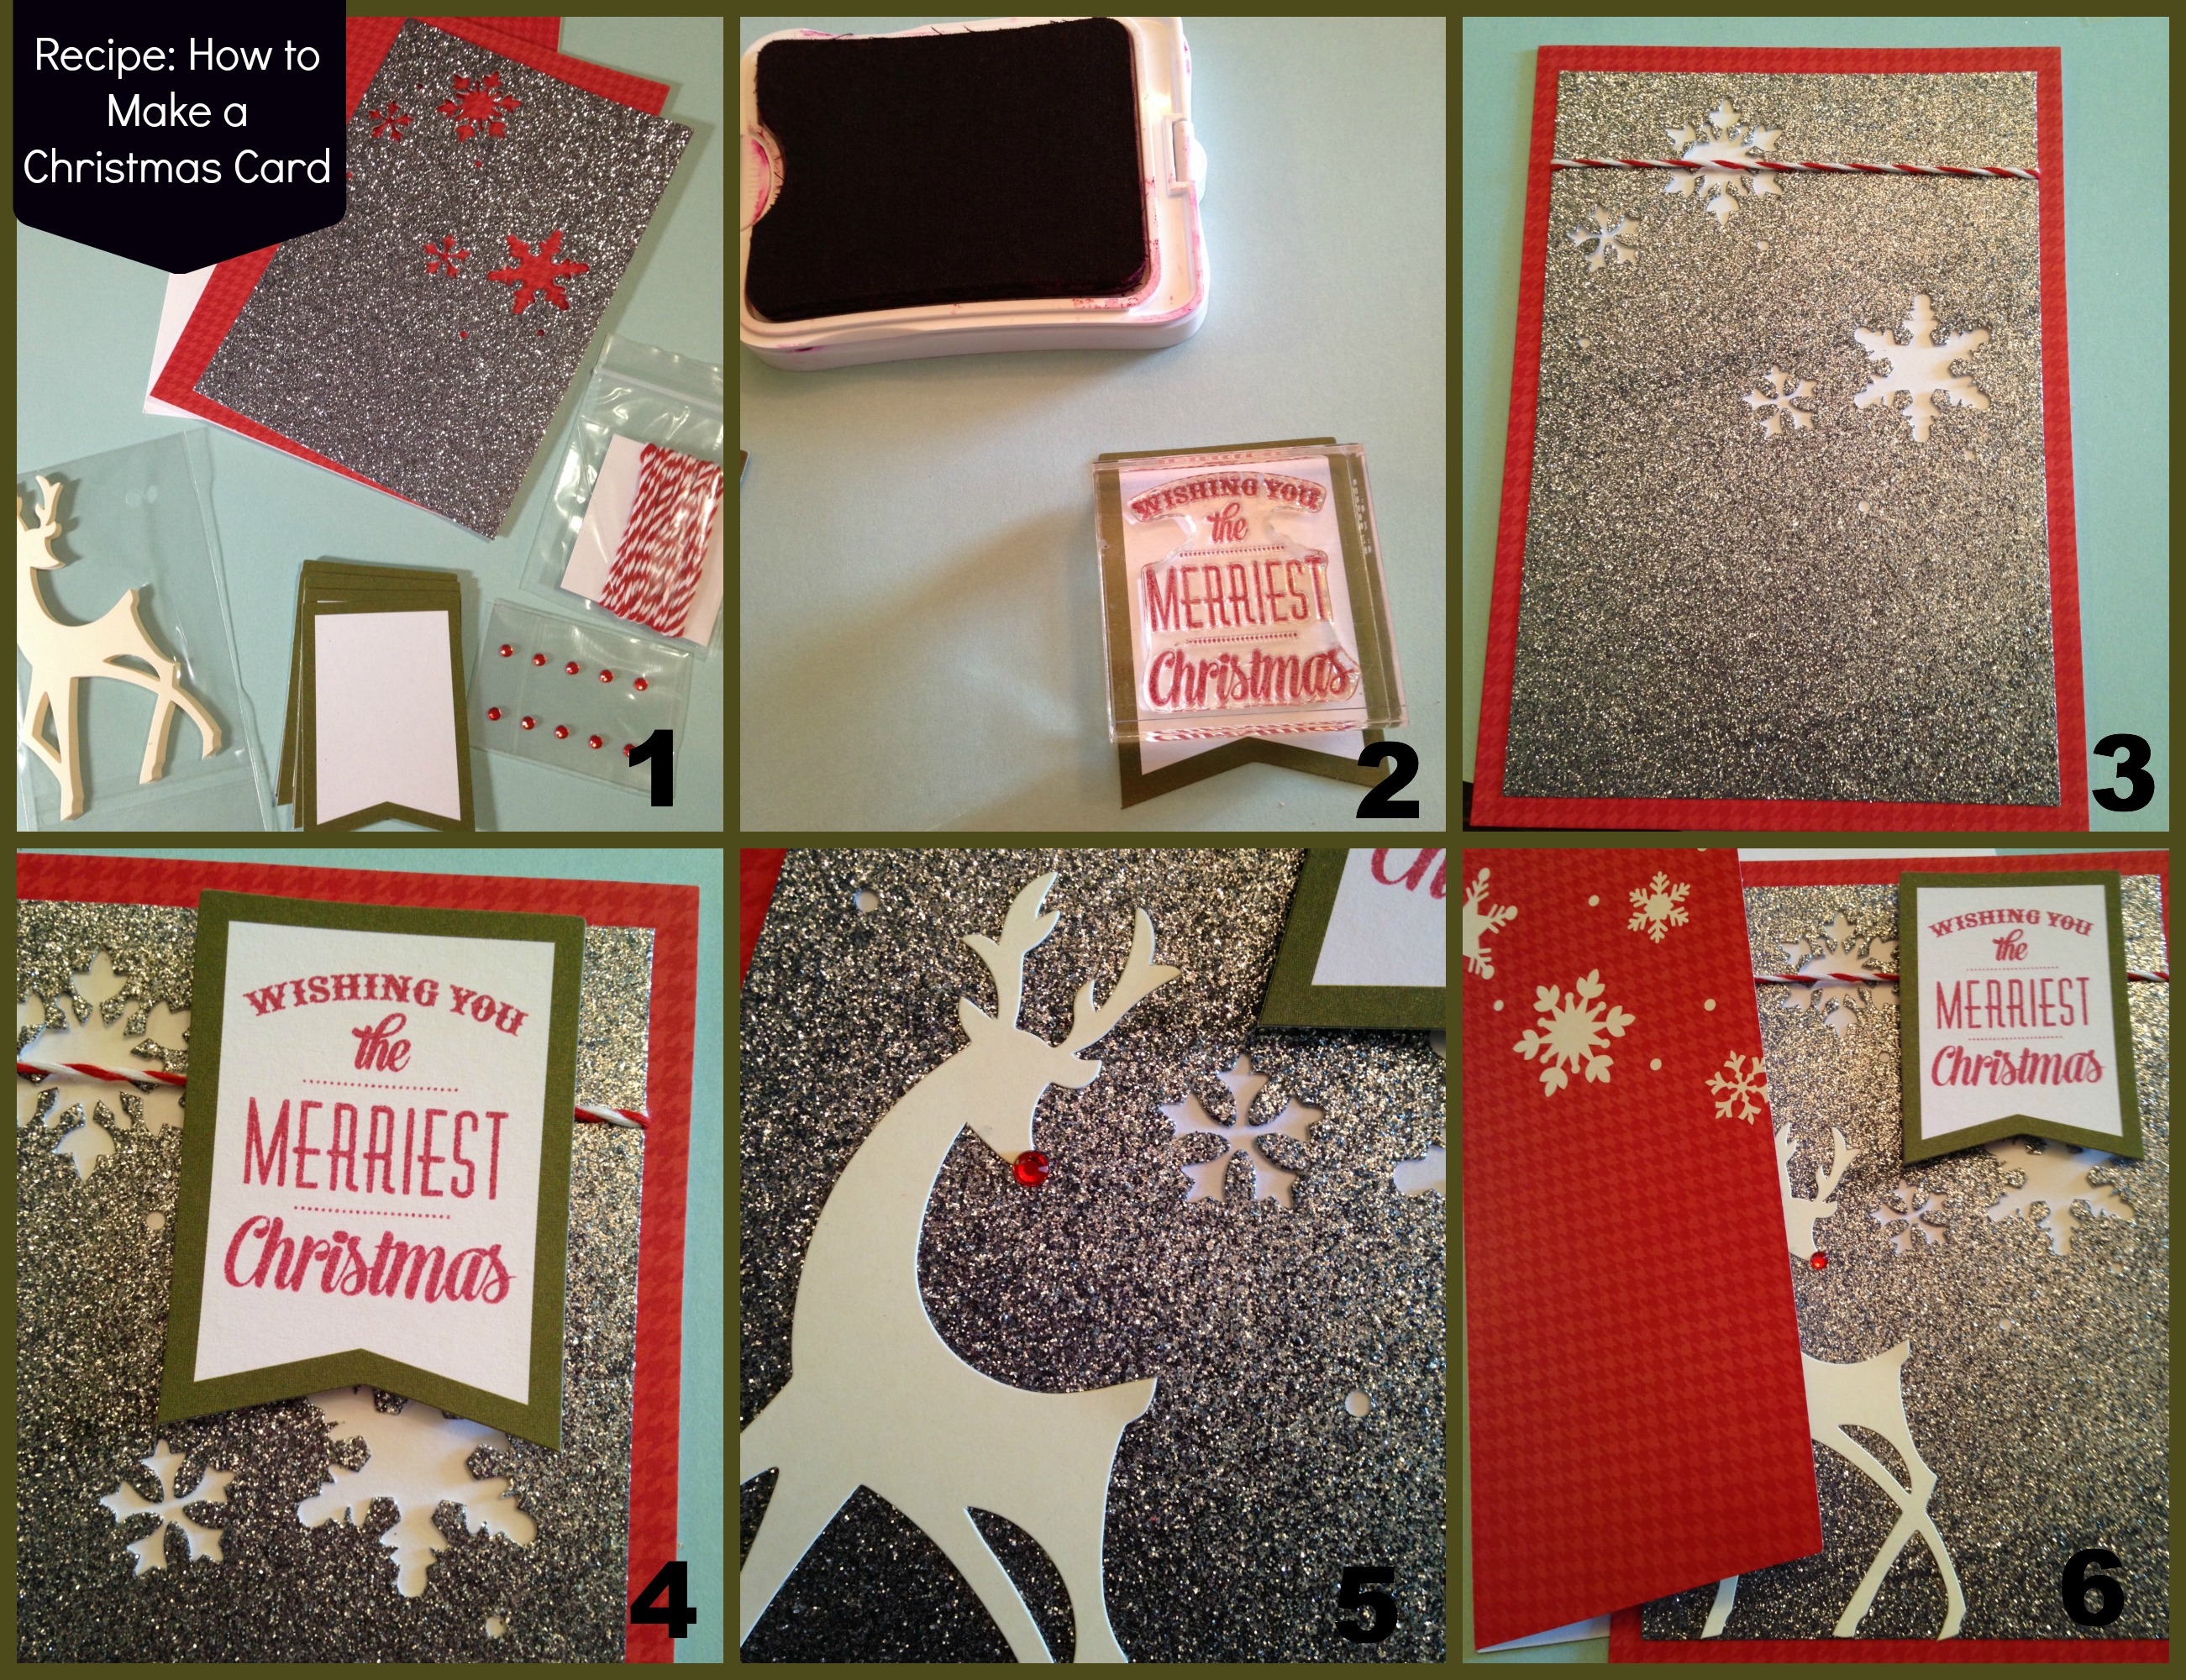
Recipe: How to make a Christmas Card

Who doesn’t love a good recipe as we approach the holiday season??

Here is one that is perfect for paper crafters!

recipe christmas card

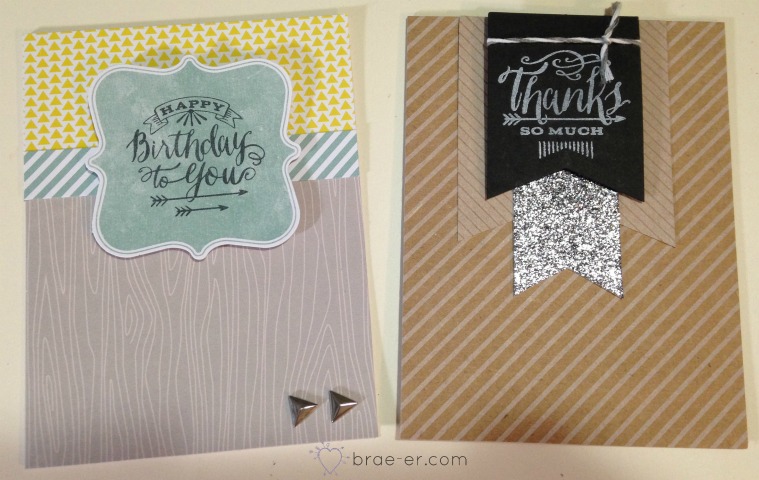
How to make a Christmas Card using our Cut Above Cards!

Supplies: Cut Above Card kit, scissors, adhesive.

PREP time: 0 minutes COOK time 20 minutes 
Will SERVE 10 people (per pack of cut above cards)

Step 1: Take all the pieces our of the bag.
Will SERVE 10 people (per pack of cut above cards)
Step 2: Stamp an image on the pre-cut banner piece (the stamp comes separately OR you can use a sentiment stamp you already own). Stamp all 10 pieces at once to save time.
Step 3: Attach the pre-cut glitter paper to the card front and tie bakers twine at the top.
Step 4: Assemble the stamped banner image onto the pre cut green cardstock and attach to card using the 3D foam square.
Step 5: Attach the reindeer and his cute little red nose.
Step 6: Sign card and add personal information, place in envelope and mail!

Until we craft again, The Brae-er


September Stamp of the Month

sept stamp of the month layout


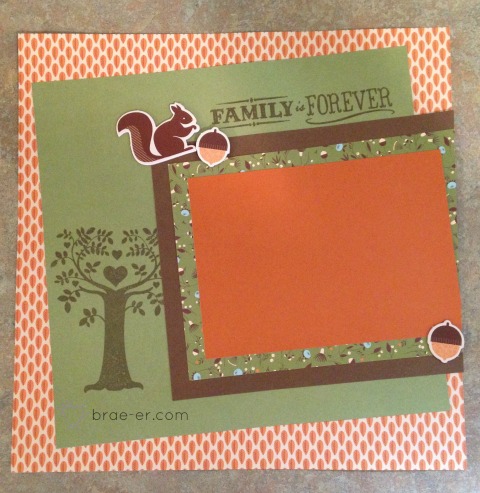
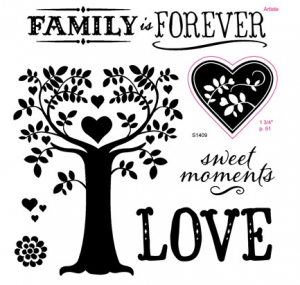
I have been remiss in showing off the current stamp of the month and it is very cute! This layout features the ‘Family is Forever’ stamp set and out Pathfinding paper and complements. It just needs the perfect fall photo and with all our cool weather lately I don’t think it will need to wait long!

Screen Shot 2014-09-14 at 2.08.49 PM

What would you create with this stamp set?

Until we craft again, The Brae-er


‘Thrive-ing’ in Canada with CTMH

IMG_3680

Last weekend my team had our Thrive Celebration- although we made this event a full weekend event it started out as an incentive that CTMH offered teams. We had 5 categories in which we had to qualify and as a team we worked hard and did it! These categories were not easy and every person on my team worked really hard over the qualifying period… and then we waited to have a corporate presenter come to us and teach and inspire us!

Fast forward to last weekend- 55 ladies joined us for a full weekend of crafting and another 20 joined us for the 5 hour portion lead by our corporate VP, Kristine Widtfeldt and Tiffany Young from the Events department. We were ‘cozy’ but had so much fun!!!

IMG_3684

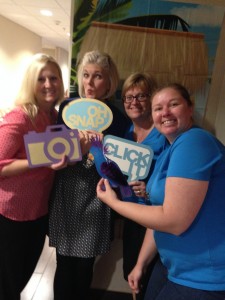
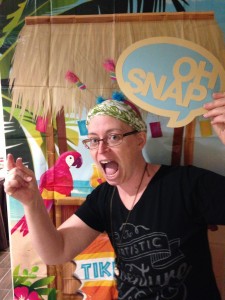
No event is complete without a photo booth- props were courtesy of our Artbooking cartridge!

IMG_3688

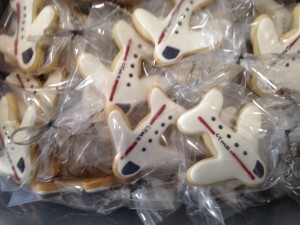
and my events NEVER happen without the most amazing cookies baked and decorated by my sister-in-law, Leann.  Yummy and pretty! We had a travel theme to our weekend so the little CTMH airplanes were the perfect accessory.

IMG_3720 IMG_3727 IMG_3762

Here I am with a team member (Jennifer in the glasses) and the two corporate staffers- Tiffany on the far left and Kristine next to her. This actually turned out to be Kristine’s last event with us at CTMH- she hadn’t yet told anyone that she was moving on to a new company.  We will sadly miss her- so much fun and energy! I know she is leaving because it was the right move for her family and career and CTMH is a strong company that will go on but it is hard to see someone leave who has been such a asset for 10 years. (The selfish me hopes she misses us and comes back!).

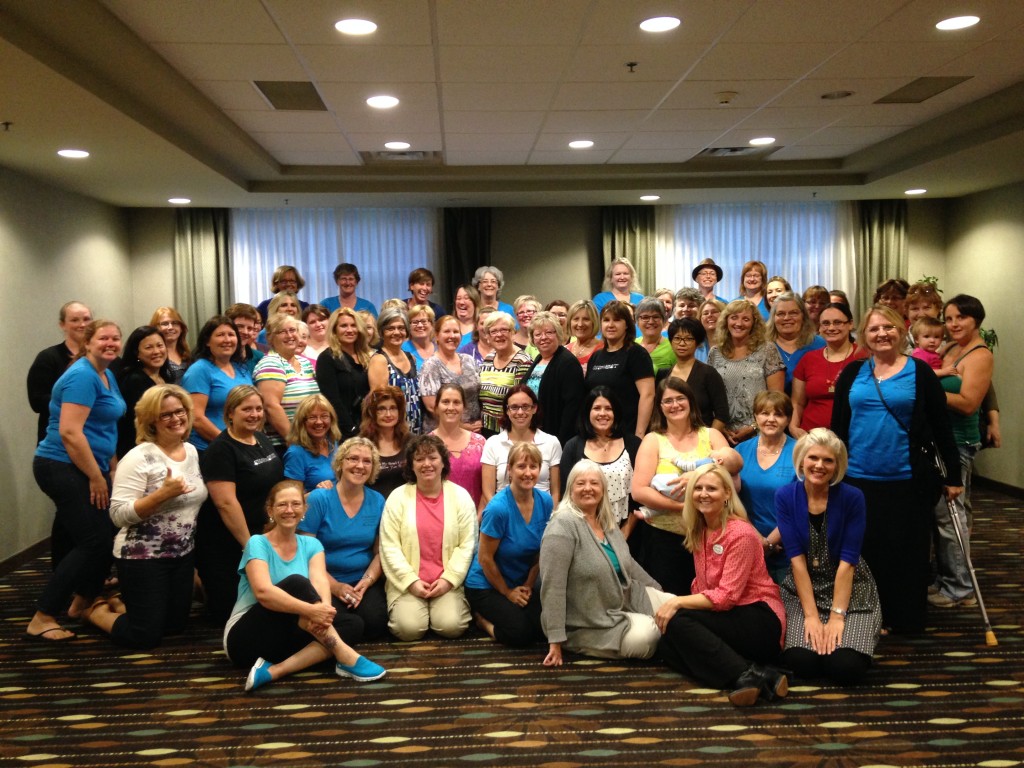
AND here is my THRIVING team!!!

We are thriving and growing and I am so proud of each member of my fabulous group! Our whole team is over 400 members strong so this is just a small portion but each person’s efforts are truly appreciated and valued!

Lastly, a big THANKS to all who came, contributed and helped throughout the event! A special big thanks to those ladies who flew in! We had ladies from PEI, Nova Scotia, Northern Ontario, Manitoba and Alberta fly to be with us for the weekend!

IMG_3764

Until we craft again, The Brae-er


Papercrafting Party Supplies

birthday supplies

So I have a confession to make?

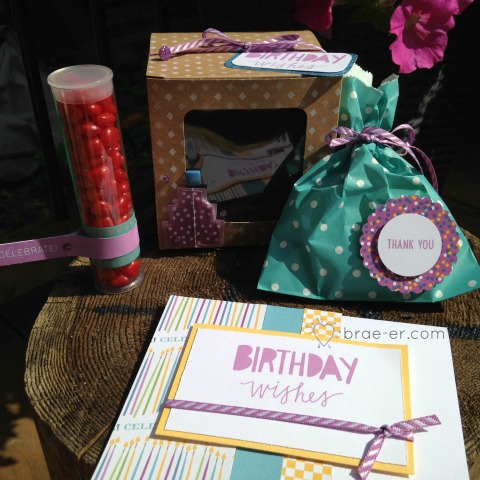
I am a bit of a ‘party mama’ – I love to decorate and match things for a party, especially when it means I can paper craft my party supplies! My daughter turns 3 this month and I have SO MUCH cute stuff planned for that! For now you will have to be satisfied with a set of birthday items that you could easily create for a party in your family- birthday, baby shower, wedding shower…. the possibilities are endless!

birthday kit candy tube

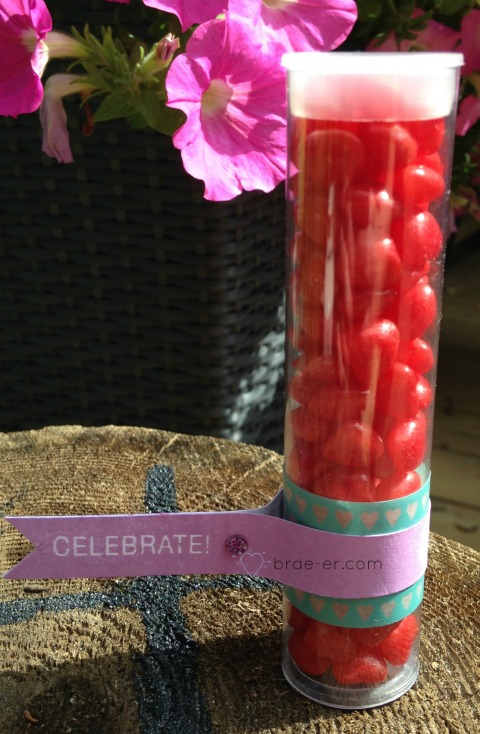
These are our treat tubes- perfect for the thank you favour or birthday party take-away.  Fill with a candy {I would have preferred something in a colour that matched but don’t keep much candy in the house) add some washi tape and a banner AND voila!

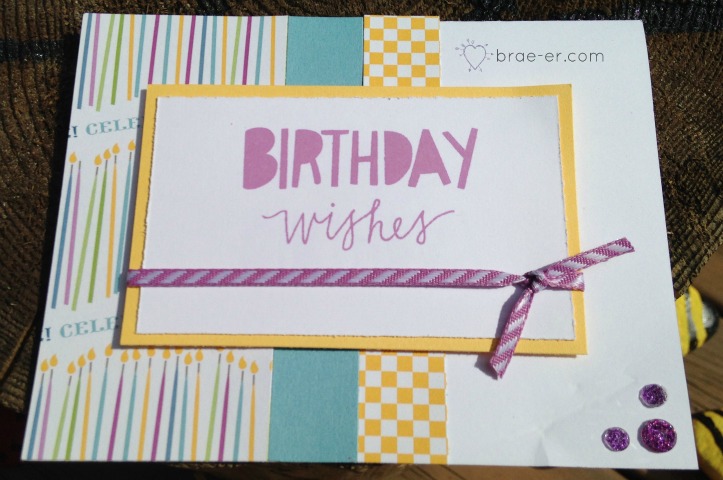
birthday kit card

Any party needs a matching invite OR a matching thank you card… I pulled through the colour scheme (especially the purple) to make this card.  The paper used is from our Confetti Wishes paper.

birthday kit close


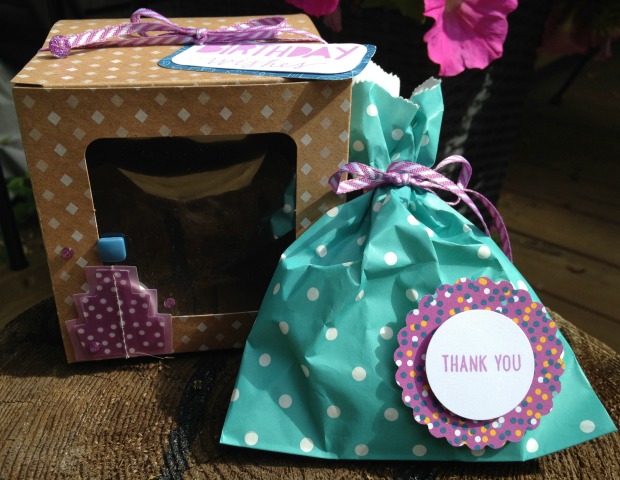
A cupcake box (oh YES!!) and another treat bag.  You can mix these and use whatever items you like. Cupcakes make cute gifts for someone special- even more special when they come in cute packaging!

The treat bag can be tied off as in this picture or left open and folded at the top. I give our cookies every year as our party favour (my sister in law makes the best cookies) and they fit perfectly in these bags! Both have elements from the Confetti Wishes paper collection and some more purple elements.

Until we craft again, The Brae-er


Cross Canada Hop: Favourite New CTMH Product

Welcome to the Cross Canada Blog Hop and my little piece of Ontario (just north of Toronto)! Today we are all featuring our favourite new CTMH products…. that is a VERY hard job as I don’t have one favourite, I have MANY!

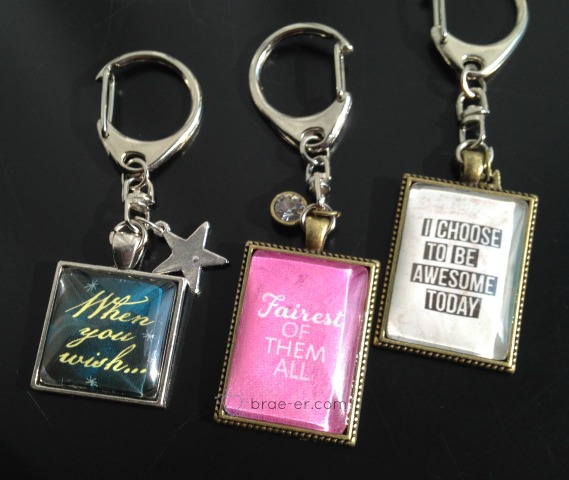
So, I am going to share with you ONE of them that I enjoy because it is something everyone can craft! Our Base and Bling line has been out for a few Idea Books but now we have added rectangle and oval pendants to this line (and glass covers to go with them).  These are such a great update to the collection! We added two new style sheets to compliment the new pieces.

Screen Shot 2014-09-14 at 10.54.15 AM Screen Shot 2014-09-14 at 10.54.25 AM

Recently I had to make a gift for my club ladies- we were starting a new cycle and I wanted to thank them for sticking with me.  I made each one of them a keychain using our base and bling pendants (I bought the keychain parts at the craft store).  I added a charm to each keychain that went well with the quote and I LOVE how they turned out!

base and bling keychains


My club ladies were also delighted! Feel free to check out all the pieces by visiting my SHOP (link at top of page) and searching ‘base and bling’.

Now hop on over to Michelle and see what she loves in our new book!

Until we craft again, The Brae-er

Back to School: Brae-er Team Blog Hop

This month my team blog hop is going ‘Back to School!’

We will be sharing with you videos and tutorials that will teach you things- I hope you enjoy and feel inspired! Just follow along our posts and click on the link at the bottom to go to the next blog (if you get lost you can come back here to the full list of hoppers).

Learn to Dry Emboss with Ink!

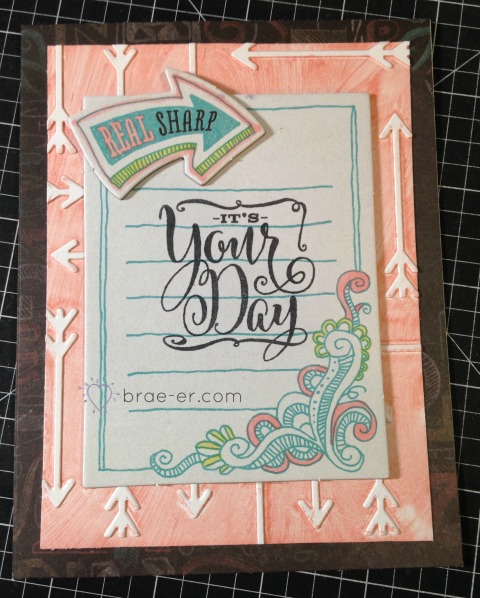
dry embossing ink card

Now hop on over to Michelle and see what she has to teach us!

Full list:

1. Brae Montgomery- inked embossing folders http://wp.me/p4htXJ-A7

2. Michelle Stewart -resist embossing – http://mycreationswithmichelle.blogspot.com/2014/09/brae-ers-team-blog-hop-resist-embossing.html

3. Chris Robertson- reinker bubbles (if it doesn’t work I will do something else) <a>http://chriscreativelife.blogspot.com/2014/09/brae-er-team-blog-hop.html</a>

4. Tamara Lisowski – Painter’s Tape Background Technique http://geermara.blogspot.com/2014/09/september-ctmh-blog-hop-back-to-school.html

5. Julie Sinnott – http://12x12travels.blogspot.com/2014/09/team-brae-er-september-blog-hop-back-to.html  basic blending with the markers

6. Carol-Anne Grenier – http://cagrenier.blogspot.ca/2014/09/brae-er-team-blog-hop-back-to-school-we.html

8. Darcel Kirvan – Hip Pic/Artbooking album https://www.blogger.com/blogger.g?blogID=8738109316605568301#editor/target=post;postID=5318142755174492721;onPublishedMenu=allposts;onClosedMenu=allposts;postNum=0;src=postname

9. Heather Dawson – stamping background to make pattern paper   http://pagesbyheatherd.blogspot.com/2014/09/back-to-school-blog-hop.html

10. Michelle Hughes – shaker card http://therighthugh.blogspot.com/2014/09/team-back-to-school-blog-hop.html


Until we craft again, The Brae-er

Wanderful Picture my Life Mini-Album

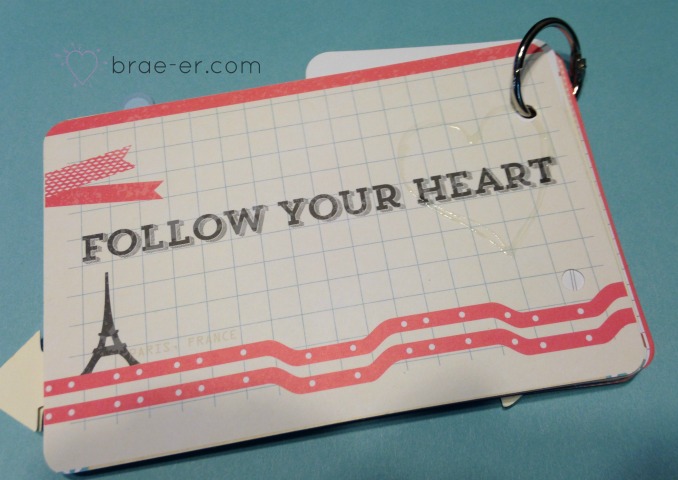
wanderful PML album


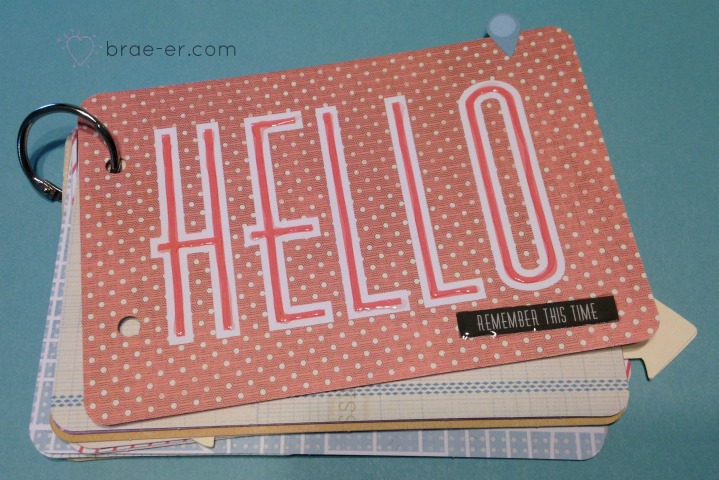
It is no secret that our Picture my Life cards are versatile and that I LOVE them! Here is another project I made with these cards- a cute little mini-album perfect for summer travels!

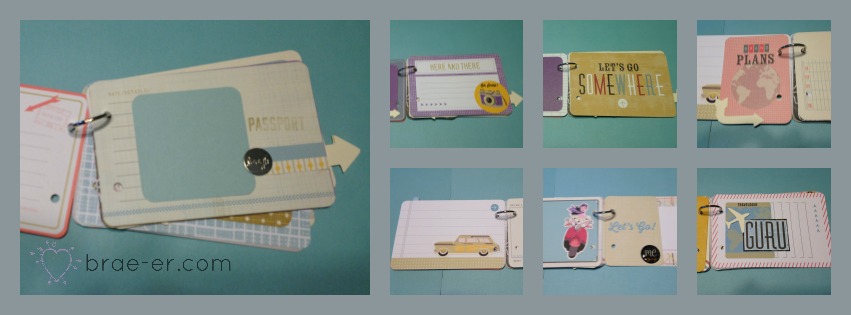
My team made this album last weekend as part of our thrive weekend retreat (so fun and more details about it to come later this week).  These mini-books are so easy to make- pick your cards (whichever ones fit your theme) and add any embellishments you might like.  I added complements, cricut cuts and some of the assortment pieces.  I also added liquid glass accents to a few pieces for some added fun.


Wanderful PML album collage


Punch some holes and add a ring or some ribbon to finish it off! Perfect to be gifted to someone OR taken on a  trip to add your journaling as you go!

Wanderful PML album end

Until we craft again, The Brae-er

Picture my Life Frame

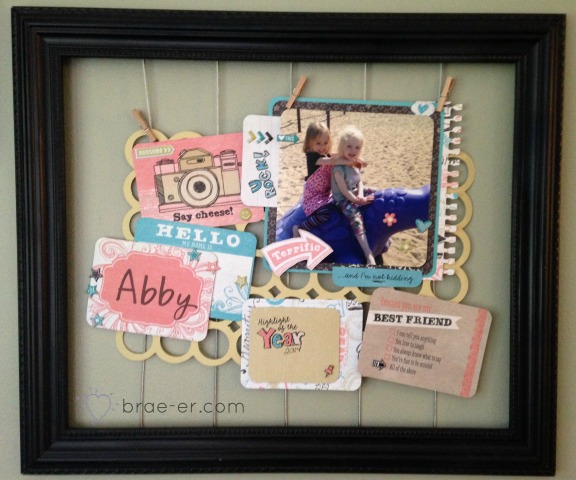
Abby Frame

Just another thing you can do with our Picture my Life cards- these cards are from the Chalk it Up kit.  I created this for my daughter’s friend – she was celebrating her 3rd birthday and we wanted to make something special for her!

I used a cut from the Cricut Artbooking cartridge to create my circle background.  I then layered PML cards in different ways on the circle overlay.  I cut some cards apart to add dimension or phrases.  Finished it off with some of the puffy stickers from the Chalk it Up Assortment (LOVE THESE!!).

Abby Frame close up

Until we craft again, The Brae-er

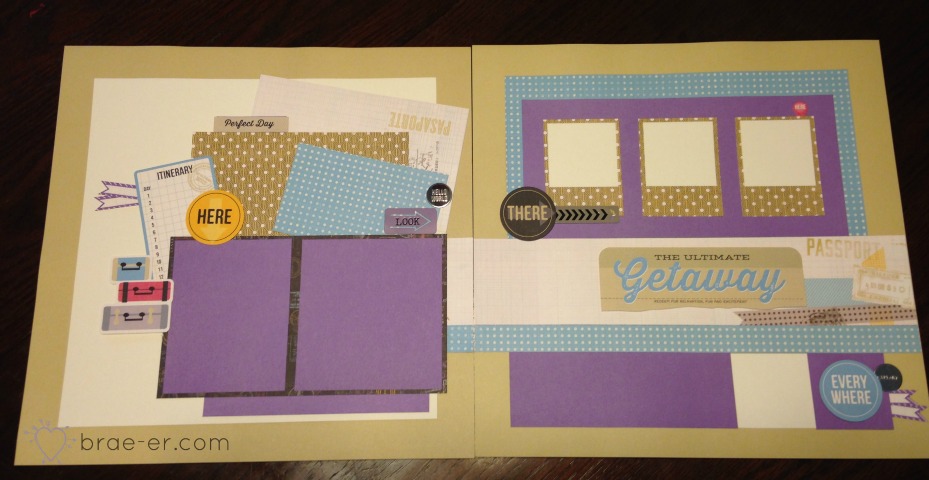
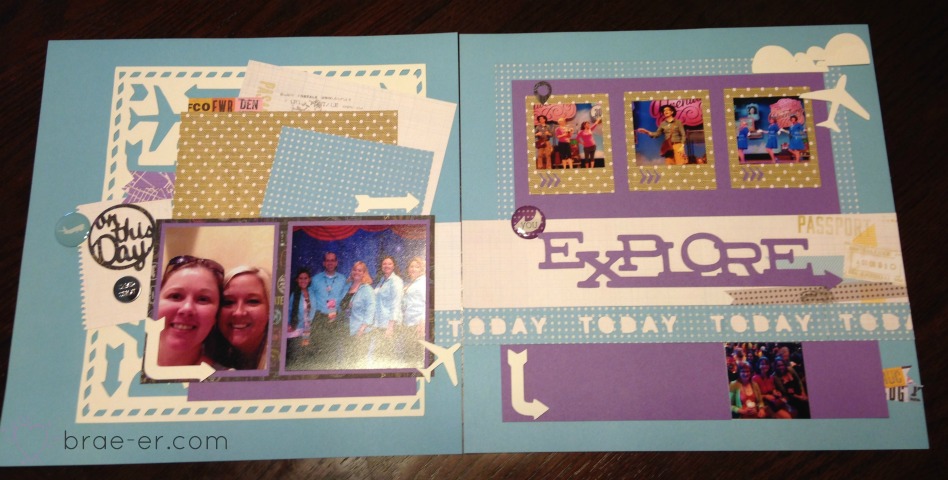
One Layout, Two Looks: Wanderful

September brings a new month and that means a new workshop/kit!

This month I am featuring the Wanderful paper- and if you have been on here you know that this is my FAVOURITE paper right now (that is subject to change over the year LOL).  This kit was a delight to put together and I hope you like it!

Layout ONE: Uses half a pack of Wanderful paper, Wanderful complements and Wanderful Assortment.  You receive all the pieces and the directions to but this layout together (and yes you will have leftovers to play with!)

wanderful- one two layout

wanderful- one two layout close 2


Layout TWO: Uses half a pack of Wanderful paper, all the cricut cuts featured in this layout and the Wanderful assortment.  How fun is this one, right?  And again, you will have leftovers.

If you would like to purchase either of these kits please visit my workshop/kit page HERE!

wanderful-one two layout

wanderful- one two close

Until we craft again, The Brae-er