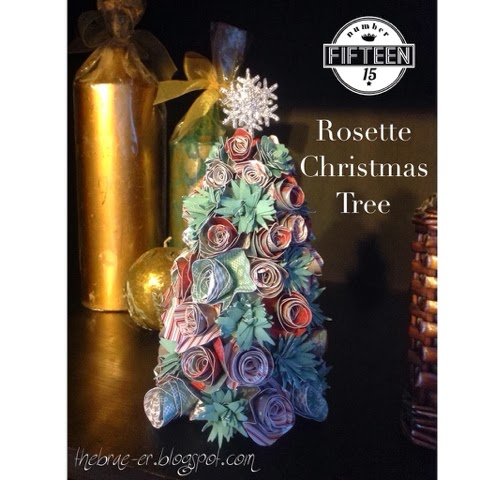
This beauty of a project was almost the straw that broke the camel’s back! I planned to reveal this much earlier in this process but it took a LONG time to create even this small tree. So, if you decide to create this (and it is beautiful) then buy a small foam tree and buy LOTs of paper and be sure you have lots of time 🙂
I cut my rosette’s using the CTMH Art Philosophy cartridge- they are cut at various sizes as I filled the tree – the bottom ones are at 3 1/2, the middle at 3 and the top at 2 1/2. I also used a variety of flower types and tried to stick to the same papers for a more uniform look. For this tree I used papers from the Sparkle and Shine paper pack. As I rolled my flowers I used glue dots to hold them together and then to hold them onto the tree itself- I then added liquid glass to give it some real hold! I topped off my tree with two snowflakes cut out on our glitter paper and glued to a pin back to back. It really is a cute tree and even my 9 year old son was impressed!
Until we craft again, The Brae-er

